Introduction
In today's digital landscape, customer reviews are more important than ever. They help build trust, foster loyalty, and significantly impact buying decisions. Leveraging the power of customer reviews on your website can go a long way in enhancing your brand reputation. The CRM offers a robust feature for this very purpose: the Review Widget Customization tool. In this guide, we'll walk you through the steps to create and personalize your review widget using the CRM.
Accessing the Review Widget Customization Tool
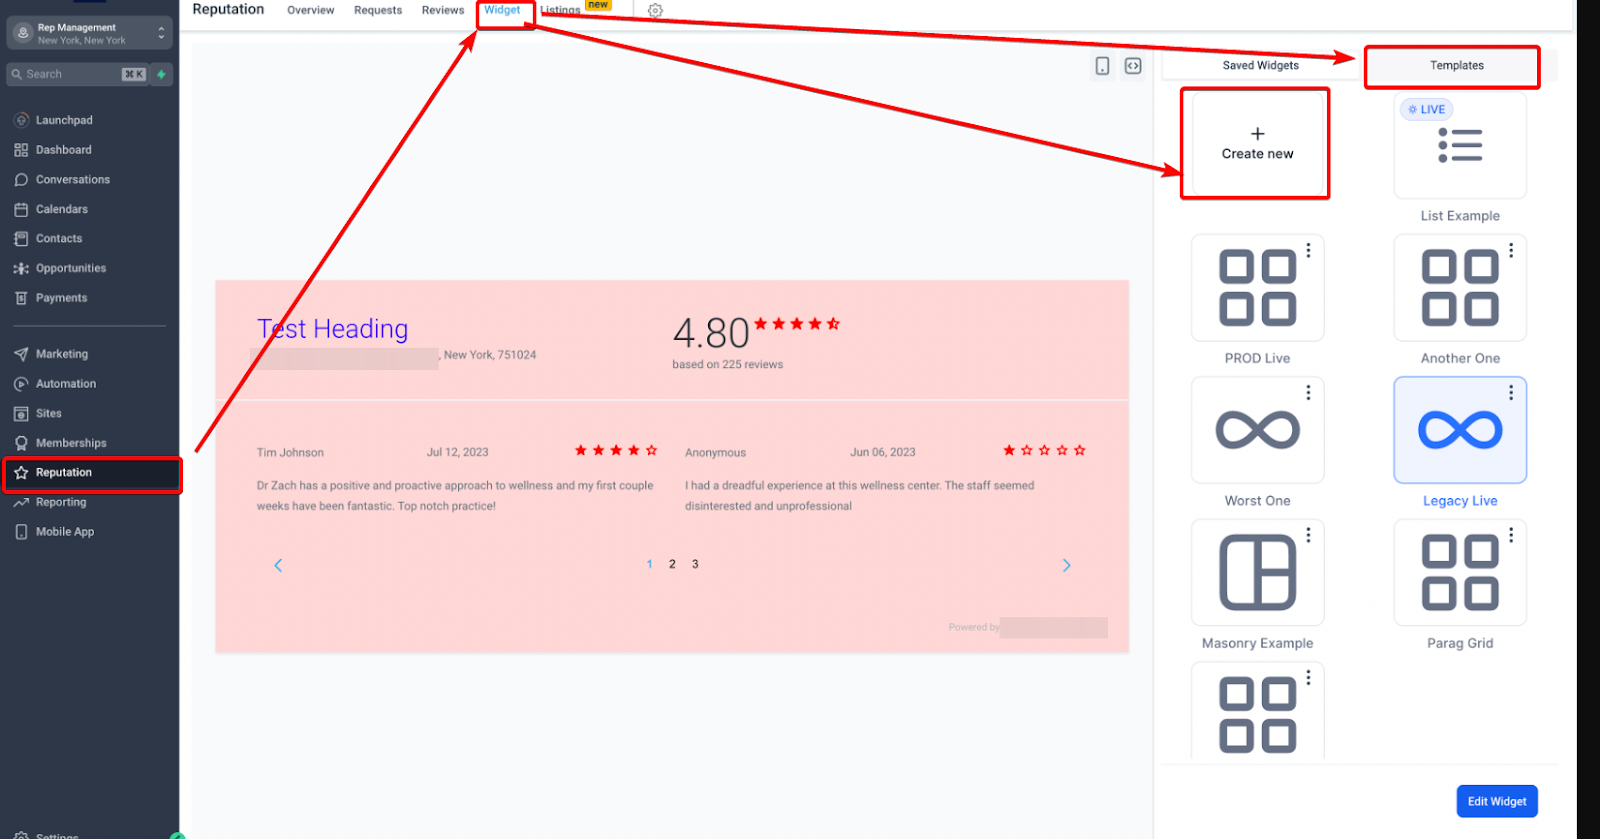
To begin with, log into your CRM dashboard. Navigate to the "Reputation" section and then click on the "Widgets" tab. Click on the "Create New Widget" button, or you can choose from an existing template in the templates tab to get started.
Layout Tab: Configuring Widget Structure
In the "Layout" tab, you'll see several options to customize the basic structure of your review widget:
Widget Type: Choose among List, Masonry, Grid, or Legacy options.
Review Source: Select where your reviews will come from—Google My Business, Facebook, etc.
Max Reviews: Define how many reviews you wish to display.
Powered By Section: An optional section that can be enabled or disabled. It displays the name of the CRM.

Content Tab: Editing Widget Header and Description
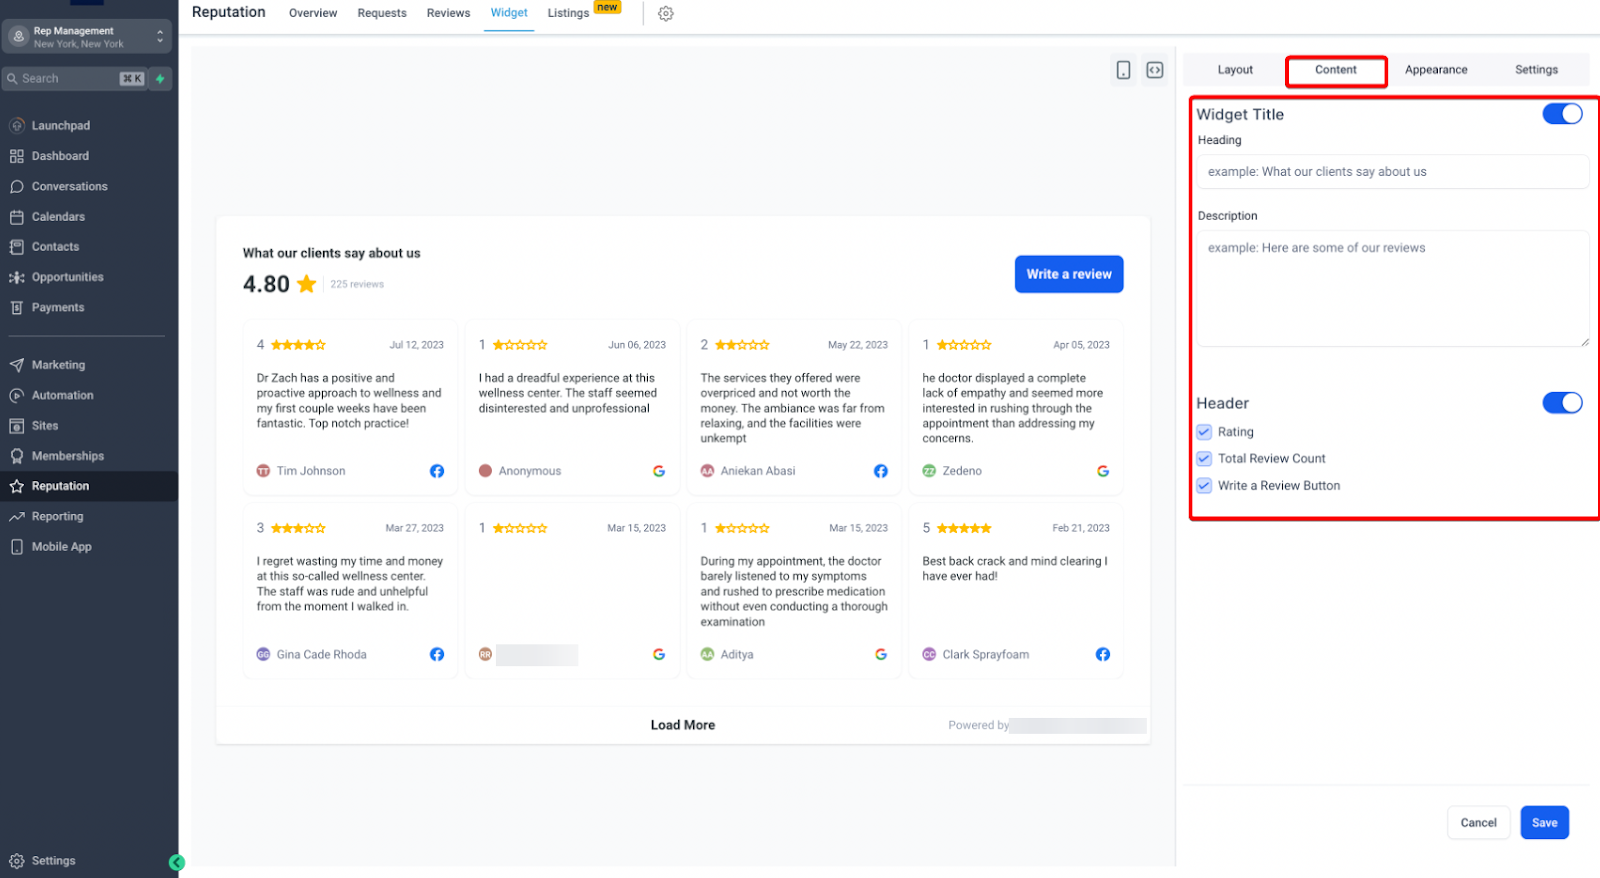
The "Content" tab allows you to modify the text aspects of your widget:
Widget Title and Description: Modify these to align with your brand messaging.
Header Section: Choose to display elements like overall rating, review count, and the "Write a Review" button.
Appearance Tab: Customizing Themes and Colors
The "Appearance" tab gives you complete control over the look and feel of your widget:
Themes: Choose between Light, Dark, or Custom themes.
Component Colors: Fine-tune individual elements like headings, star ratings, and borders to align with your brand colors.

Settings Tab: Customize review elements and embedding.
The "Settings" tab provides advanced customization options:
Review Elements: Opt to display or hide elements like review date and reviewer icon.
Exclude Empty Reviews: Skip reviews that contain no descriptive text.
To integrate the review widget into your website, simply generate the necessary embed code. Once generated, you'll need to insert this code into your website's HTML where you'd like the widget to appear.
You also have the option to quickly copy the code by clicking on the "Copy Code" icon located at the upper right corner of the widget interface.
Saving, Naming, and Managing Your Widgets
After completing the customization, give your widget a meaningful name and save it. You can choose to make it live immediately or save it for later use. The CRM also allows you to manage multiple widgets.