Today we are going to walk through every step you need to create an online course you are proud of! Specifically, we are going to cover:
- Creating Your Online Course Product
- Building an Offer
- Selling Your Online Course In a Funnel
- Managing Your Course
Let's dive in!
Create Your Online Course Product
Freedomkit allows you to create unlimited online courses for your brand. They can be Free, Paid, Subscription based... the sky is the limit. For this quick start guide, let's start with a basic mini course that you will sell for $7. We will walk through the steps together to set this course up.
Configure the Product
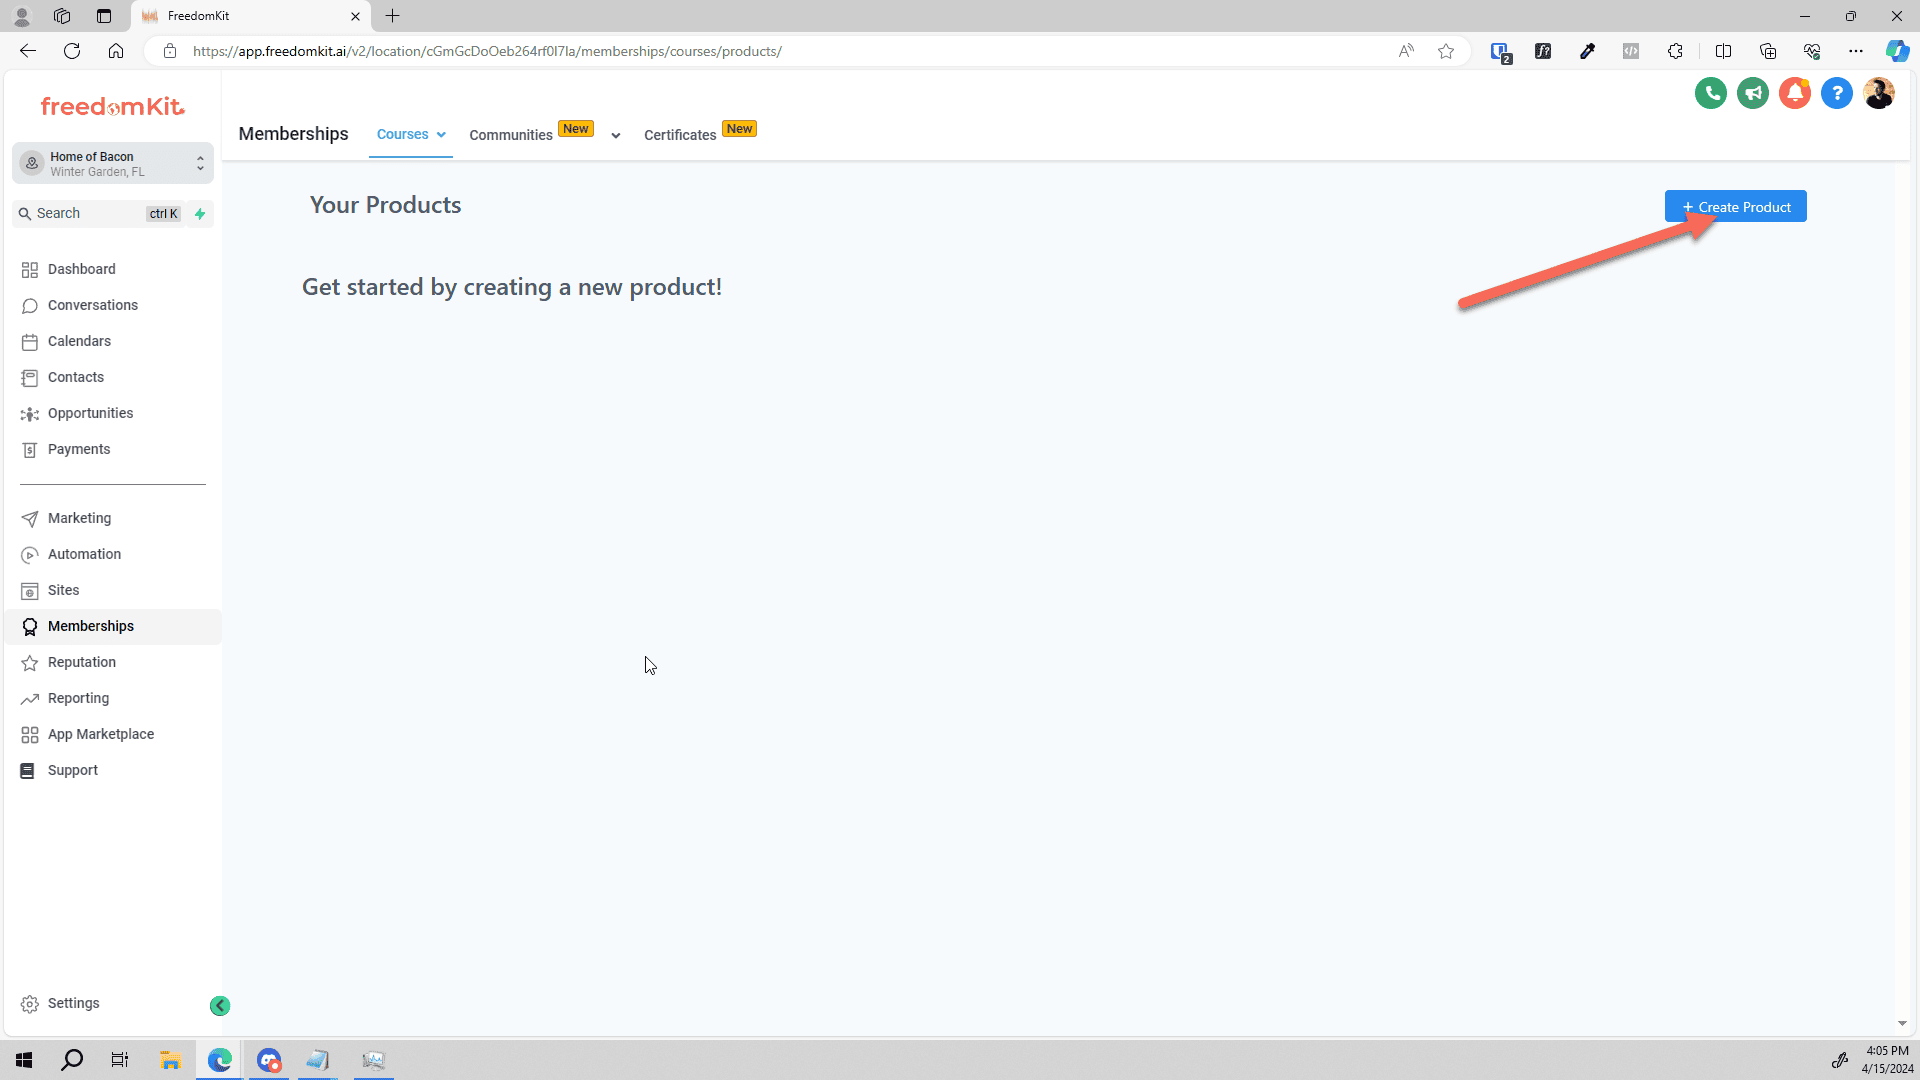
When logged into your freedomkit.ai account, click on Memberships > Courses > Products and click "+ Create Product":
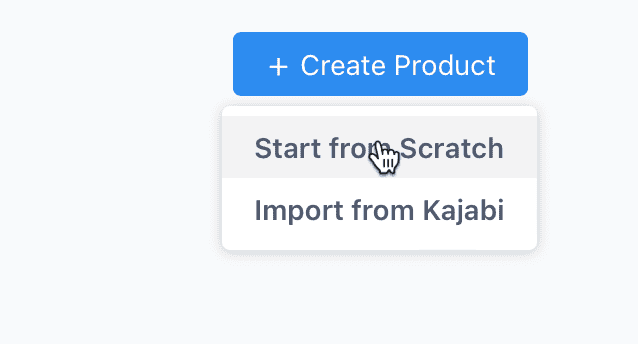
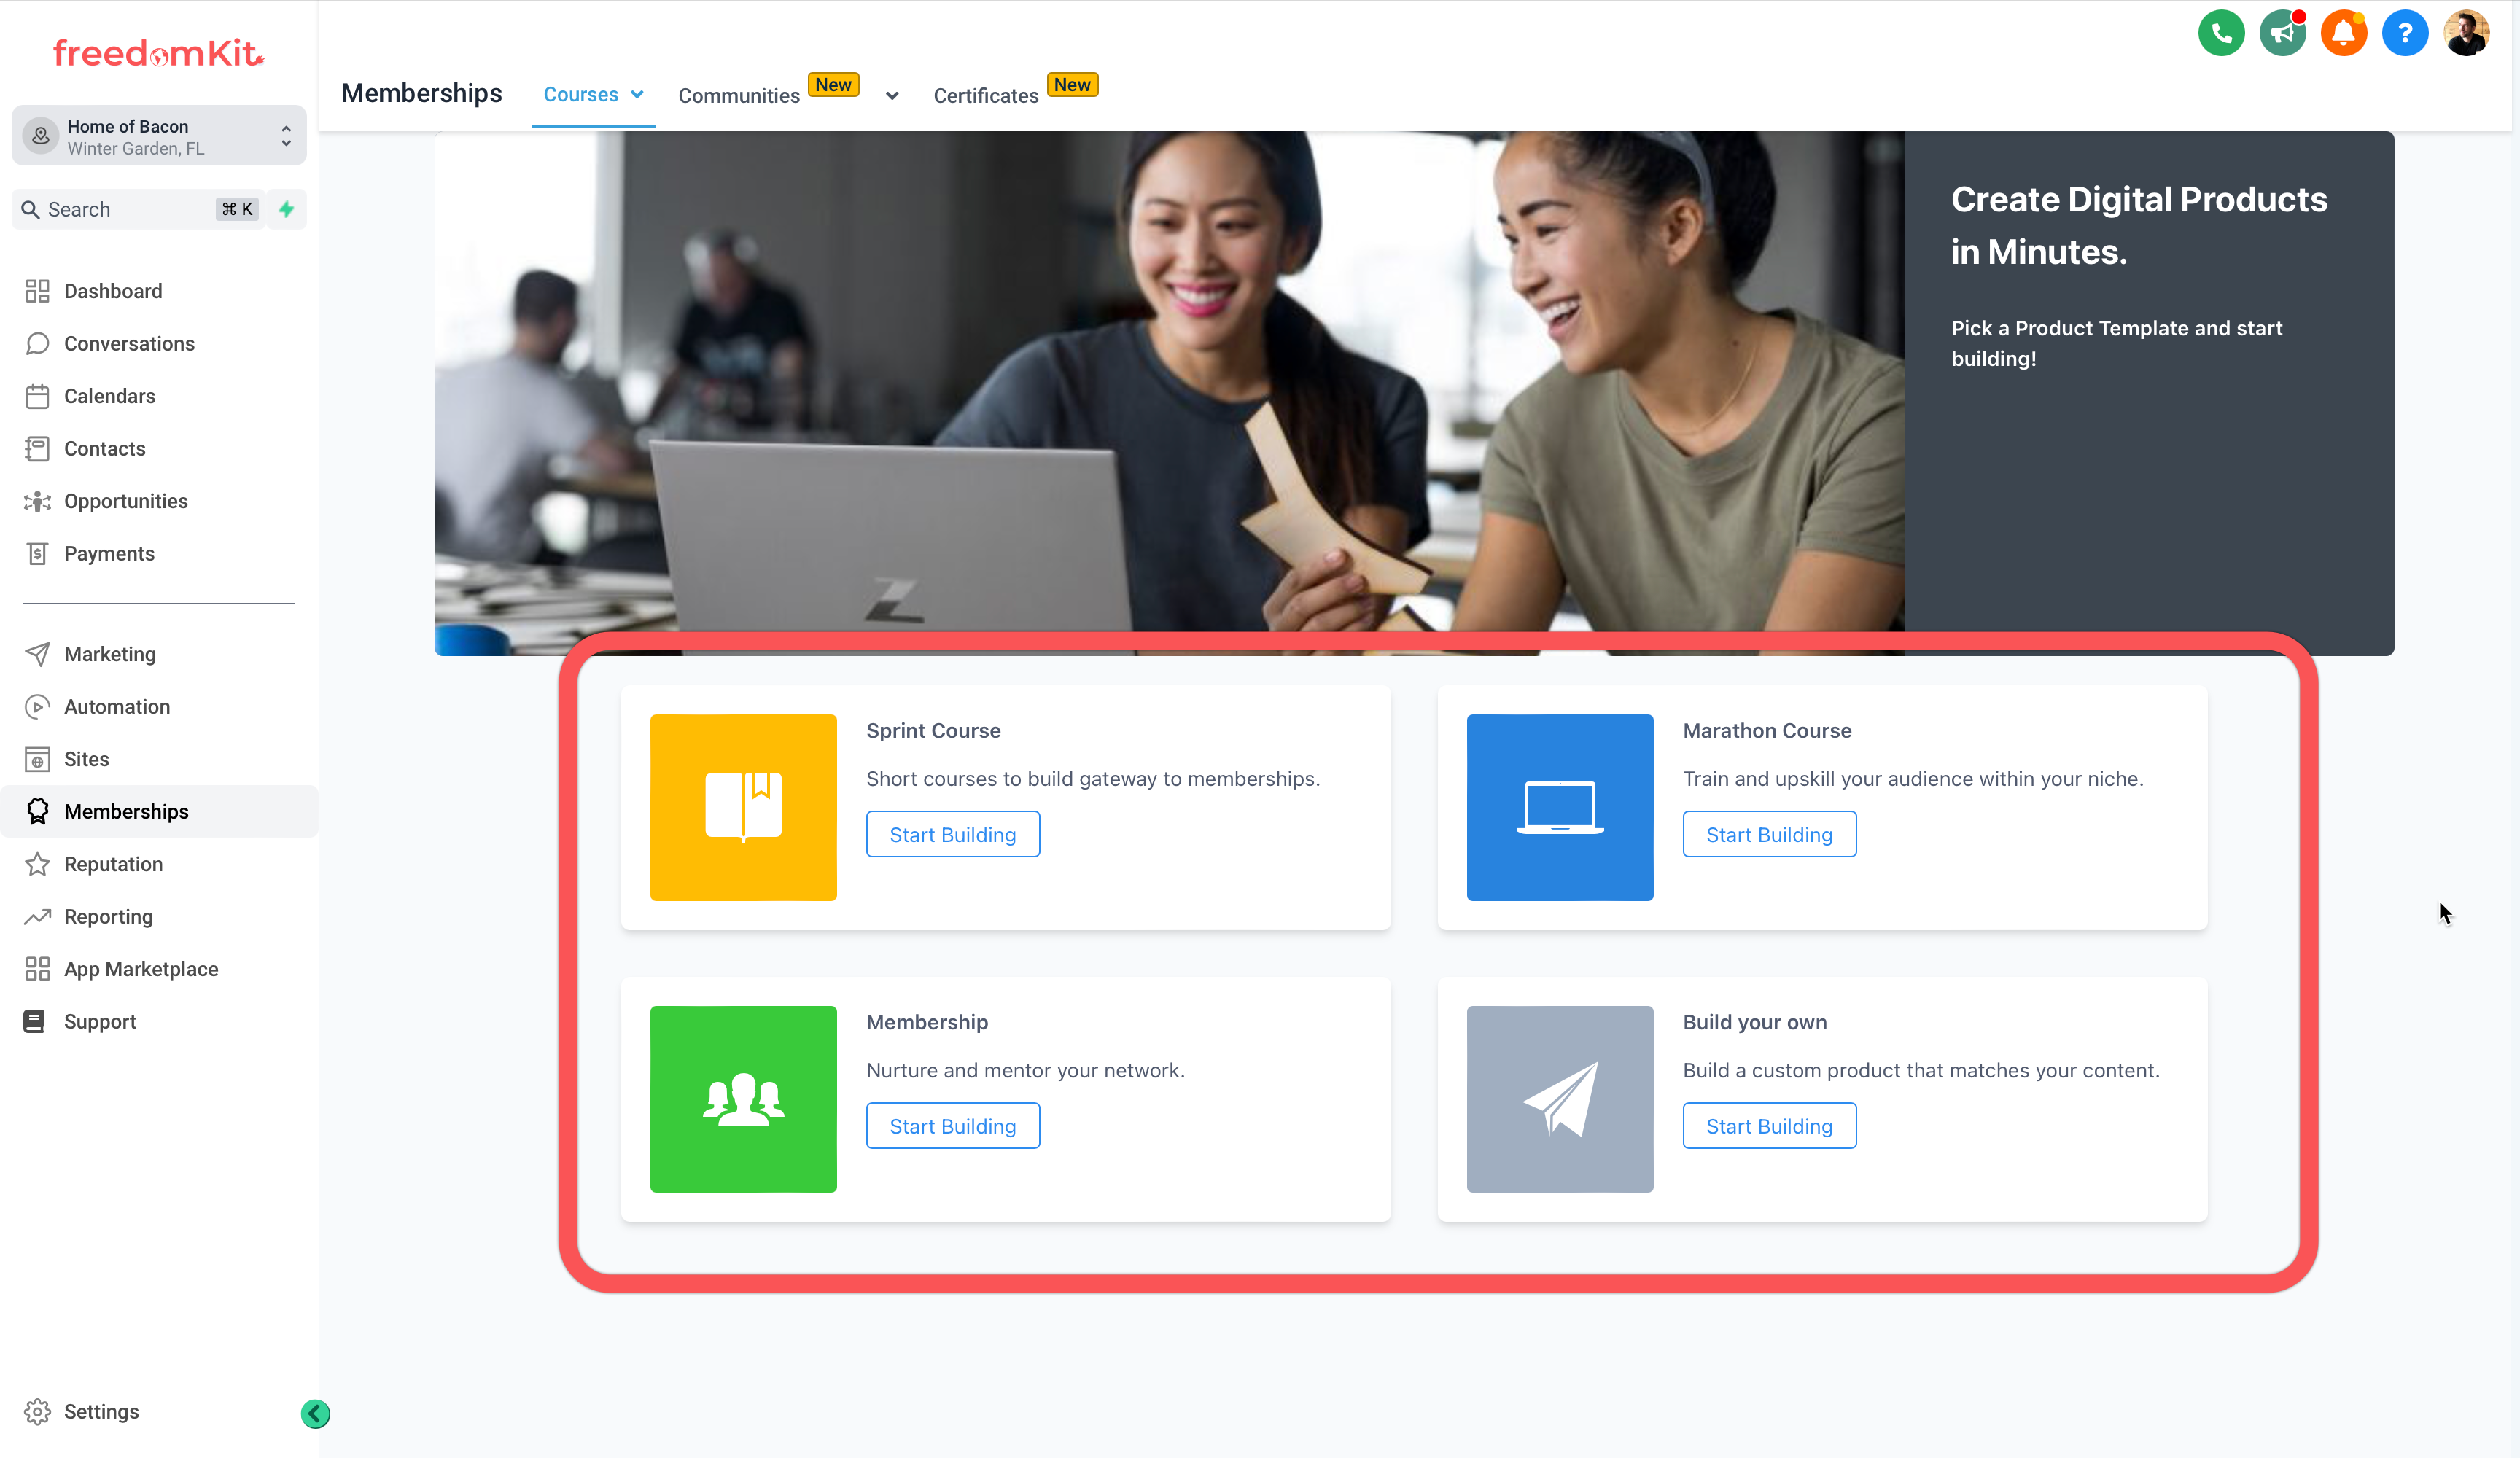
Assuming you are not coming from Kajabi, you may click "Start from Scratch" to begin your course creation process. We provide a few templates for courses that you may want to begin with. For this example, we will simply select "Build Your Own":
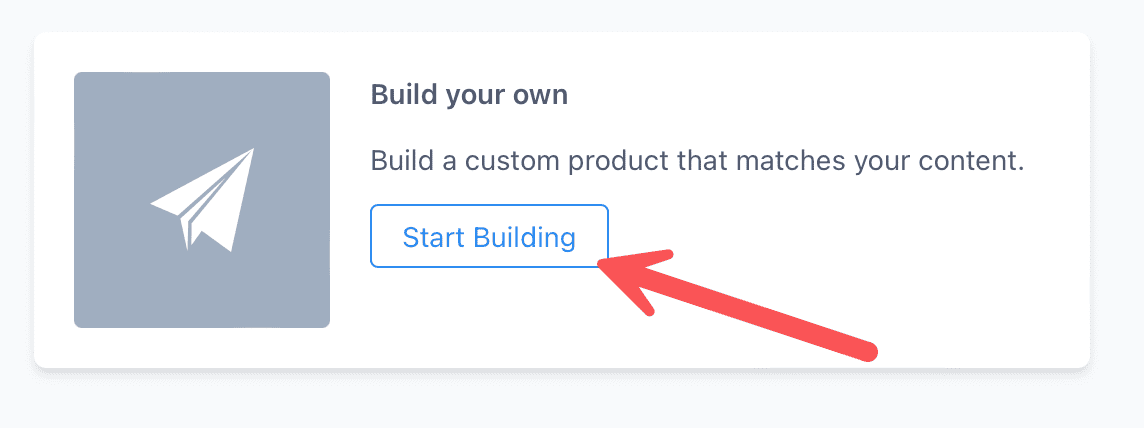
Click "Start Building":
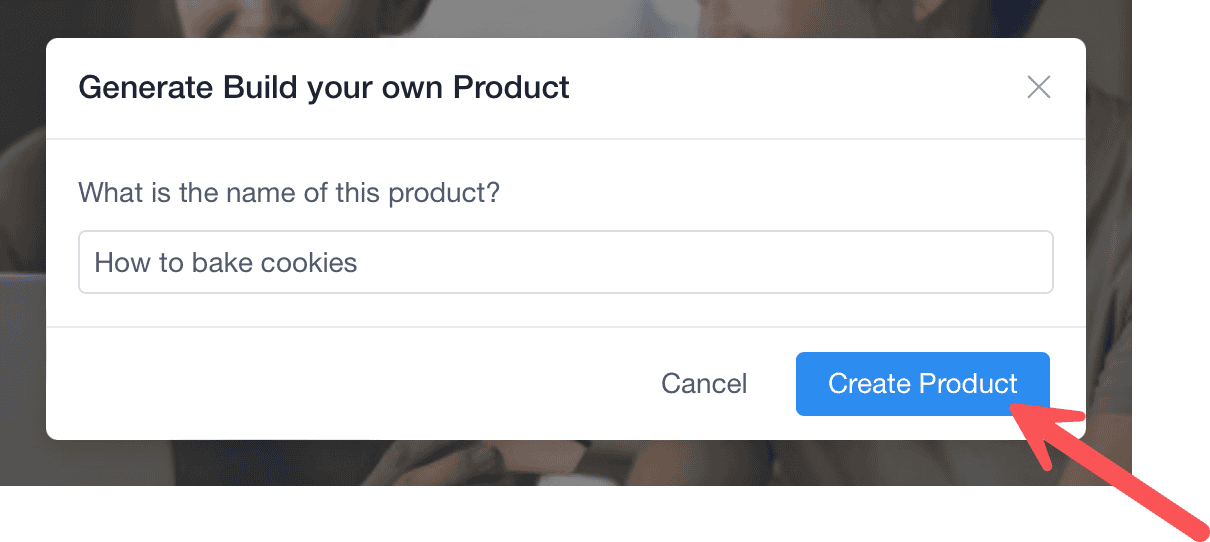
Give your course a name and click "Create Product":
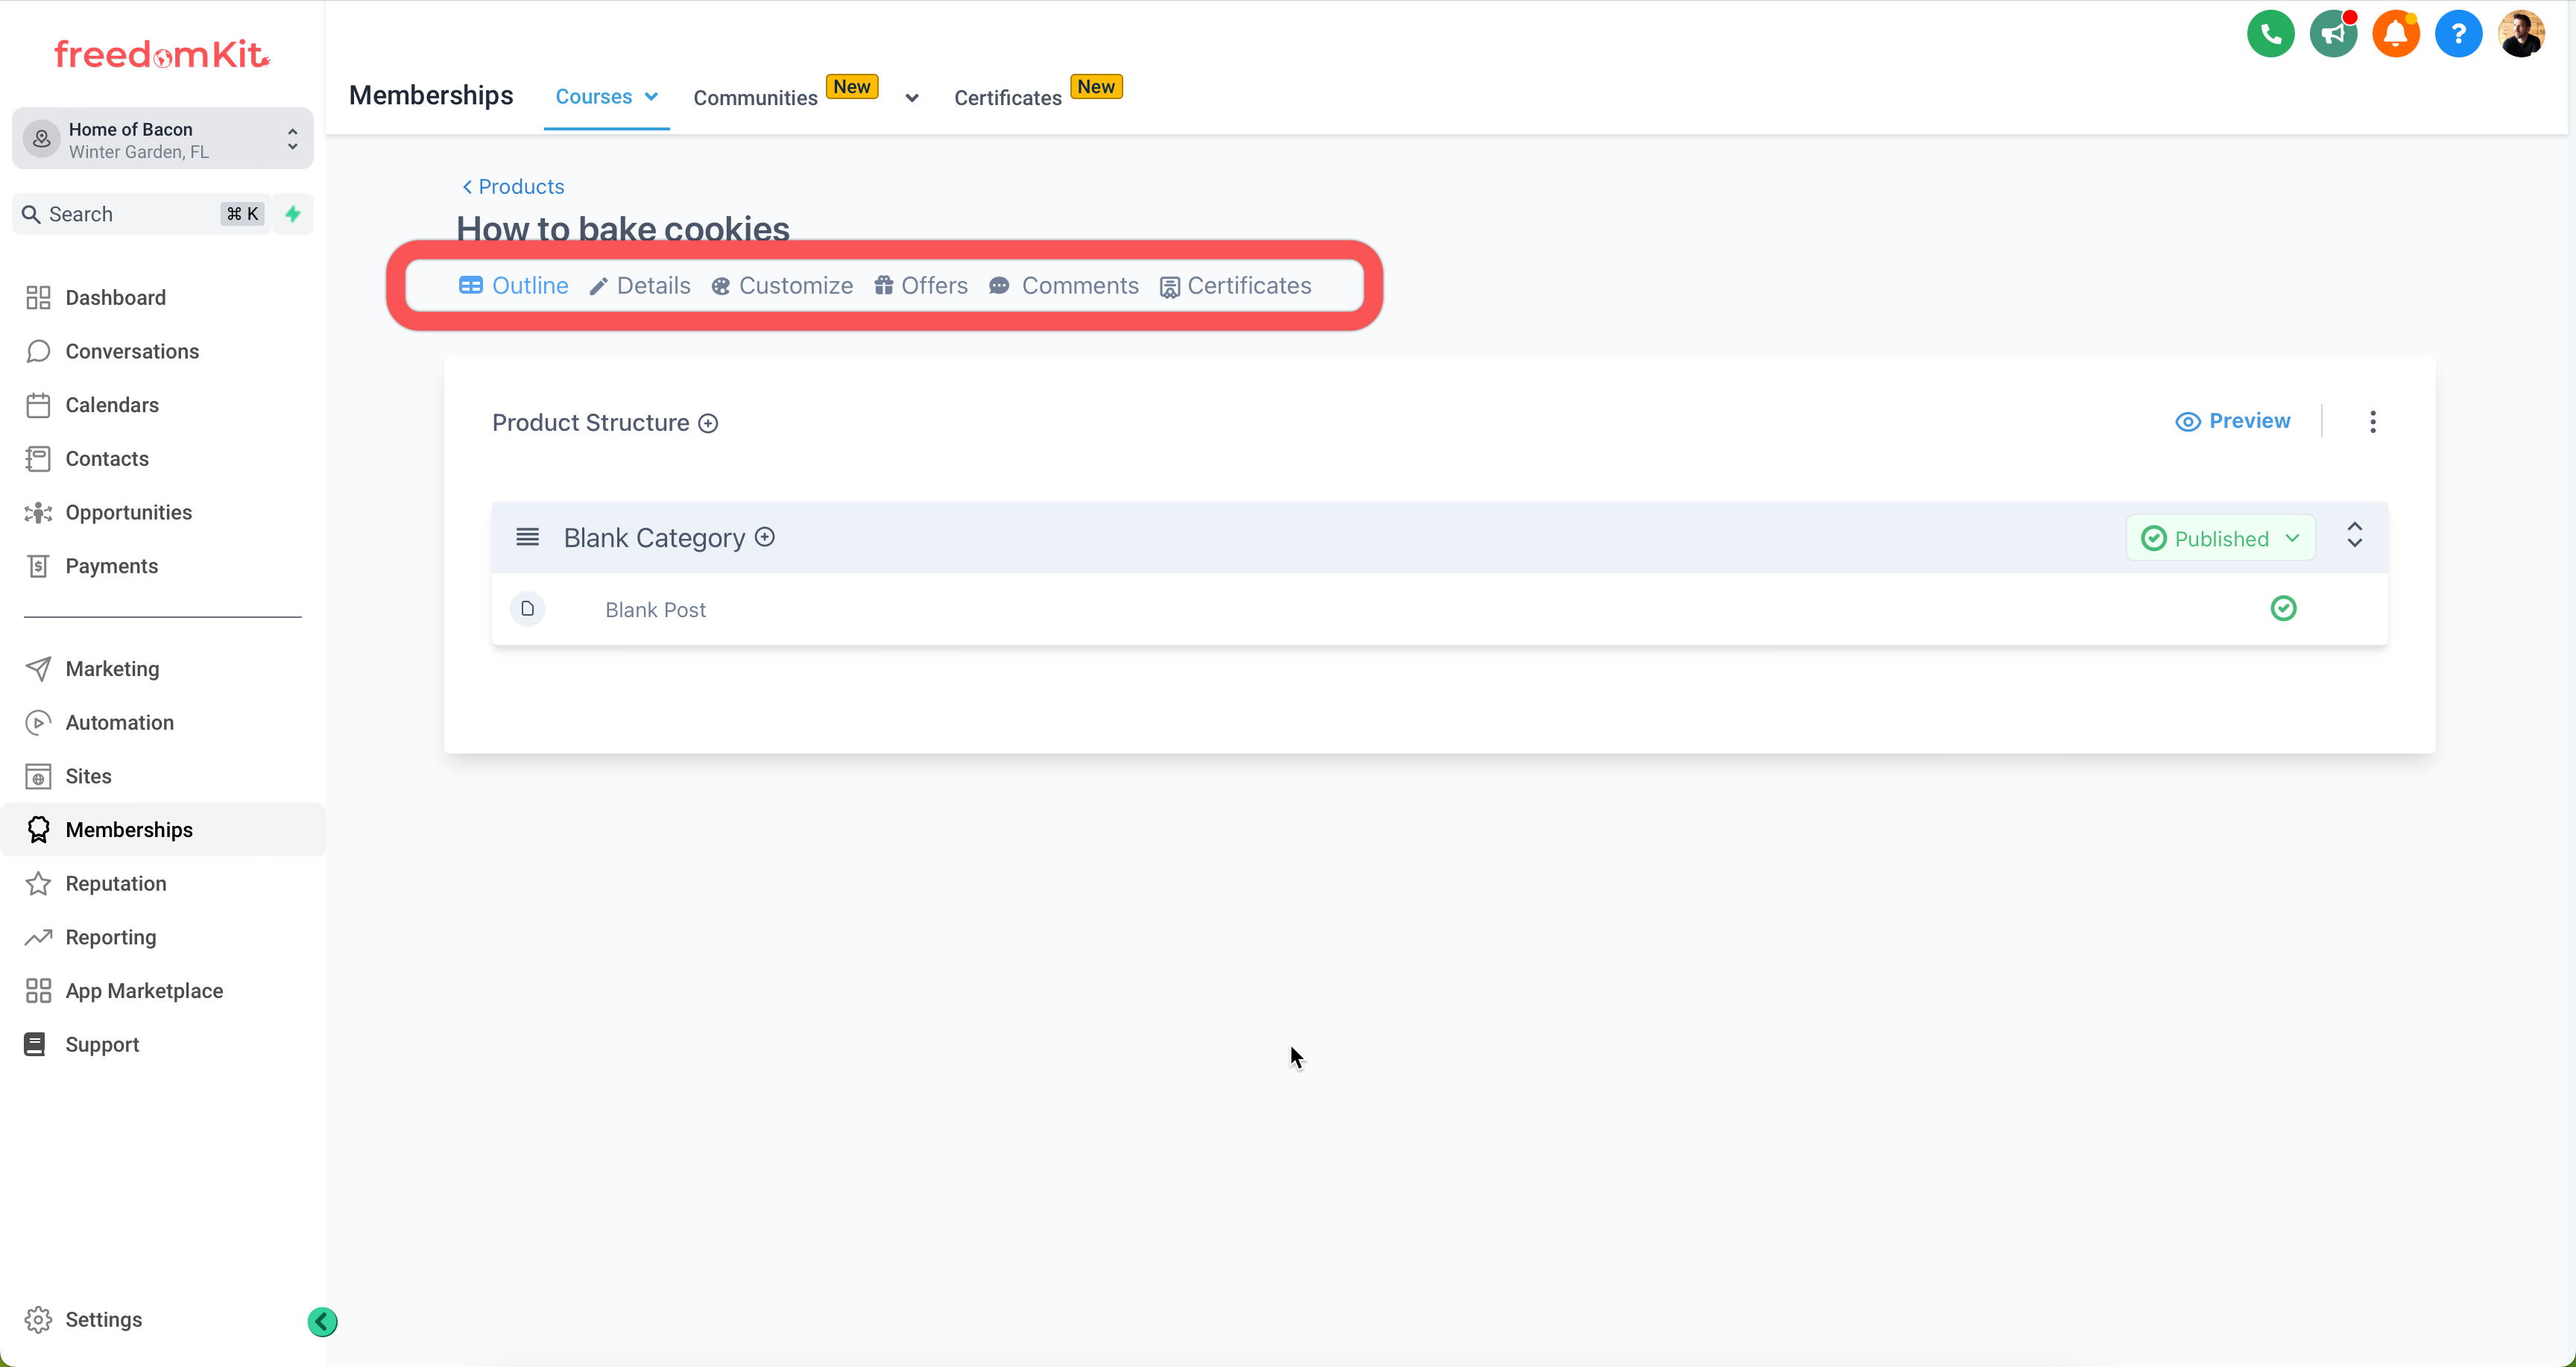
On the main course creation screen, you will see several tabs under the course title. We will walk through each of these tabs together:
Create Your Course Outline
Creating an online course is simple inside Freedomkit! We offer a 3-level curriculum: Categories, Sub-Categories, and Lessons: 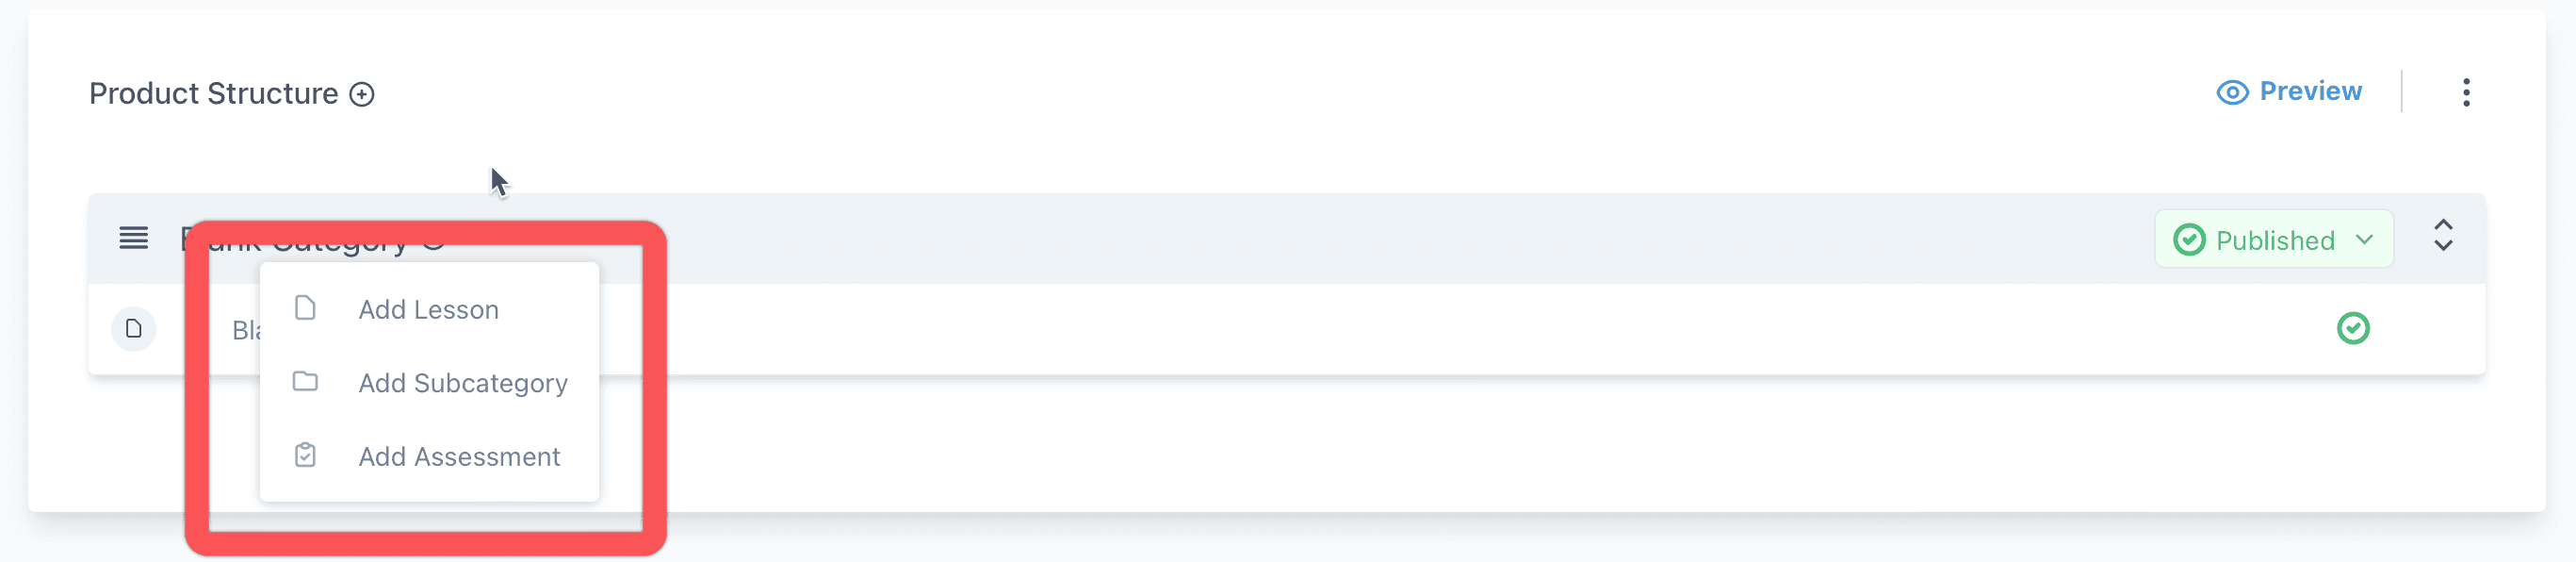
Use this to guide your course creation. I personally like to map out the structure of my course before recording and adding content. That way I know where everything will fit and my course takes natural shape.
Let's add some structure to the course by creating a new Category: 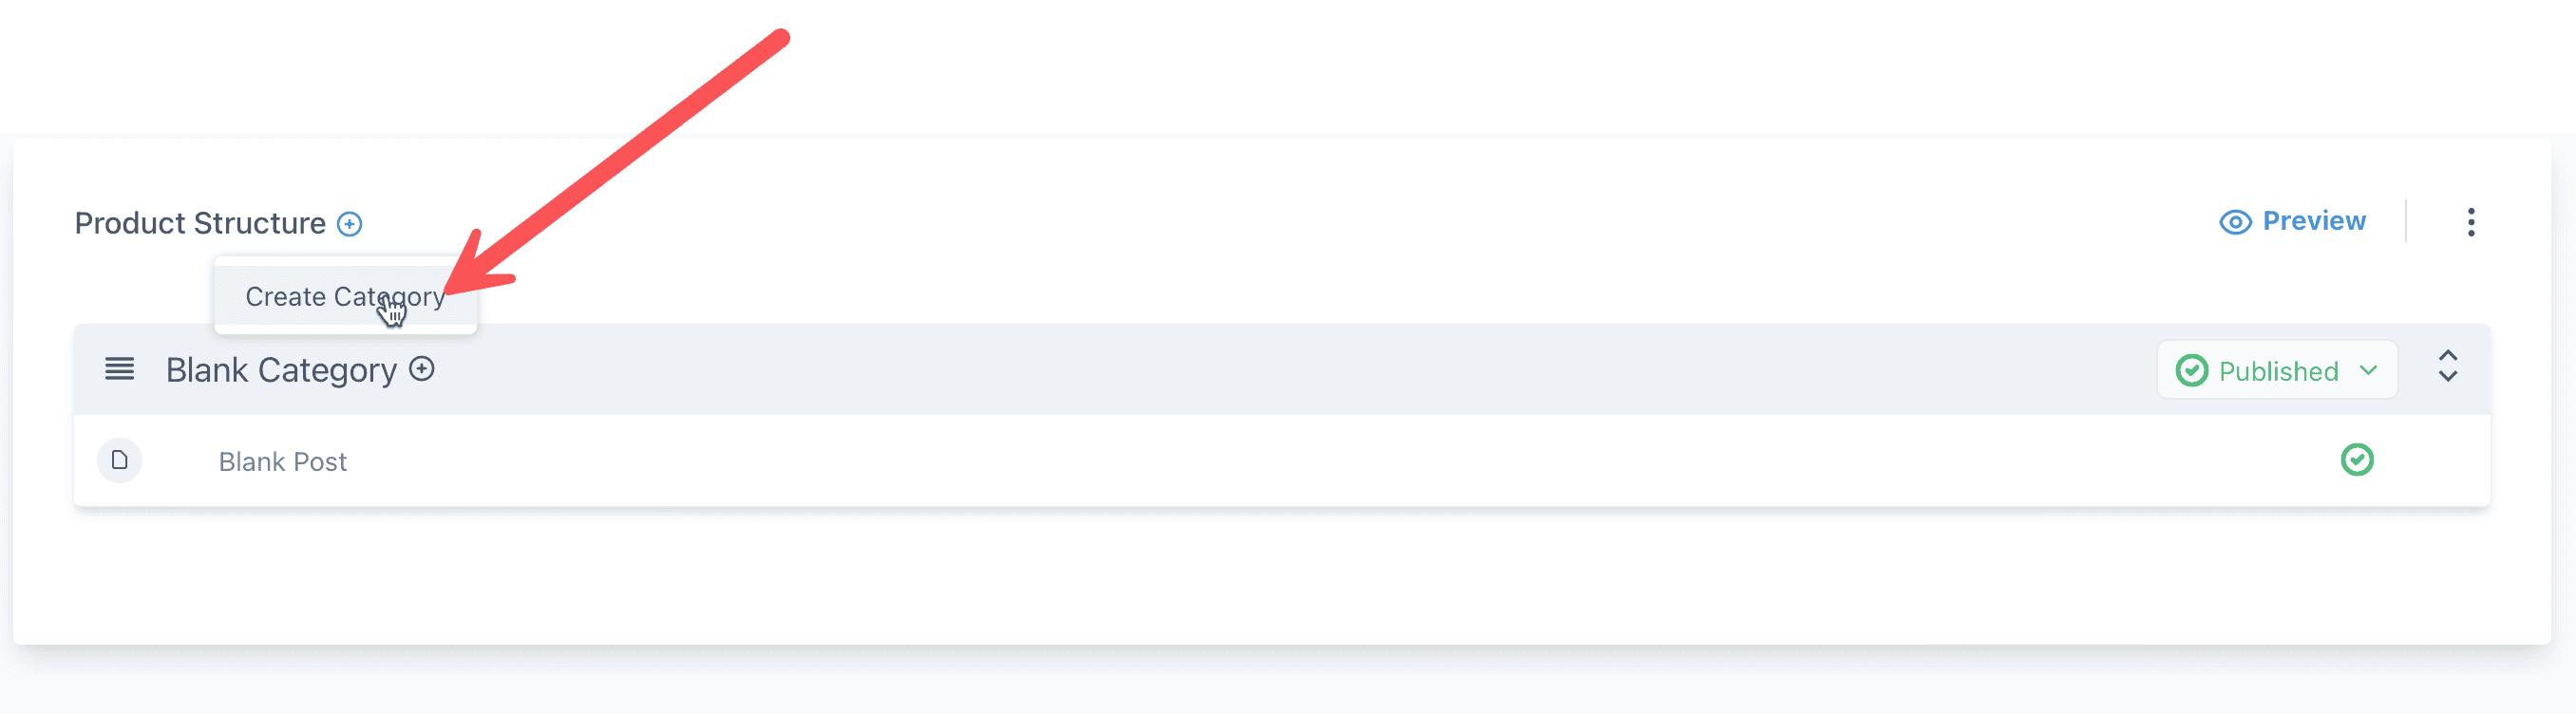
Give your category a name and click save: 
Notice that the first category was automatically named. You can adjust its settings by clicking on the title and making adjustments: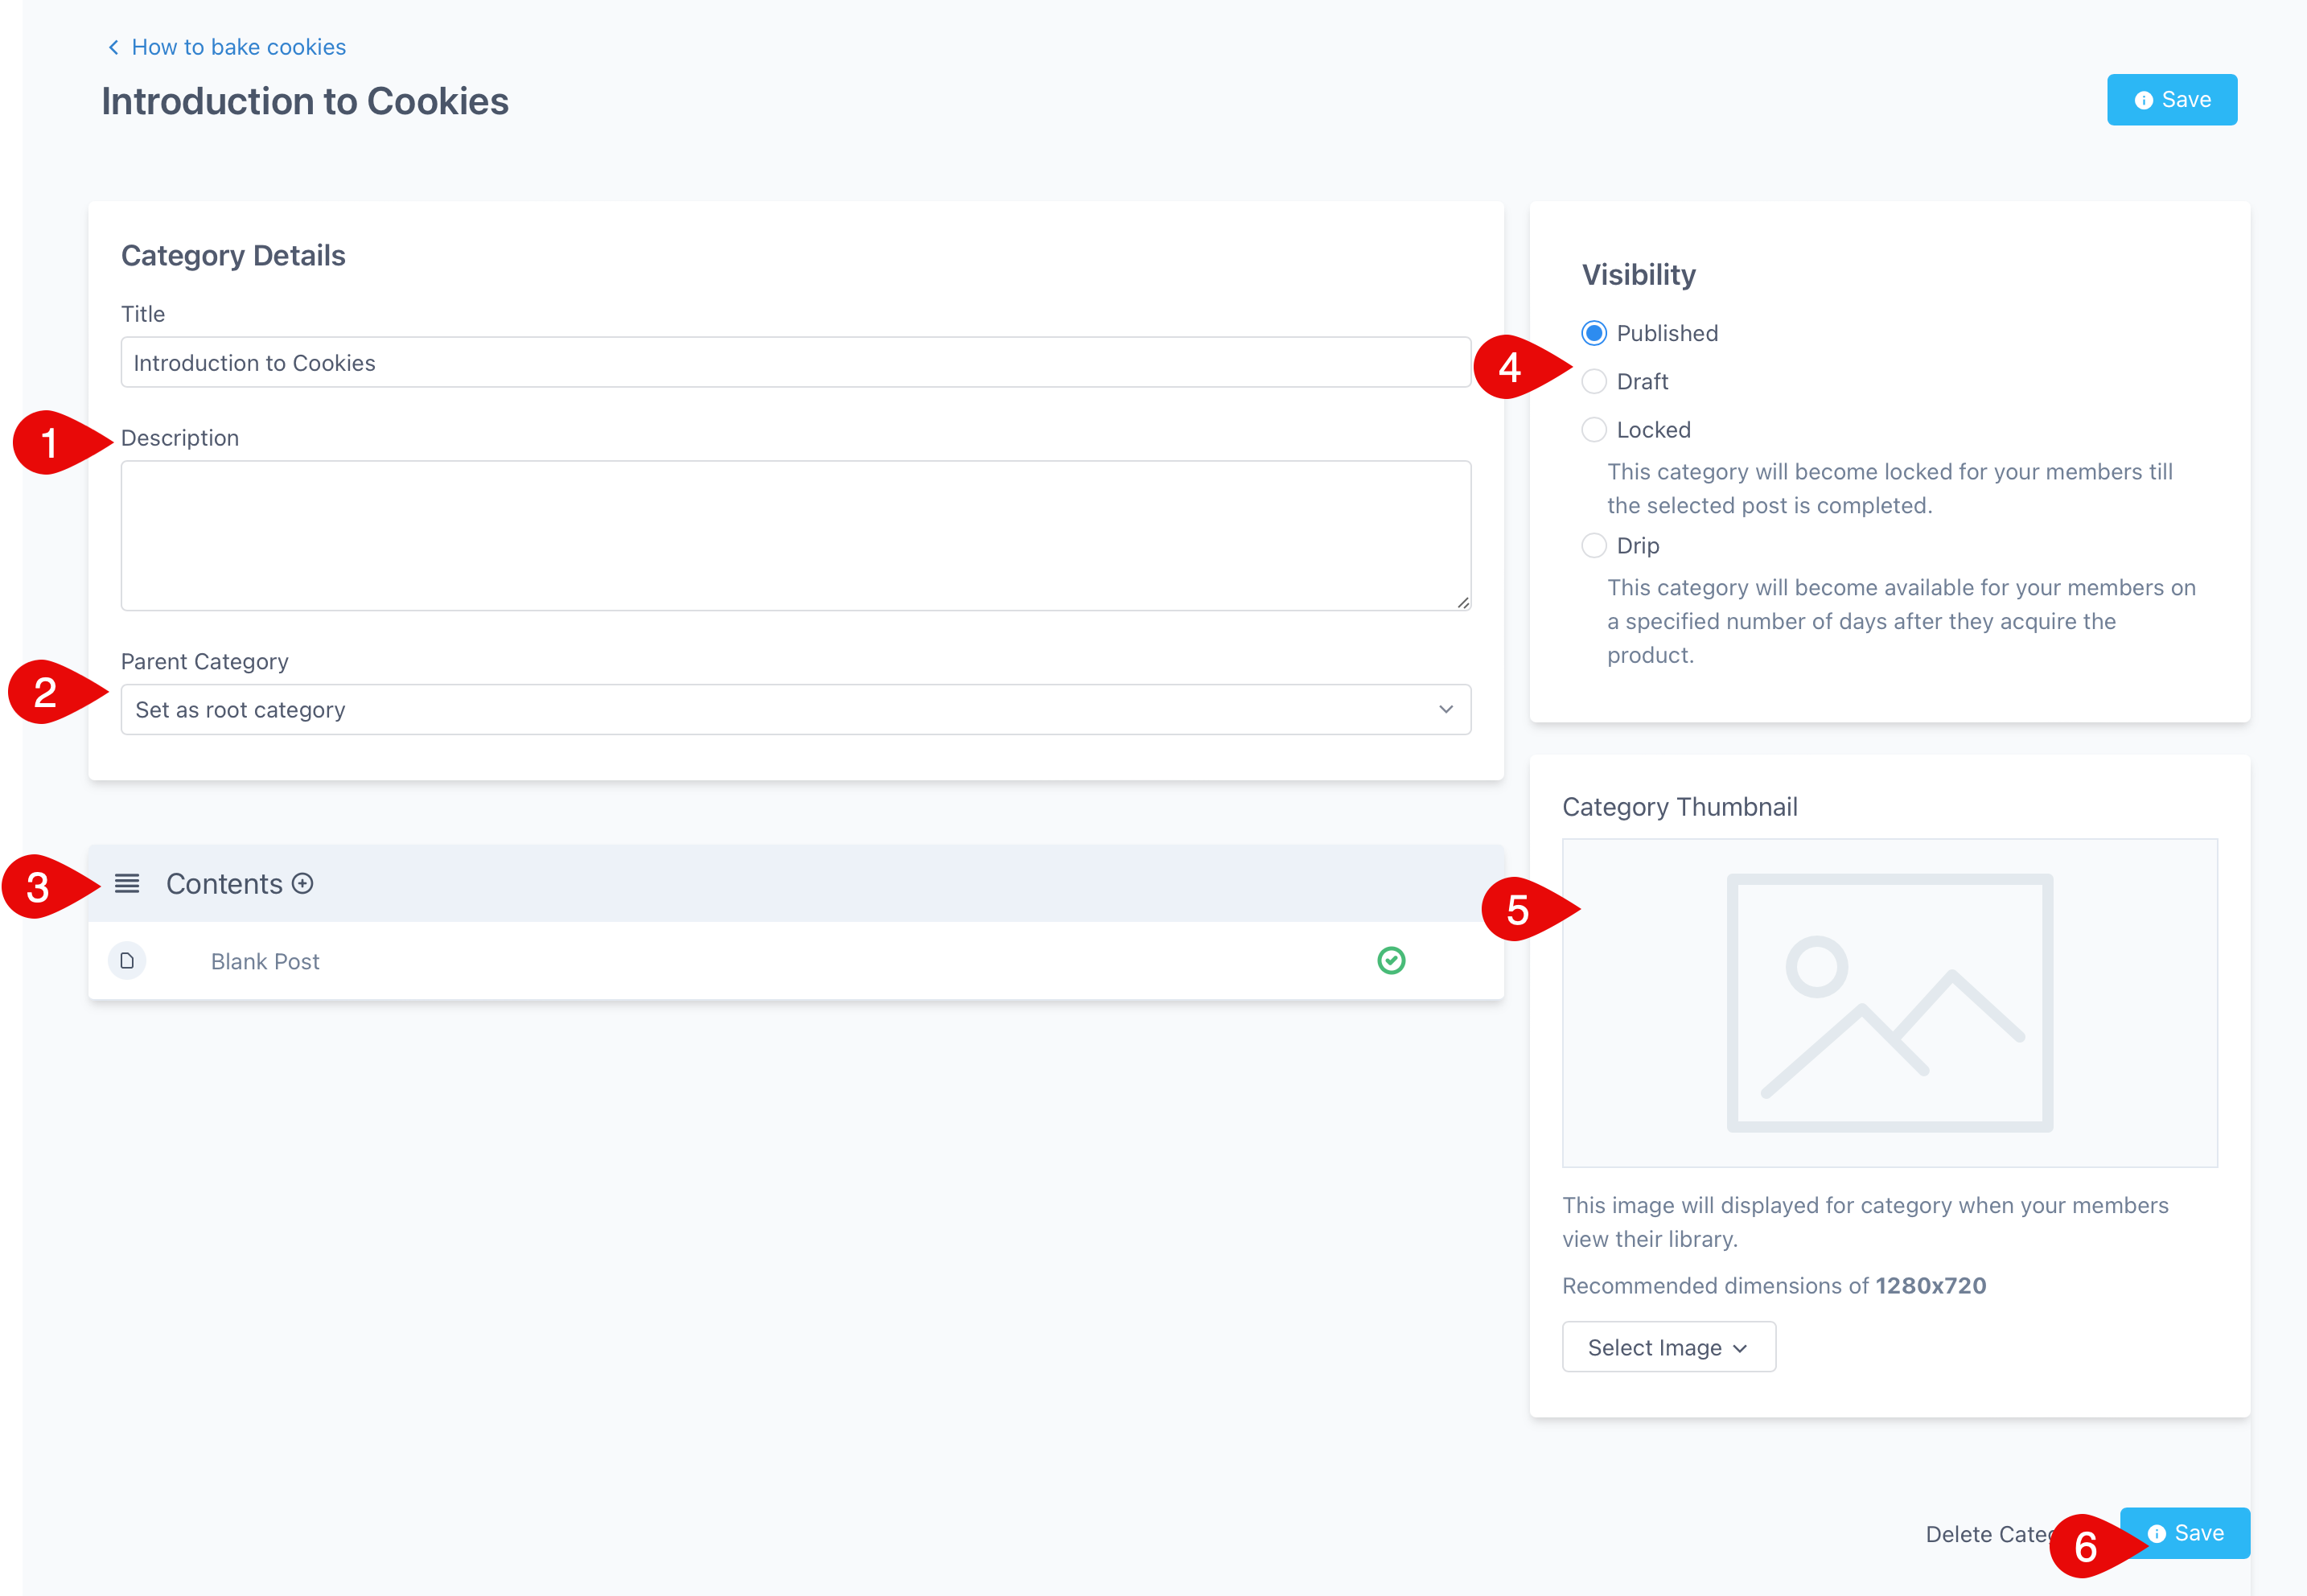
Adjustments you can make:
- The title and description of your category. This is visible to students while navigating the course.
- Parent category. This is if you would like to turn the category into a "Sub category" and nest it underneath a larger category.
- Contents. This is one way of adding lessons to the category. I prefer to add lessons in the main course screen, which we will cover soon.
- Visibility. Decide how you want the content in this category to be accessible:
- Published. Contents of this category are available to all students of the course
- Draft. No one can access this content yet. This is helpful for lessons that are not finished yet.
- Locked. Content must be unlocked by completing pre-requisites. This can be useful if you choose to use quizzes or assignments to gate your students' understanding before moving on.
- Drip. Choose how many days after enrollment this category's content is available. Useful when you want to release content every day, week, etc.
- Category Thumbnail. You may optionally create artwork to represent each category in your course.
- Click Save to keep your changes.
Adding Lessons to your Course
Heading back to the main course outline screen, you can click the plus button to add a lesson into any category: 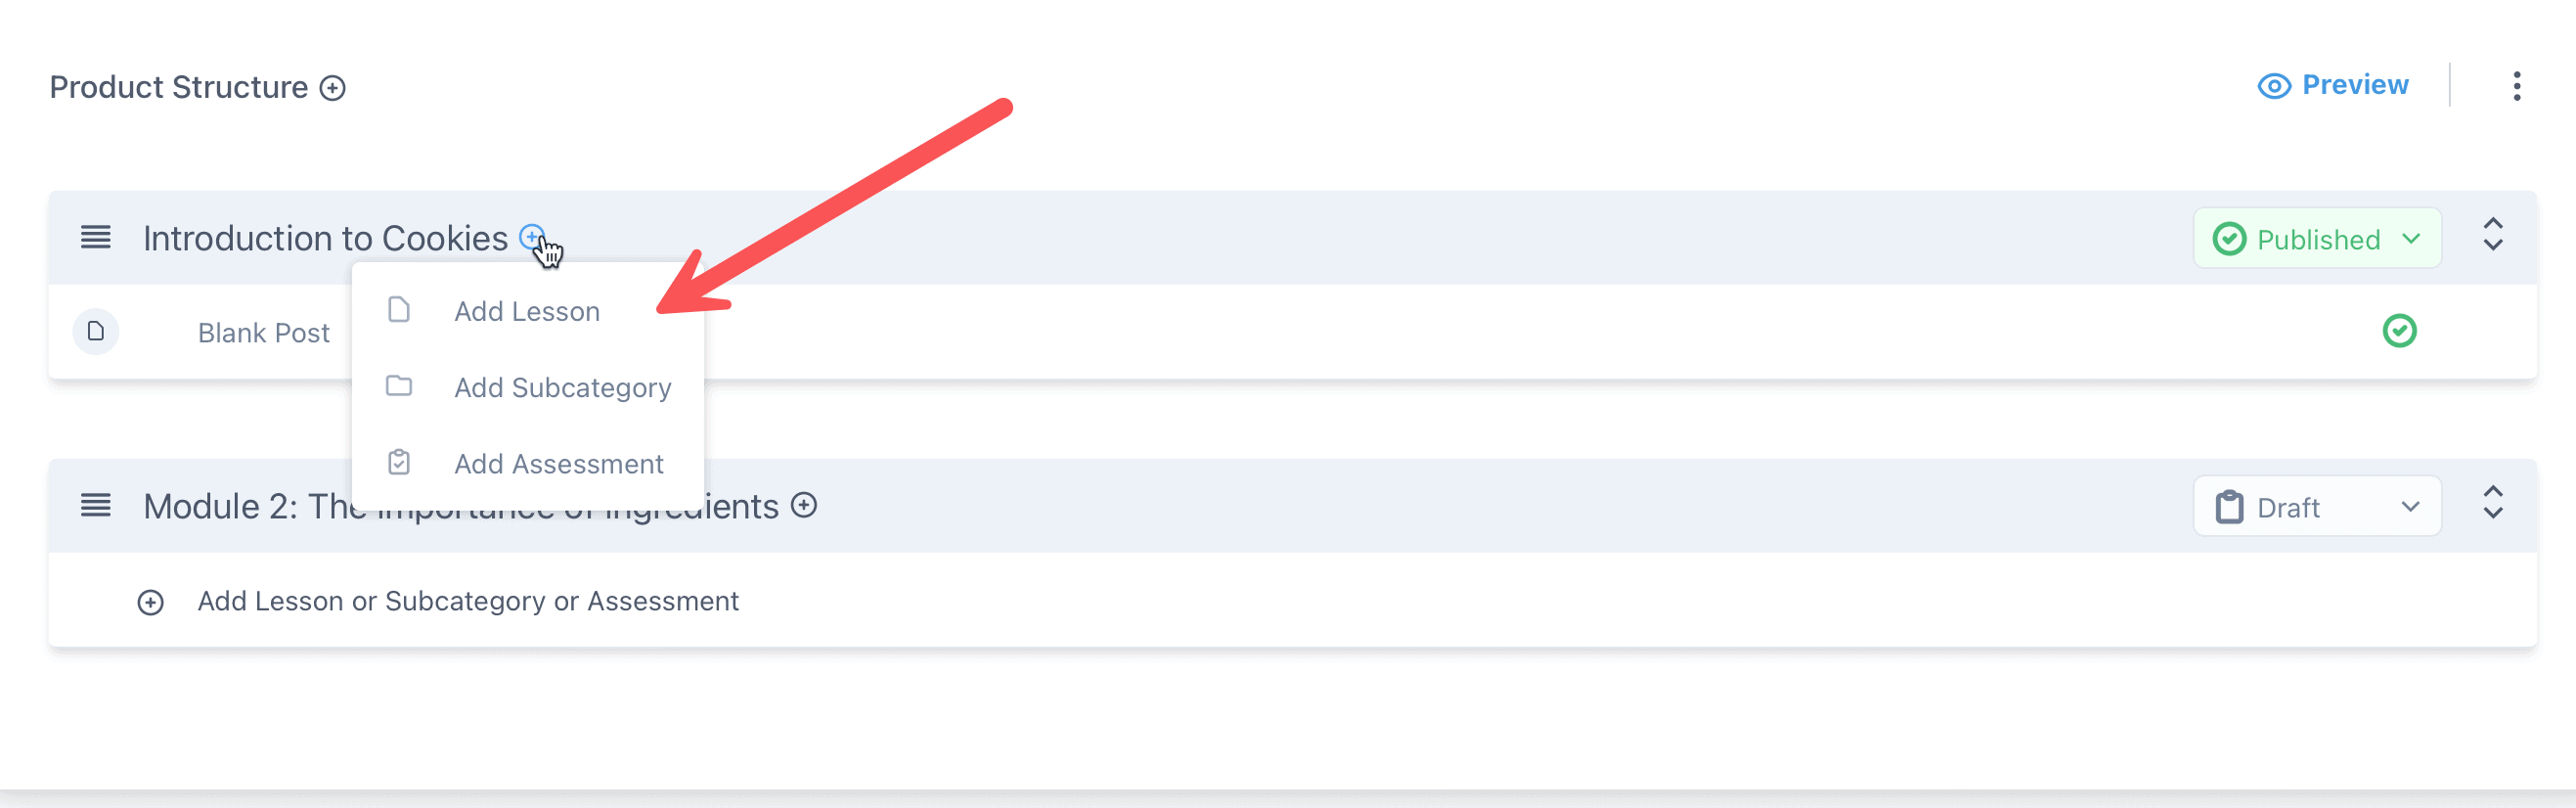
Give your lesson a title and click Save: 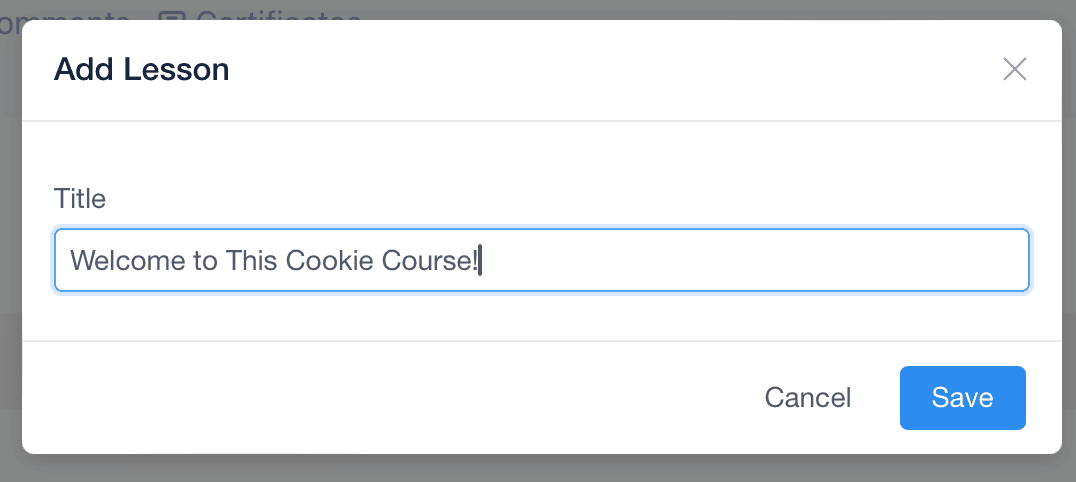
Once inside the lesson, you will have several options to customize your content: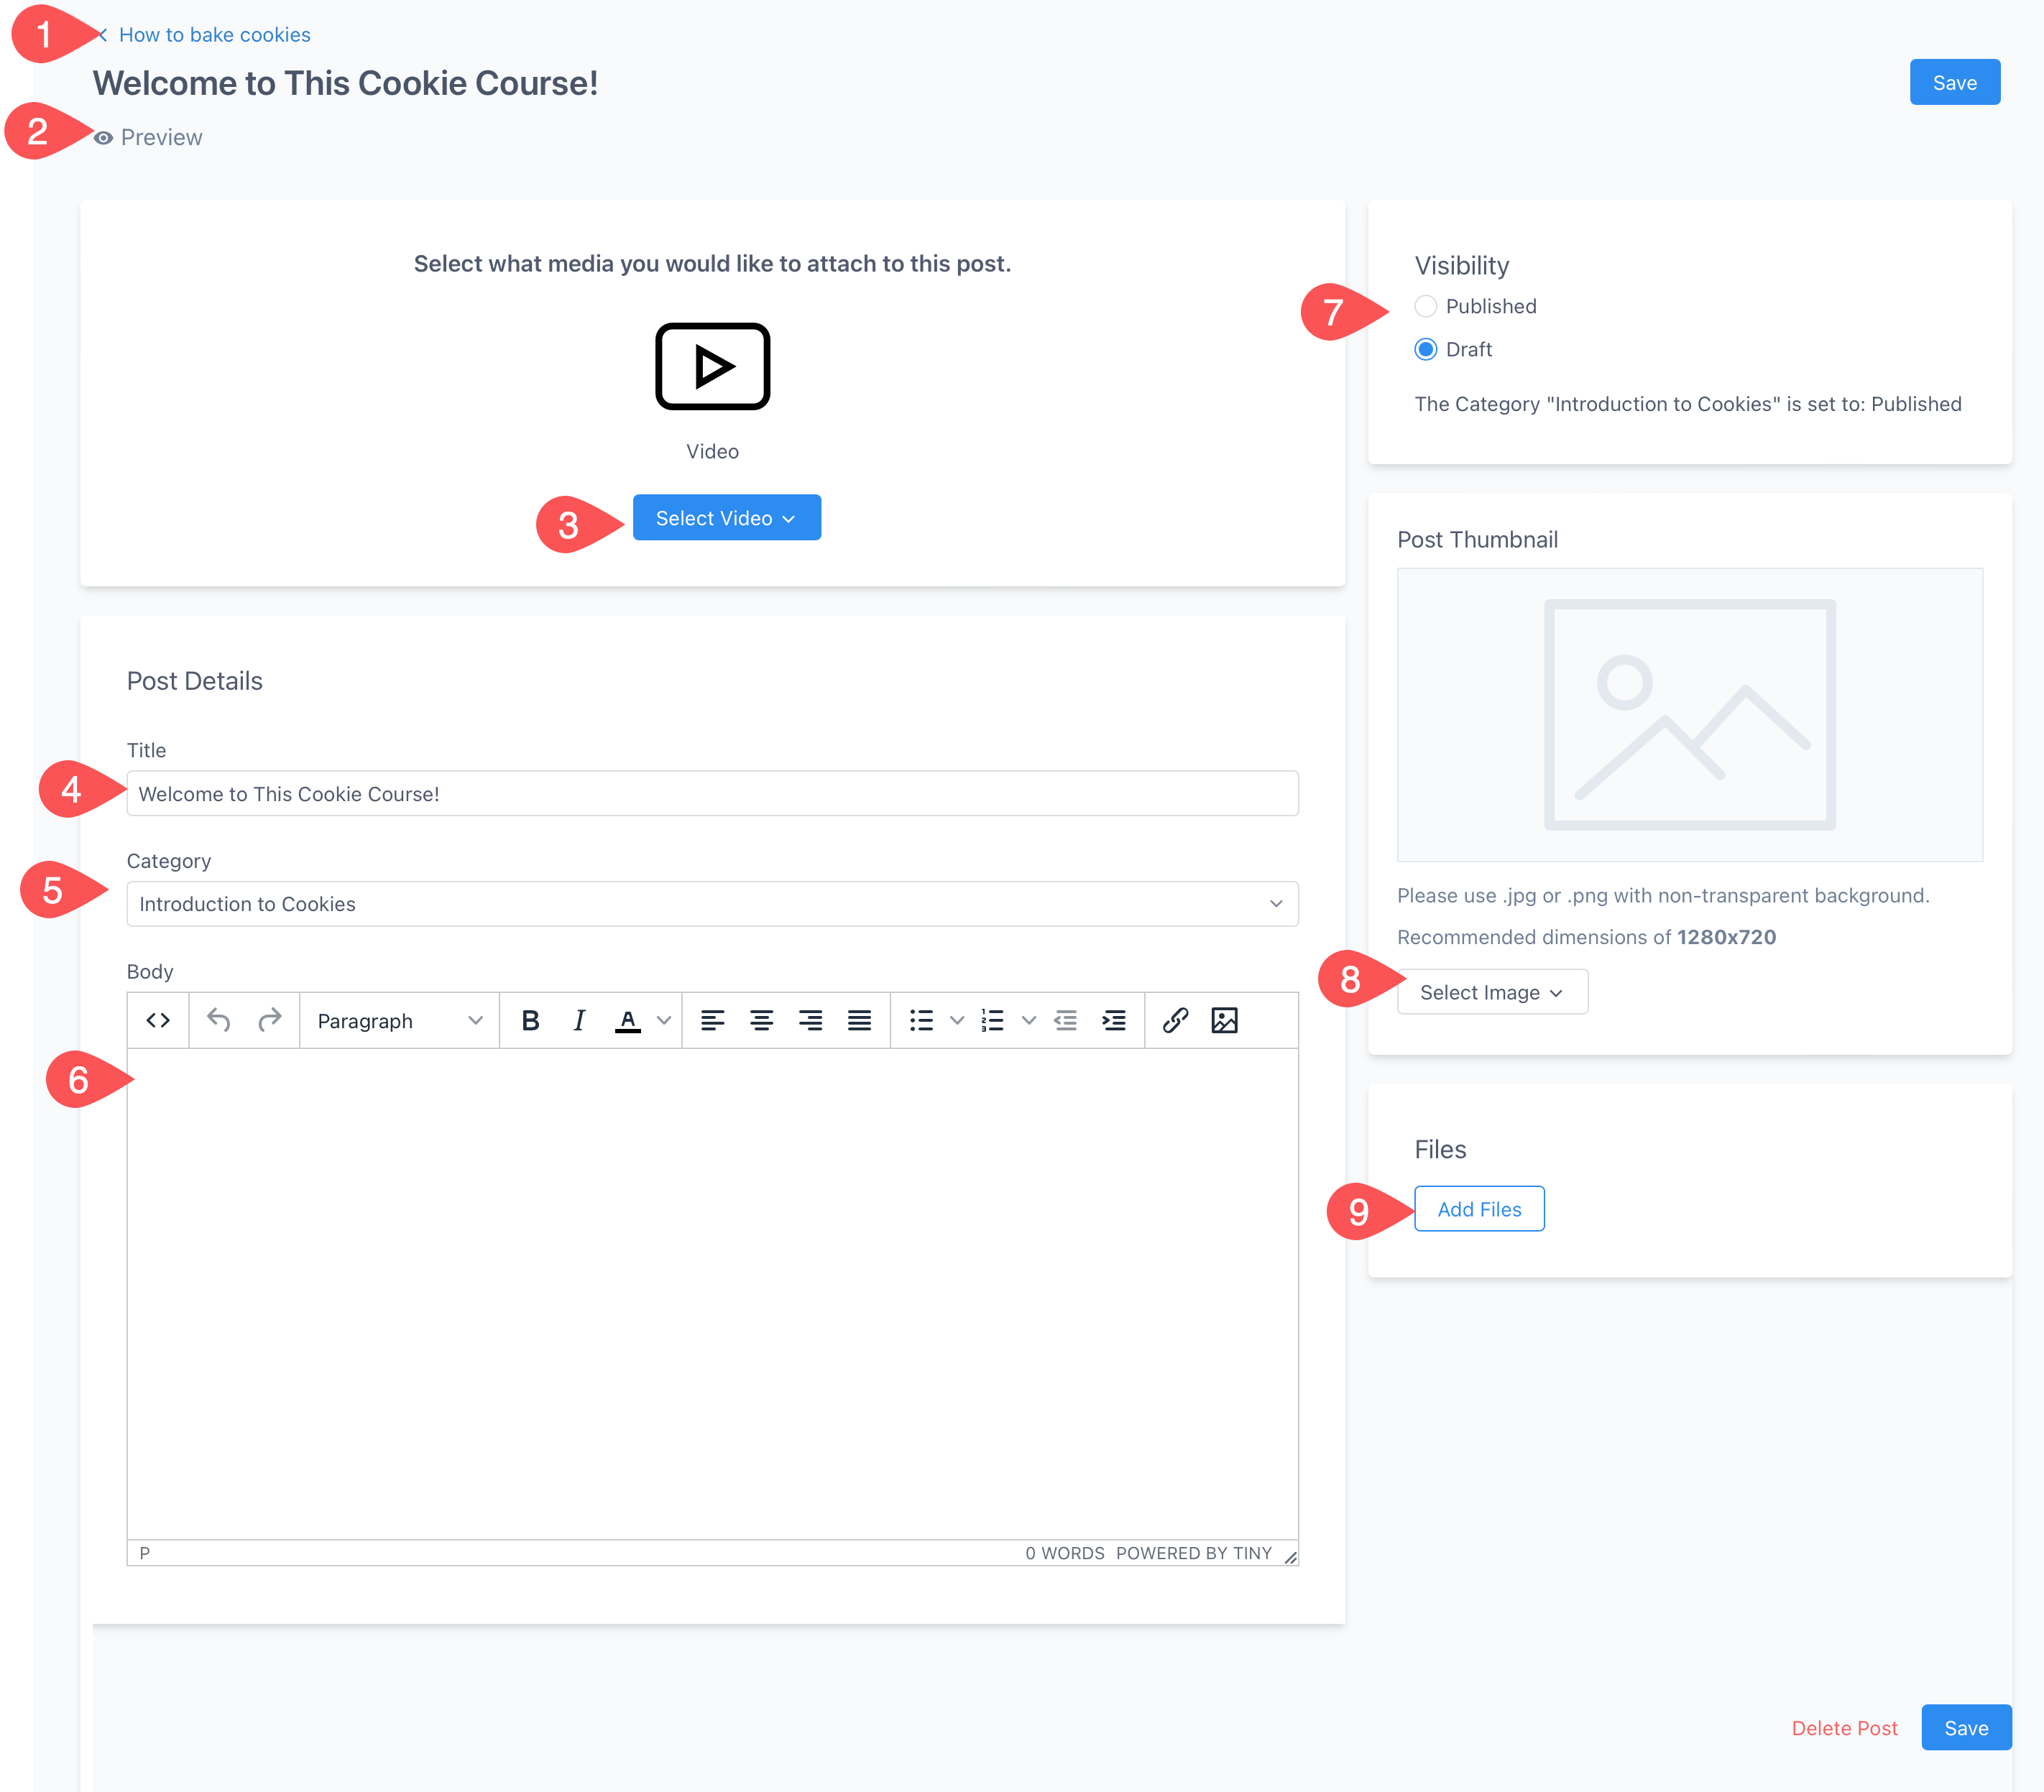
Let's cover each one together:
- This button will navigate you back to the main course outline
- Preview Lesson. Click this at any time to see your lesson on the front end (how your student would experience it)
- Video Upload. Freedomkit is proud to offer unlimited video hosting for your course content. We will have a separate section below covering video uploads
- Lesson Title
- Lesson Category. You can organize your lesson to different categories here.
- Body. This is the main content portion of the lesson. You can add images, formatting, even HTML.
- Visibility. When you are ready for the lesson to be live, toggle this to Published.
- Optional post artwork.
- Files Upload. Freedomkit is proud to offer unlimited file storage for PDFs, Images, .zip files, etc. This is perfect for adding downloadable workbooks / companion guides to go along with your course content.
When you are done customizing your course, click save.
Uploading Video Content
Uploading video content is secure, fast, and easy! To begin, click Select Video > Upload New Video: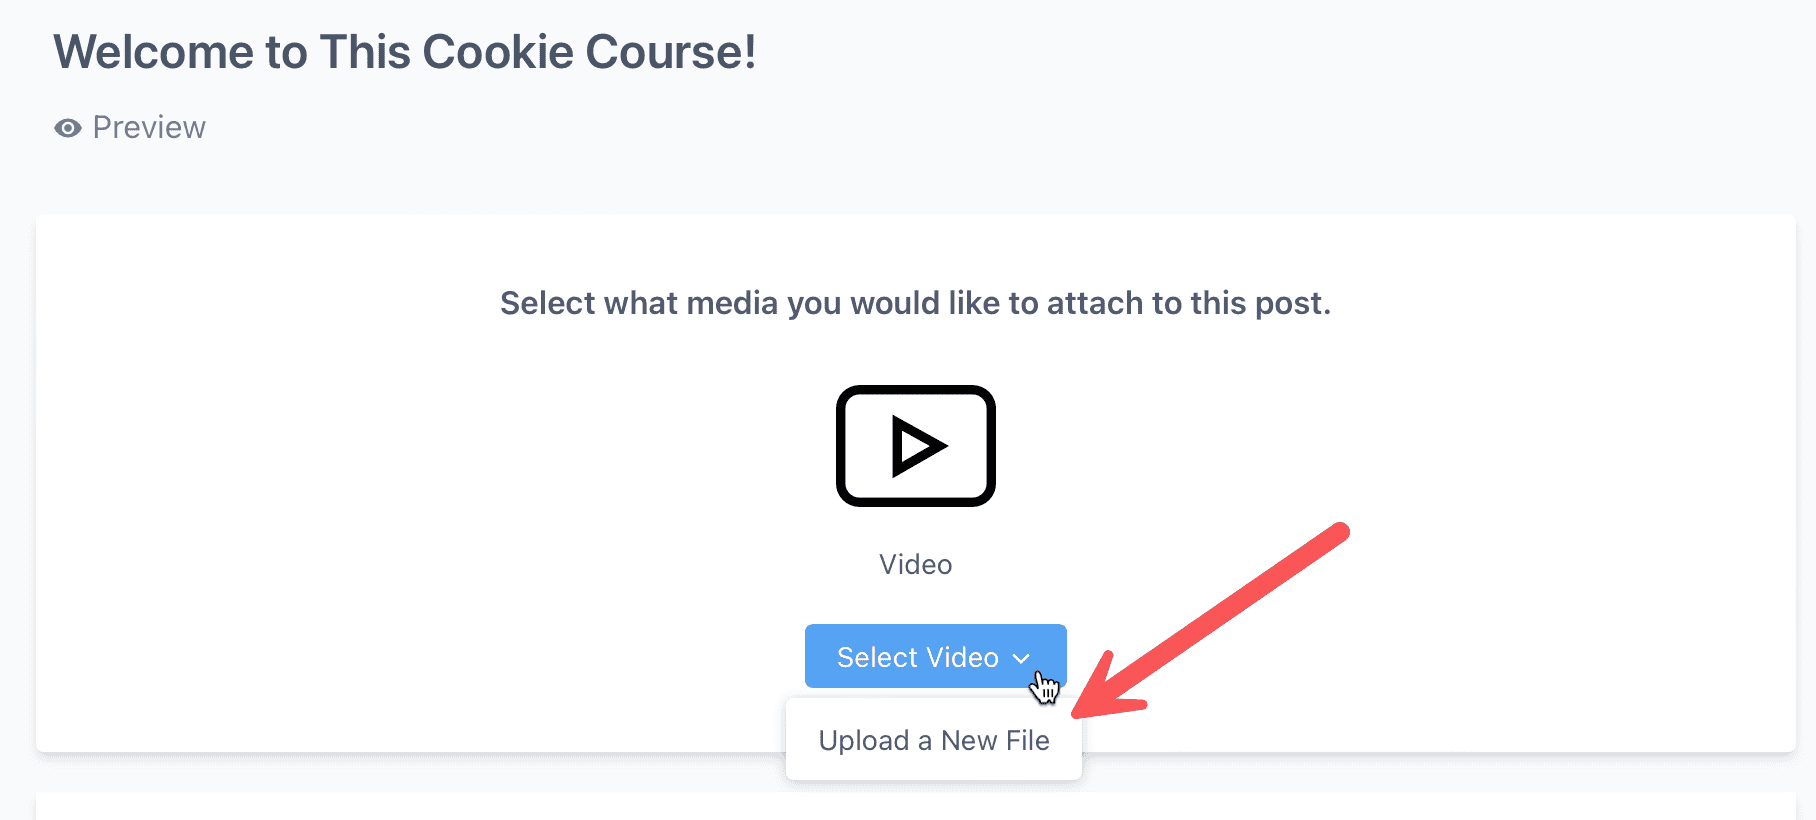
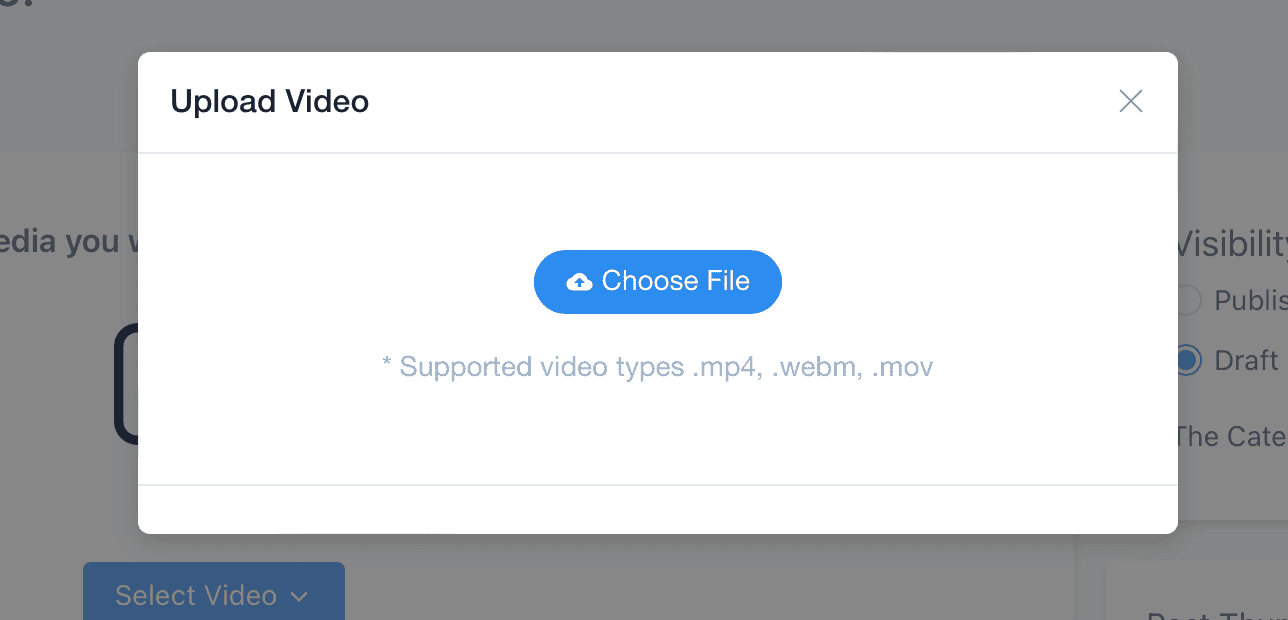
You can either drag and drop a video file onto the upload box, or click it to locate the video you want. I will drag and drop a video file on to upload:
As soon as the video file is dropped onto the upload box, it will begin uploading: 
As soon as the upload is complete, you'll see your video directly in the lesson builder, as well as options to remove the video or download the original again: 
Previewing your lesson
Clicking on the preview button will show the basic lesson design to ensure you are happy before you move on: 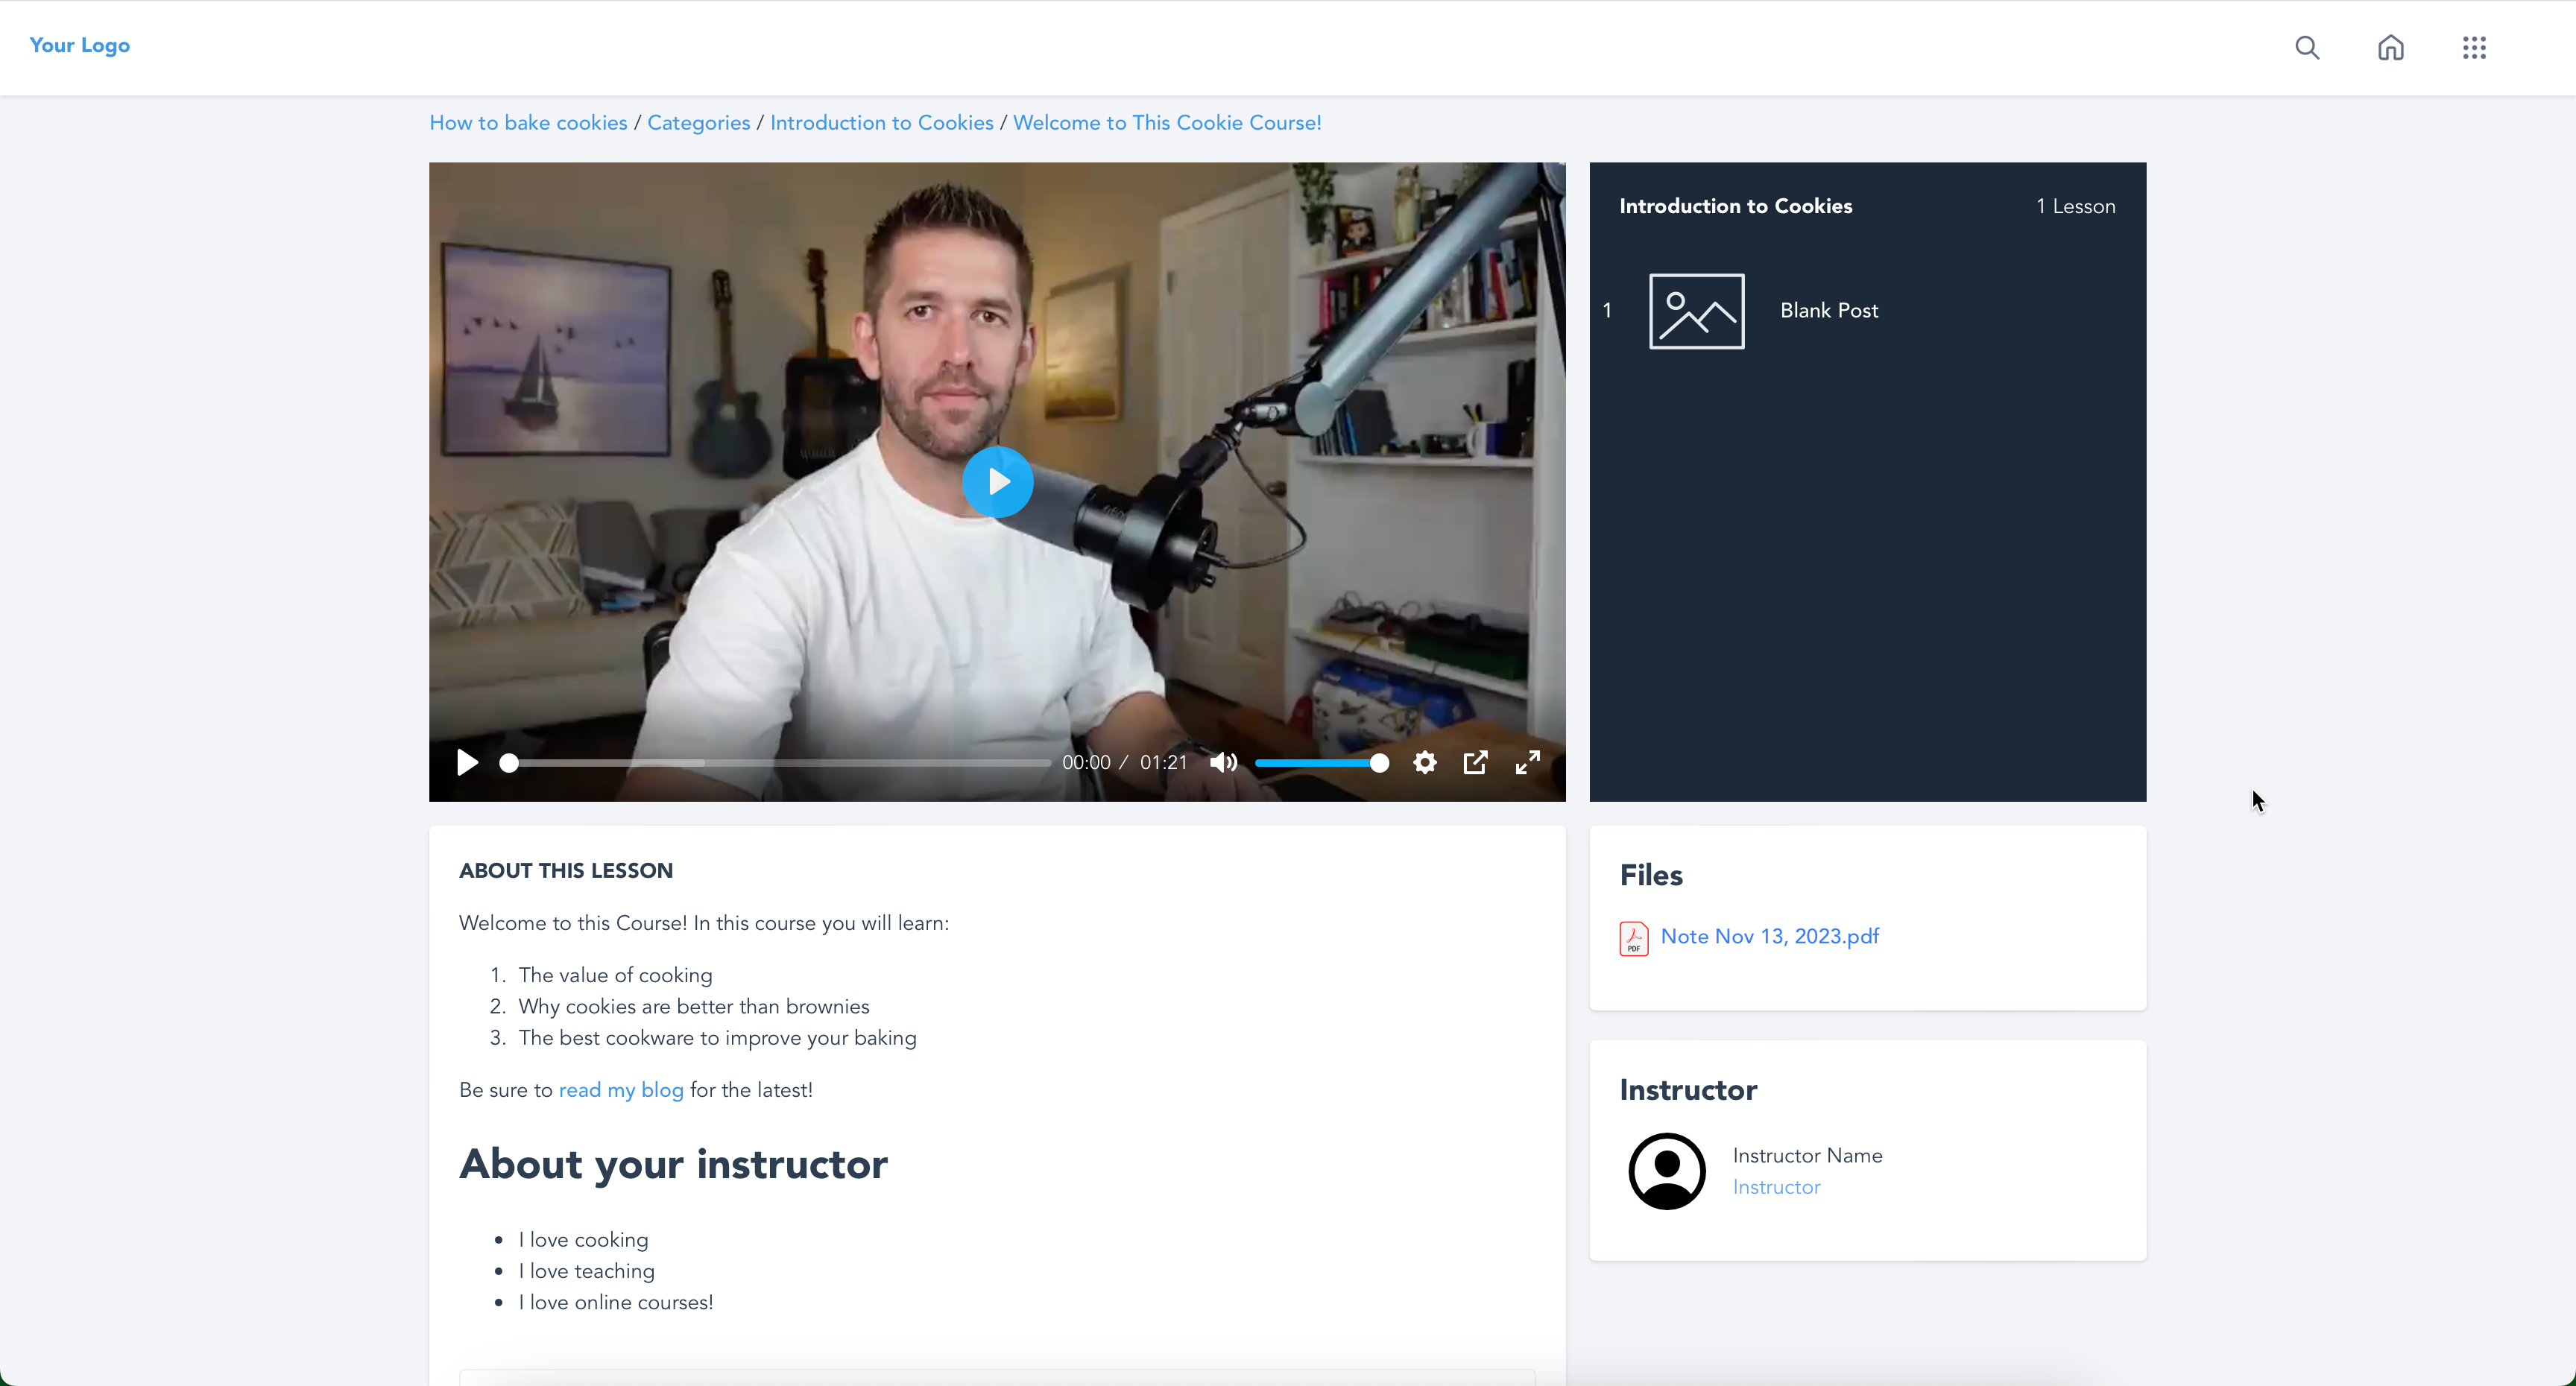
Notice the "instructor" box is empty. We will fill these details in later in the course. But now you know how to customize your lessons! Congratulations!
Organizing Lessons
From the online course outline screen, you can drag your lessons around to organize your content: 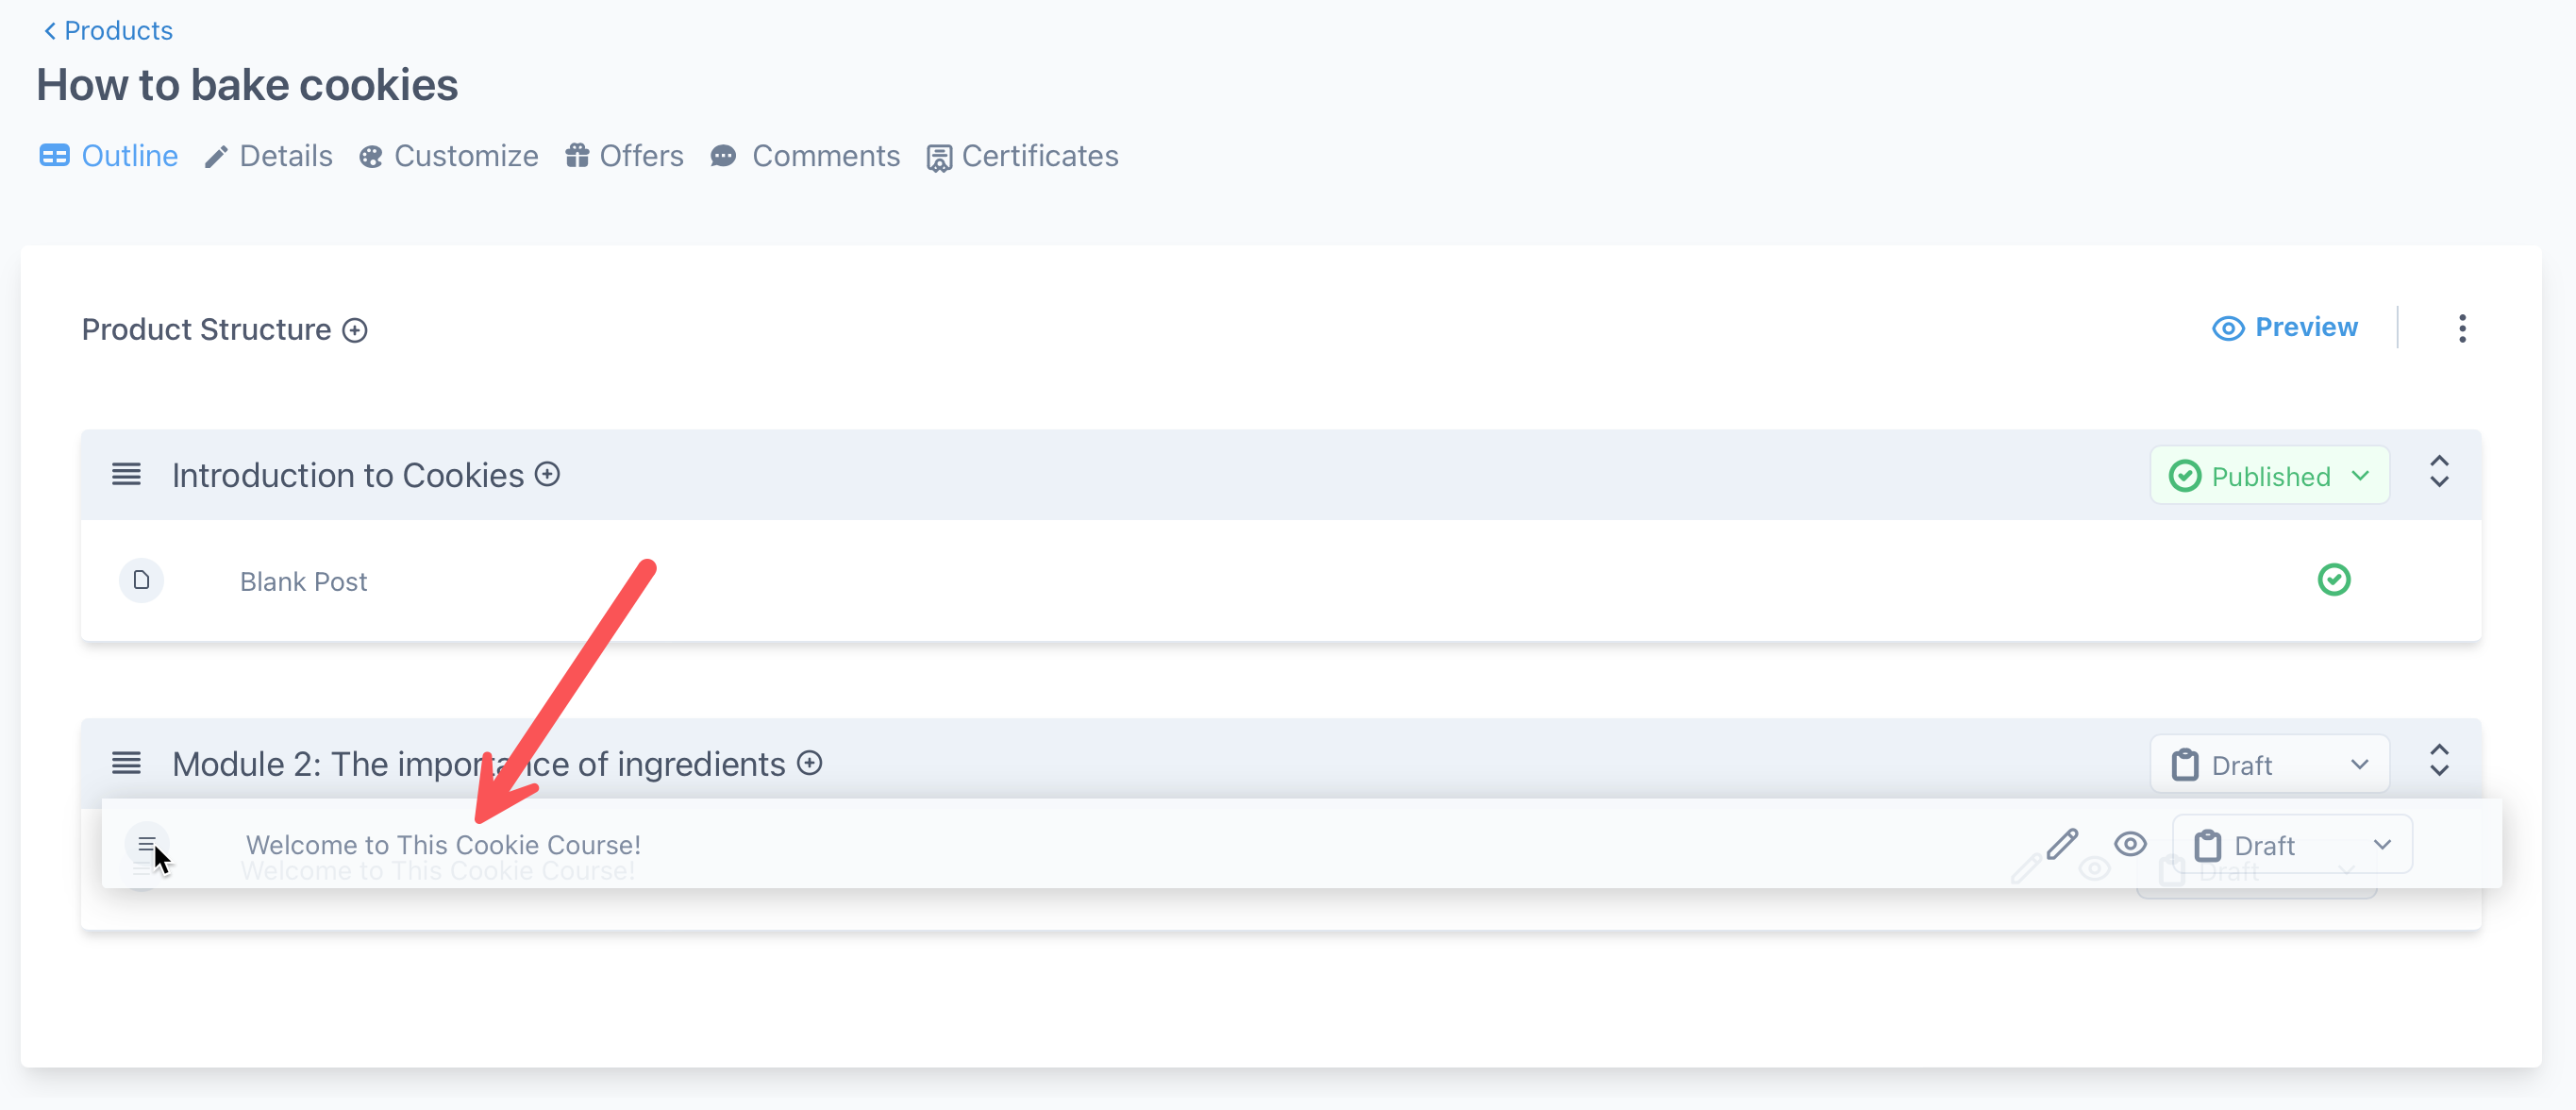
Add Instructor Info
You can customize your instructor info as well as several other parts of the course by navigating to Memberships > Courses > Products > Select Your Course > Details: 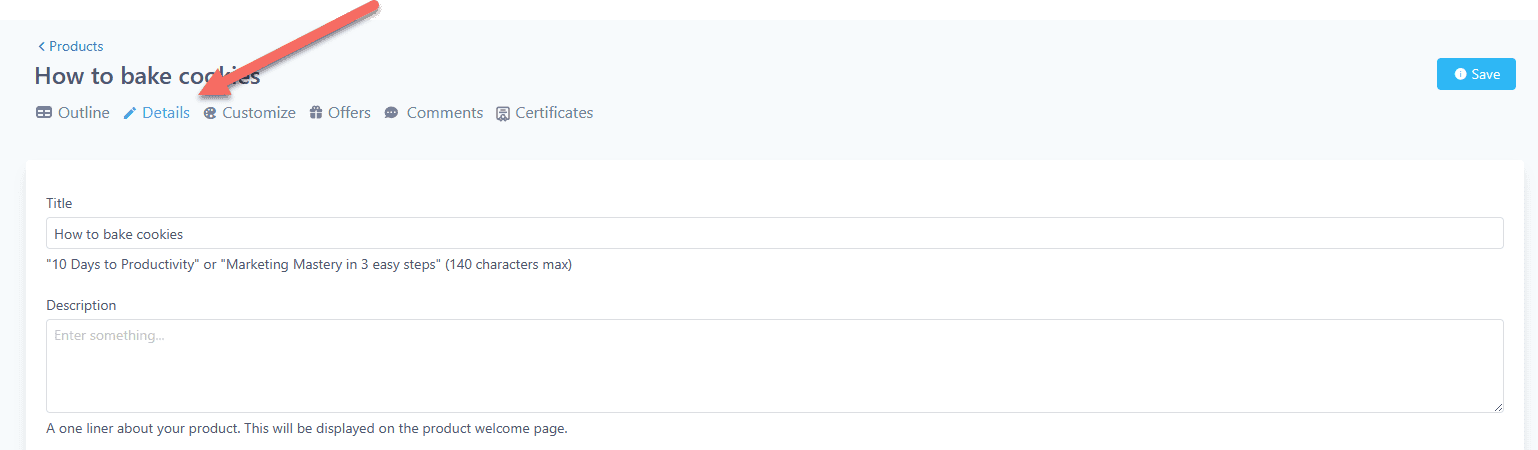
On this tab you can customize many aspects of your course:
- Course Title
- Course Description: This is displayed on the course welcome page.
- Course Thumbnail: we recommend 1280 x 720 pixels
- Instructur "Heading": Like "Coach," "Teacher" - how you'd like to be referred to in the course area
- Headshot: Upload a picture of the instructor. Recommend 300 x 300 pixels
- Name: Instructor name
- Title: Instructor title
- Bio: Instructor Bio
- Logo Image: Image to be displayed in the header of the course area
- Favicon Image: The small image at the top of your browser tab
- Advanced section
- Custom JS - Custom Javascript
- Custom CSS - Custom Styling Scripts
- Tracking Code: Header Code (useful for Facebook Pixels)
- Tracking Code: Footer Code
Once you have customized your course, remember to click save!
Create Your Offer
Freedomkit gives you the ability to combine your courses into unique offers. Think of these as bundles, where you can combine one or many courses into a single offer to sell. Let's walk through how to create an offer.
First, head to Courses > Offers and select "Create Offer":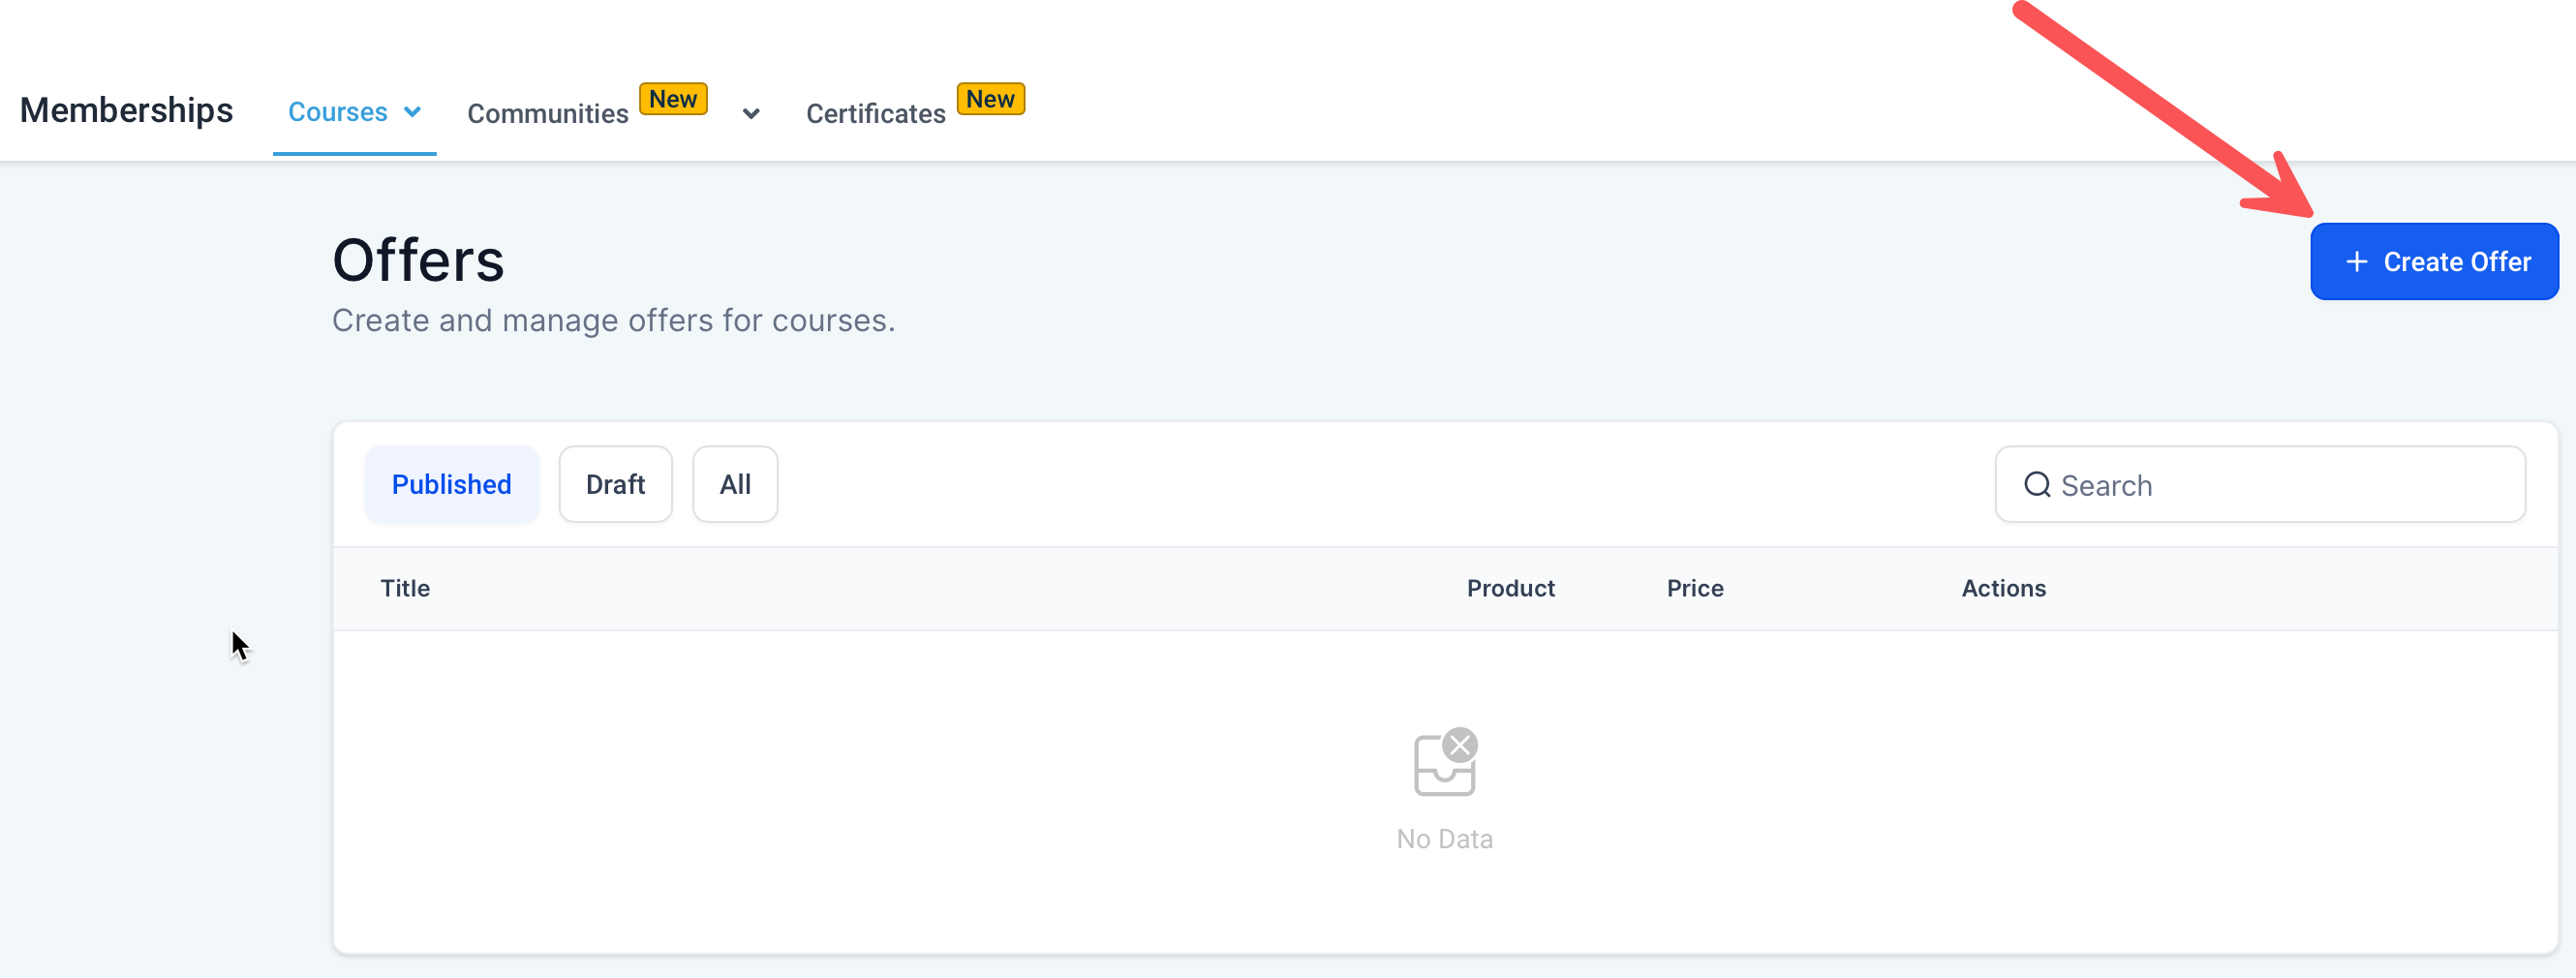
Name your offer. If you are only selling a single course, you can simply name it the same as your course. But if you are bundling multiple courses together, you can give your offer a unique name. Next, fill out the required fields:
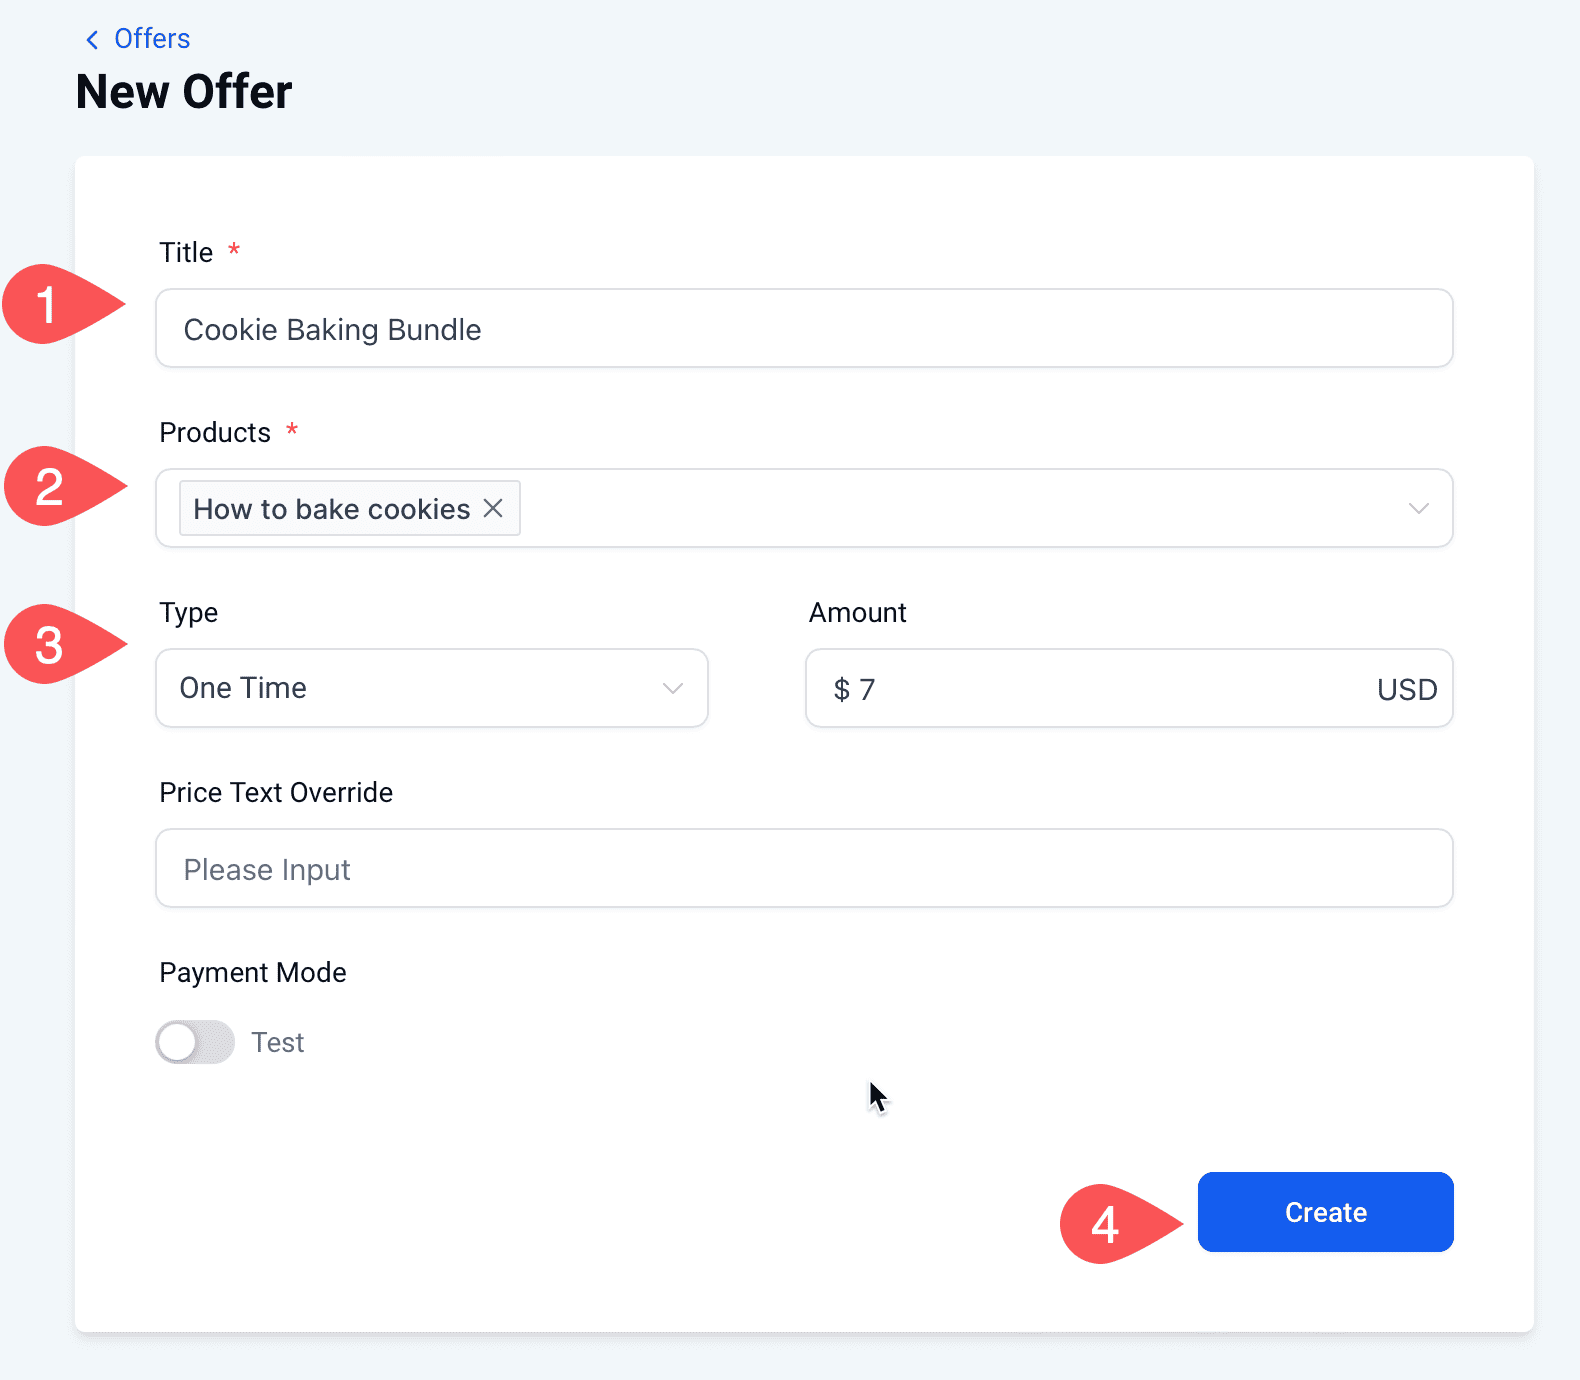
- Give the offer a title
- Select one or more courses to include in your offer
- Type. Your offer can be Free, One Time Payment, or a recurring payment.
- Save your offer.
Once the offer is saved, you'll be able to add additional details to the Offer overview page: 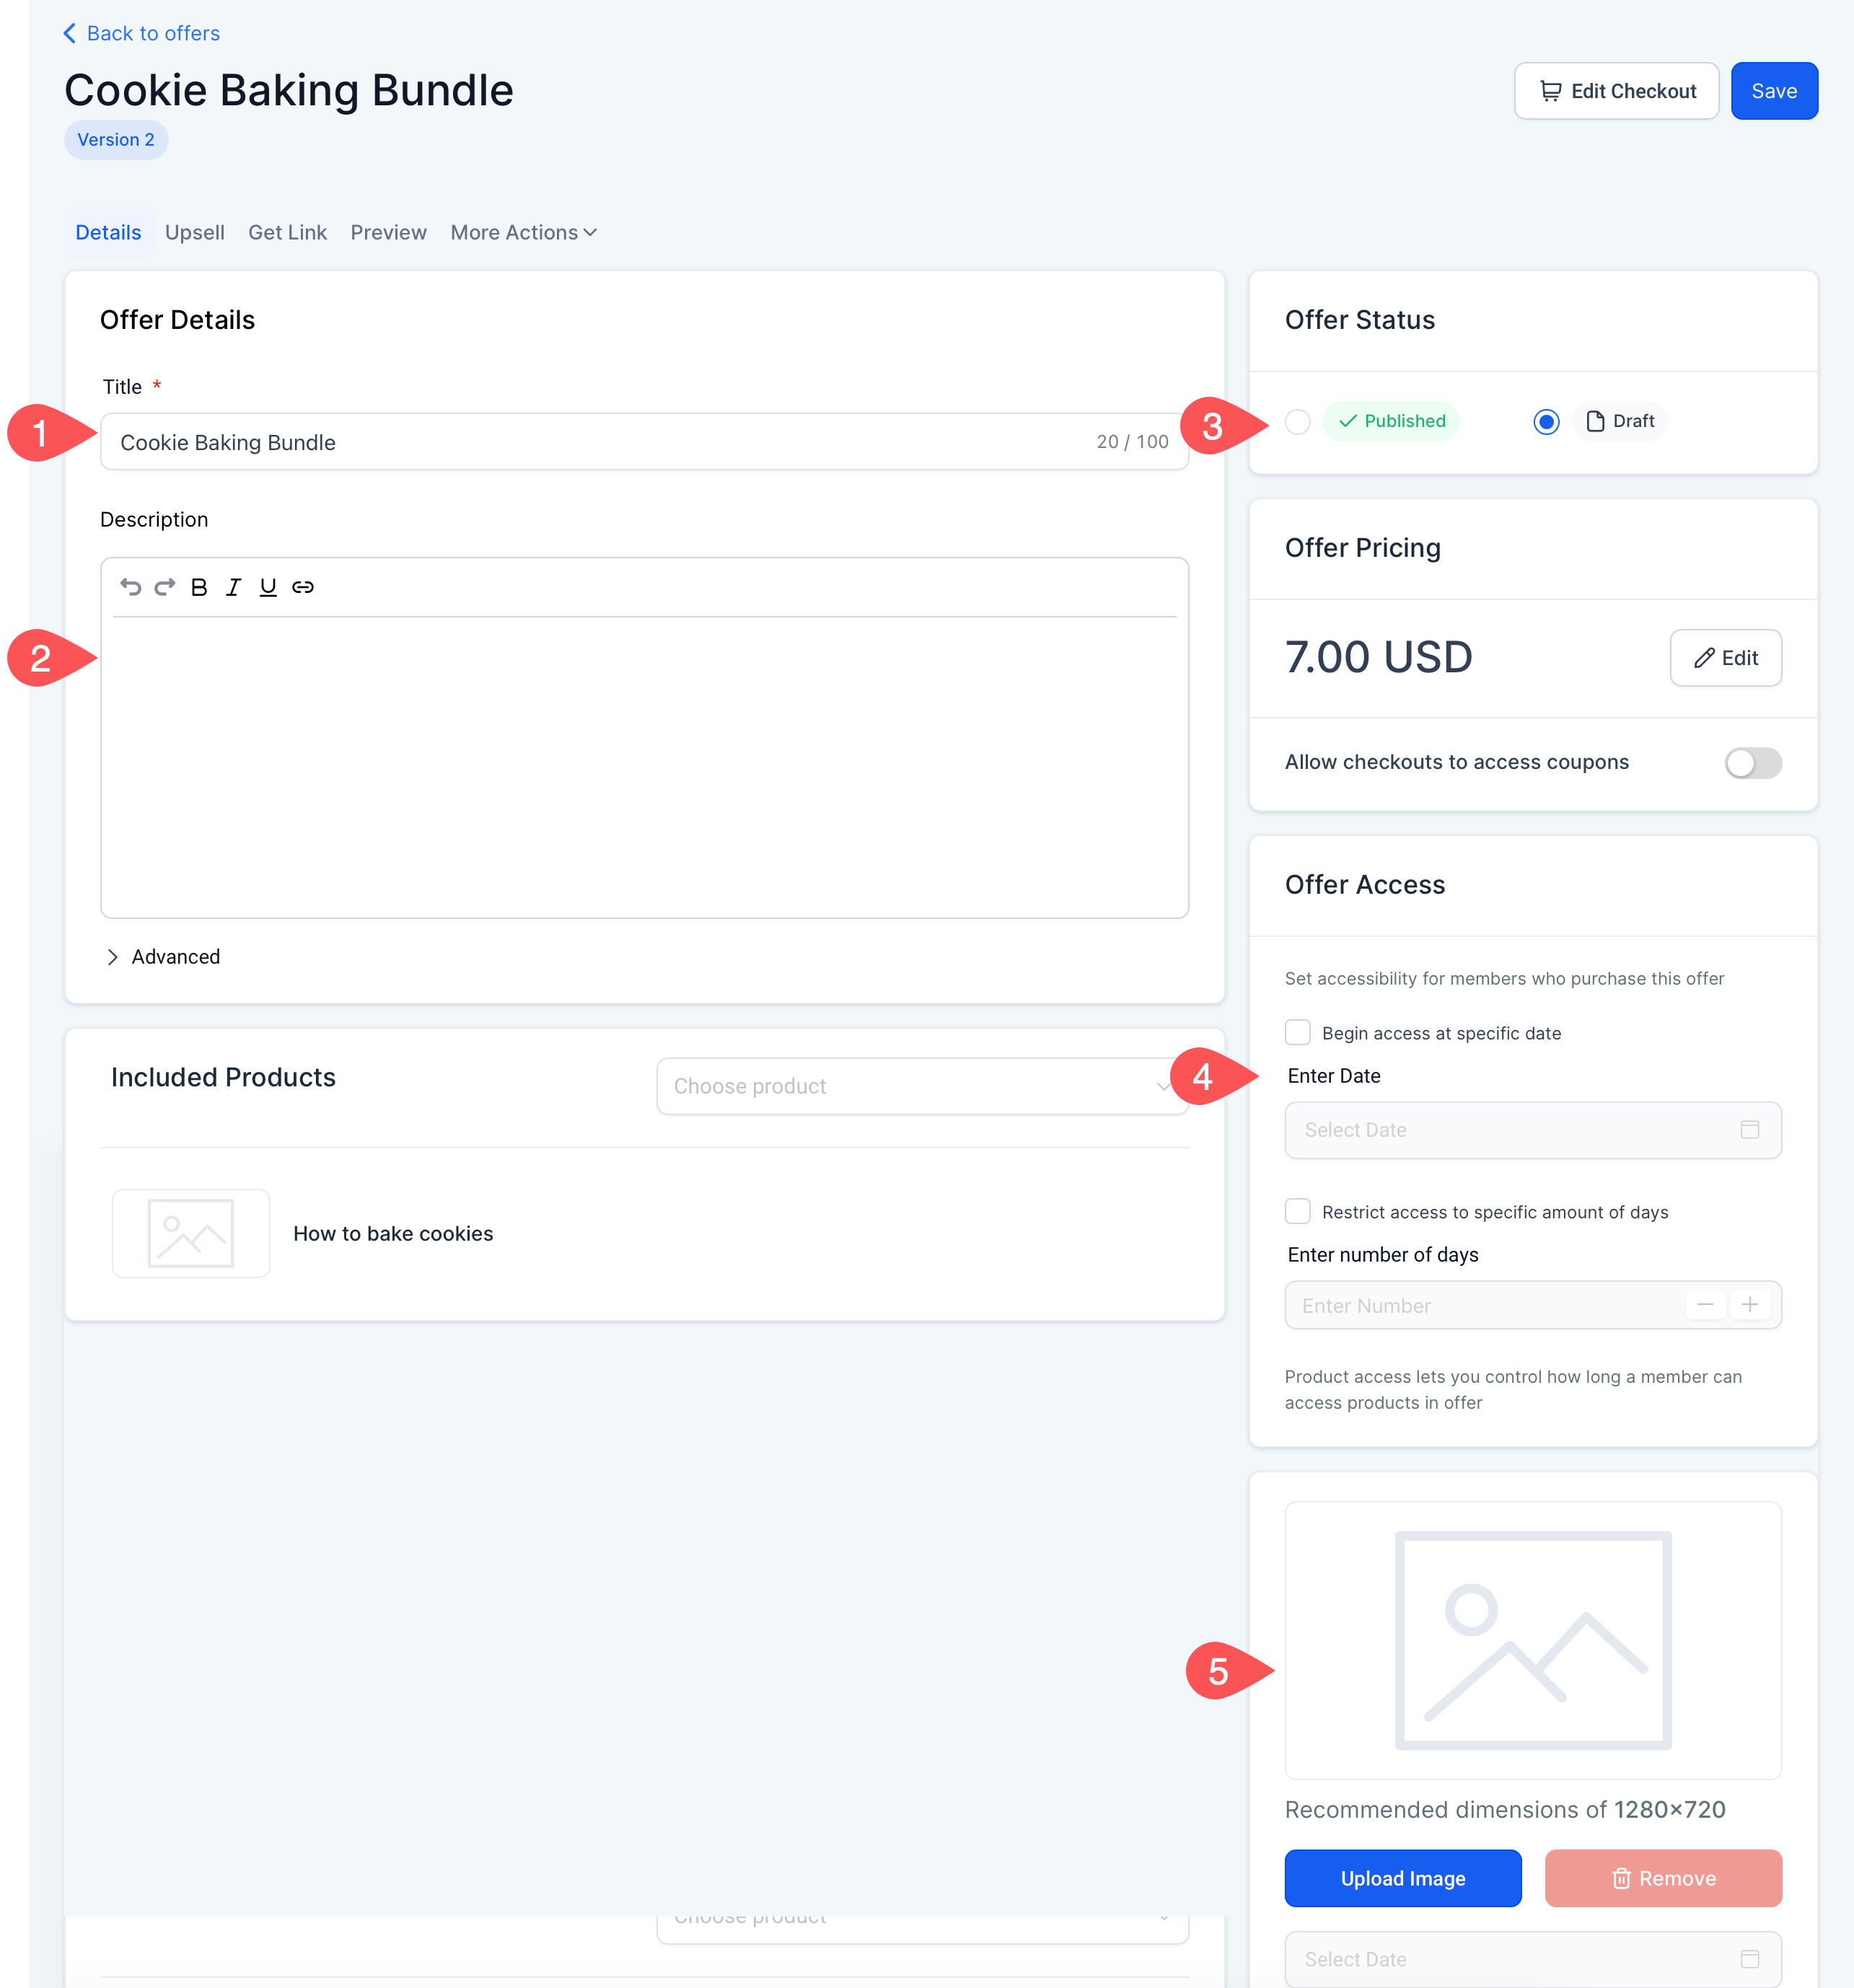
There are a few additional fields you can edit:
- Title: you can edit the title for your offer
- Offer description: add additional details to the offer itself.
- Offer Status. When you are ready for your offer to be published, ensure the publish status is updated
- Offer Access. You can choose specific access details like specific course start dates or expiring access to courses.
- Thumbnail. Customize the look of your offer.
Customizing your offer checkout page
By default, Freedomkit creates a basic checkout page that you can customize to sell your offer. In general, we recommend you building a funnel to have more control over the sales experience. However, let's quickly show you the options you have without building any additional content.
First, from the Offer details page, click on Edit Checkout: 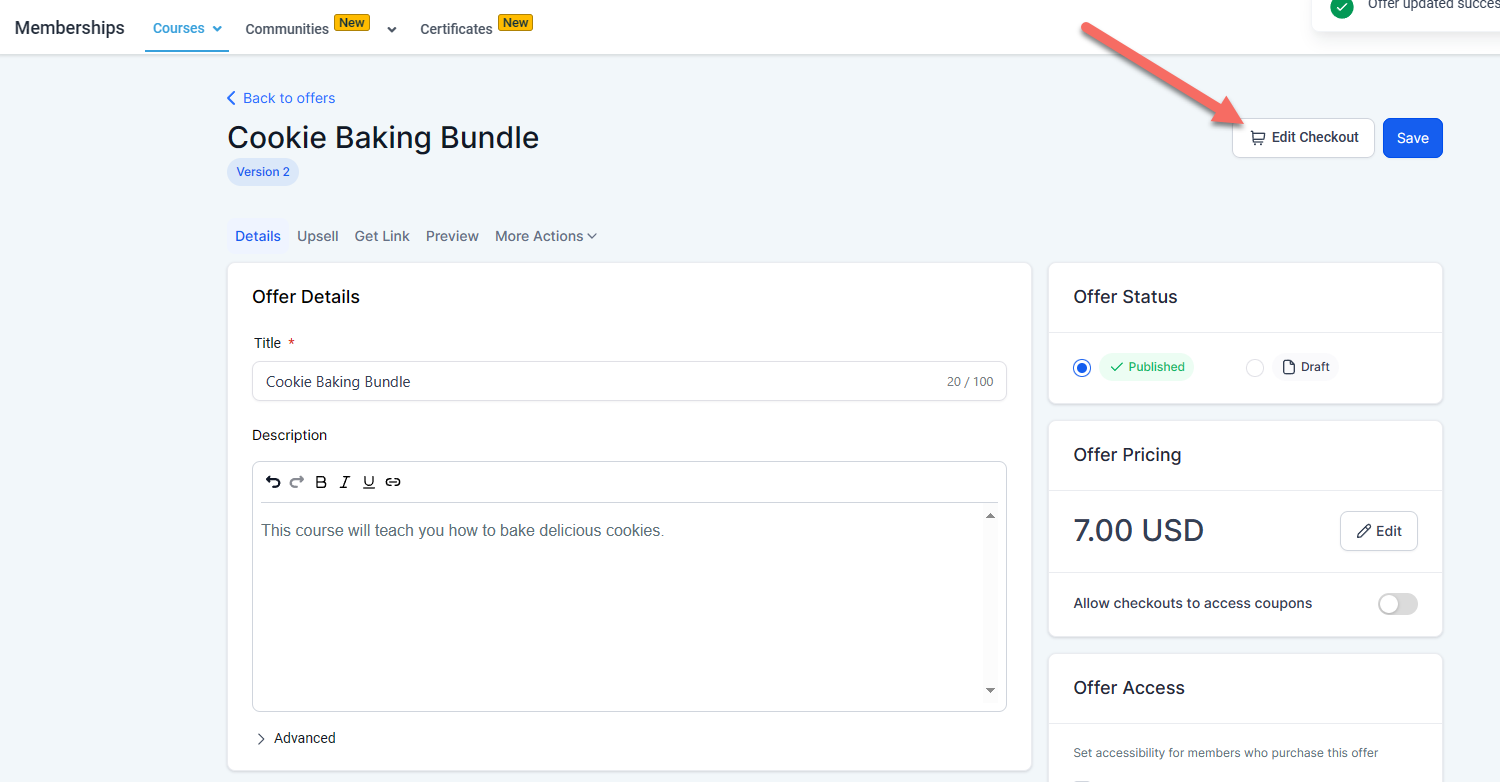
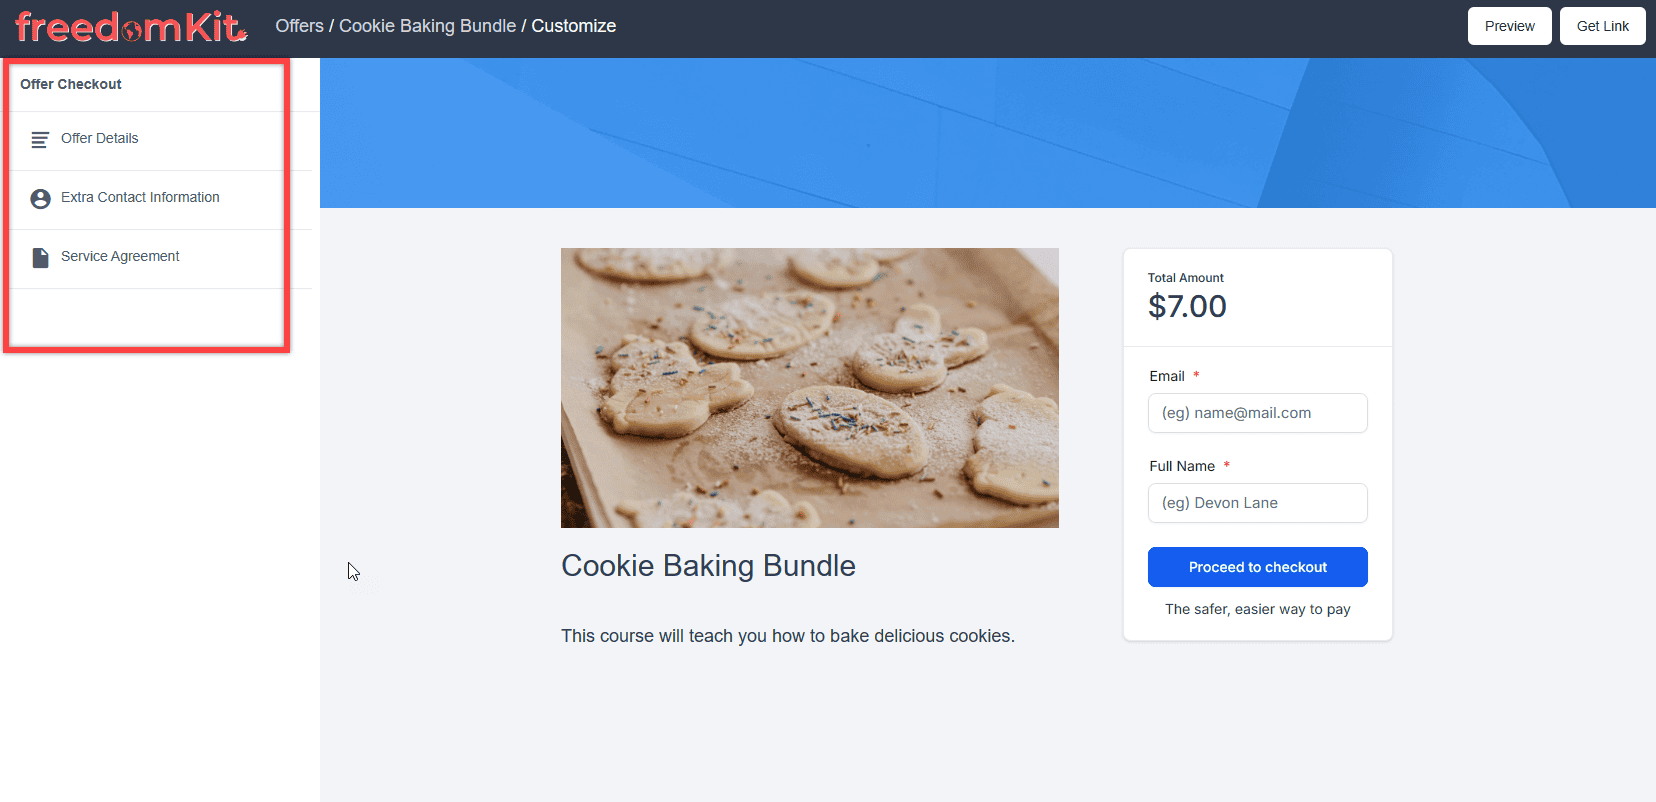
This will open a simple editor that will allow you to customize the Offer Details, Extra Contact Information, and Service Agreement sections of the offer. You will see a live preview of how the checkout form will look:
As you experiment with each option, there are a few important things to keep in mind: 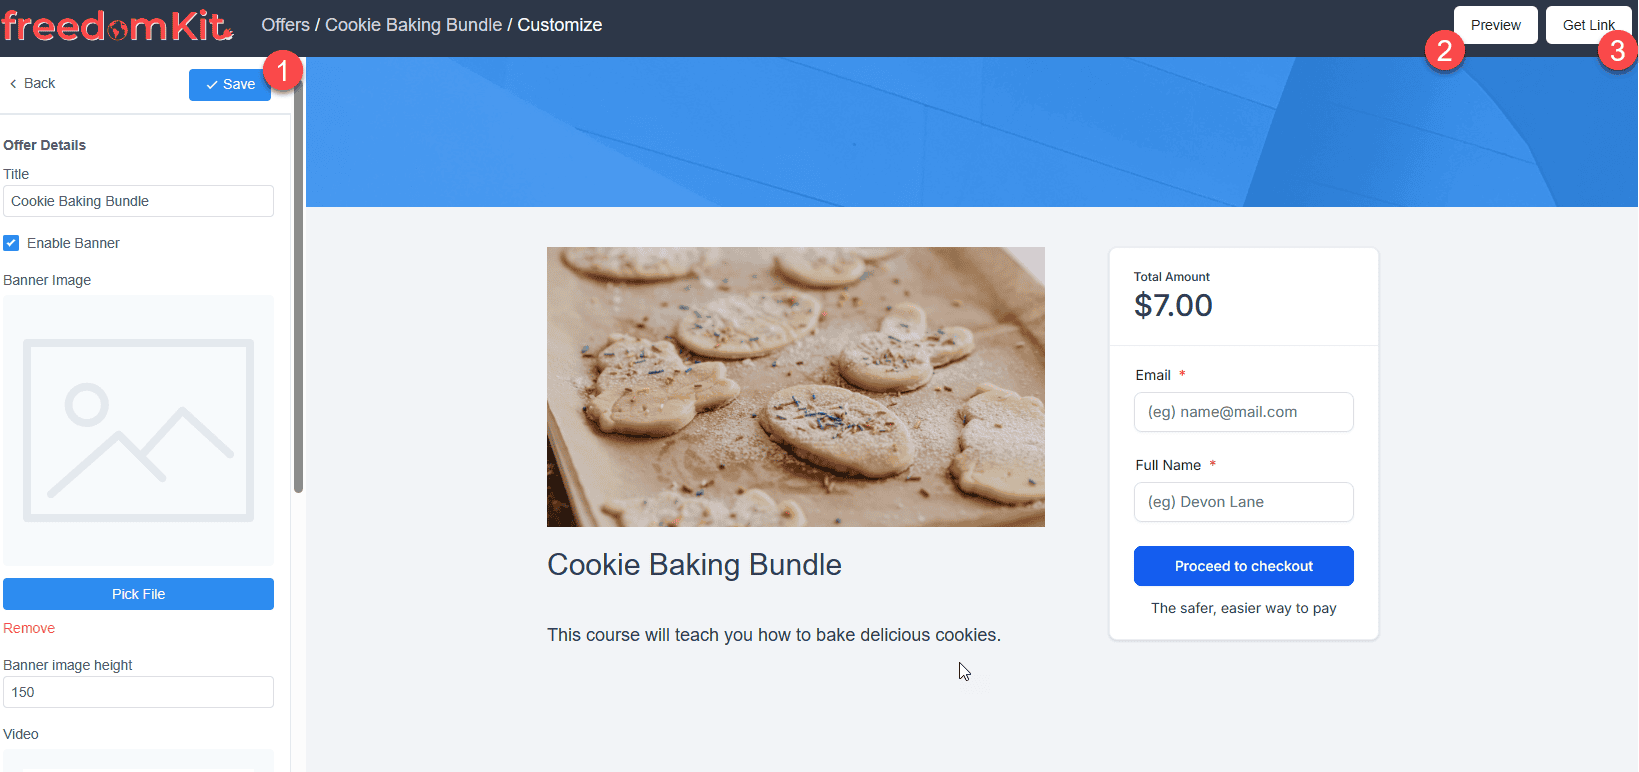
- Be sure to save the work you are doing in each panel of options.
- Once you've saved, you can preview how your changes will look on the internet.
- The Get Link button is a public link that you can use to share your course with customers.
Please note in order for your checkout form to work, you will need to integrate your payment processor.
Selling your online course in a funnel
While the built in checkout pages are funcitonal and quick, we recommend building a funnel to display your course offer for highest conversions.
To begin, let's head to Site > Funnels > New Funnel: 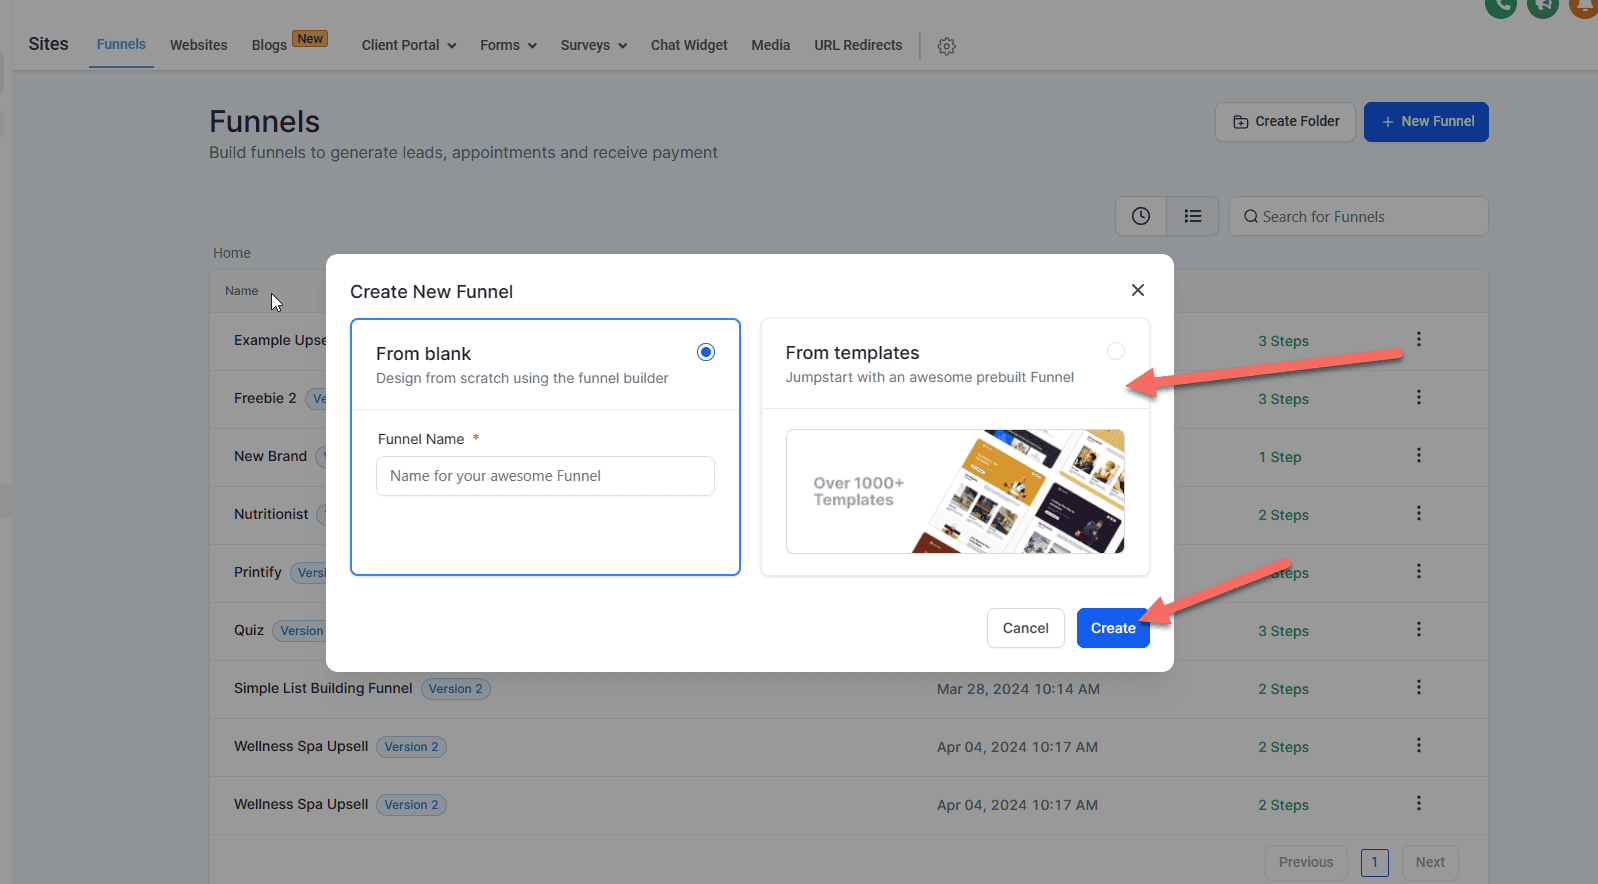
Let's choose a template to make things quicker. I will filter to "checkout" templates and select Lifestyle Transformation Memberships: 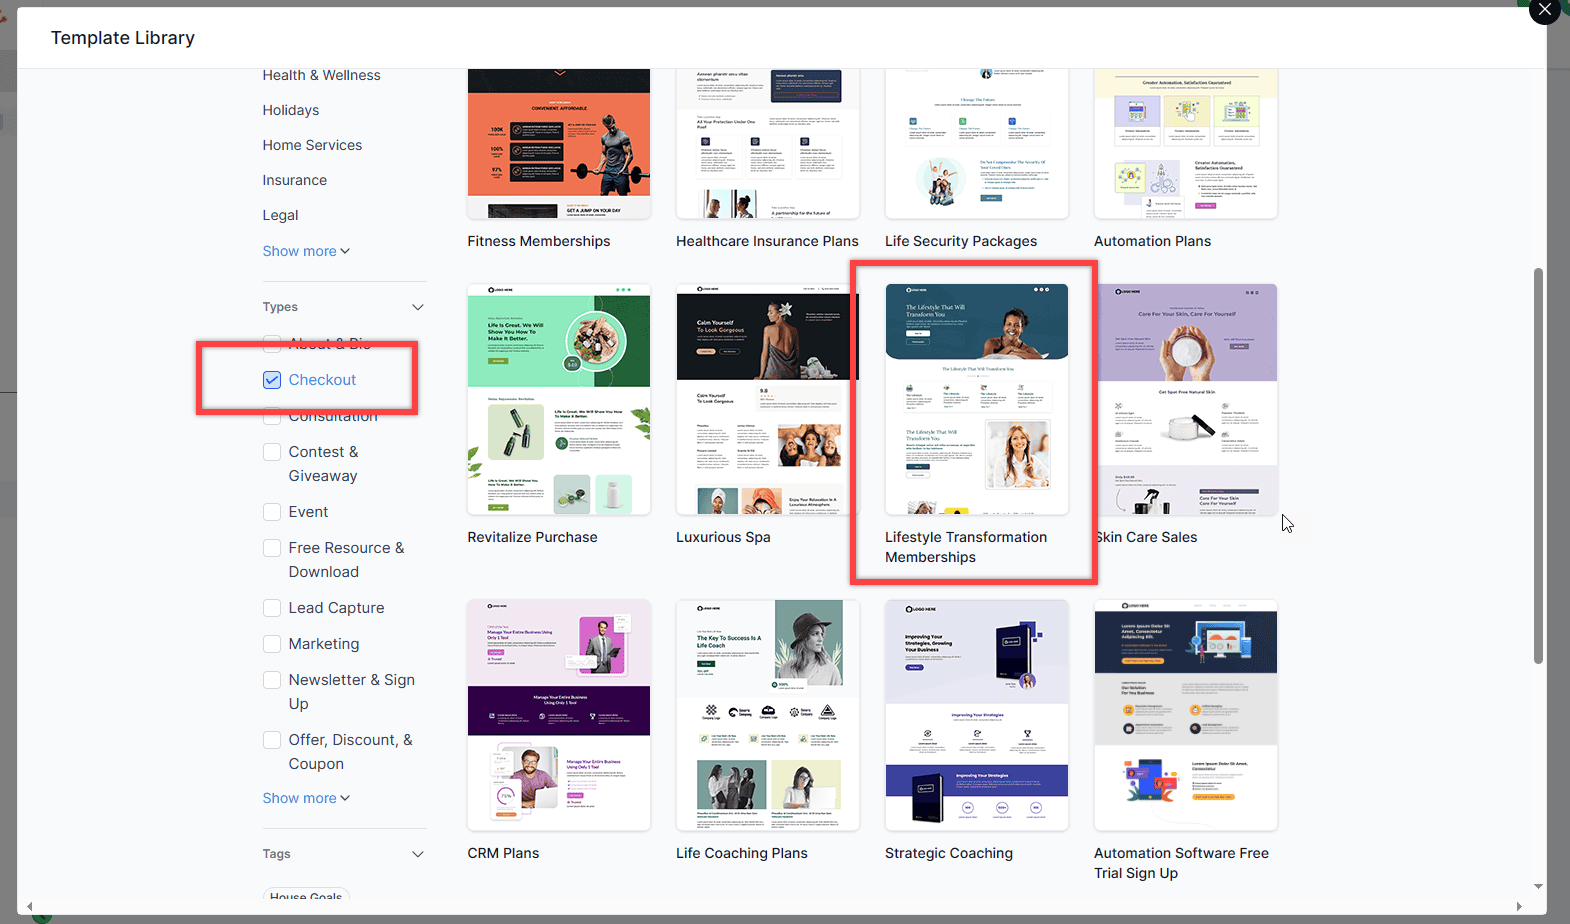
Once the template is added, you will be brought to the page editor. Make any changes you'd like. When done, click on Save (1) and return to the funnel overview (2): 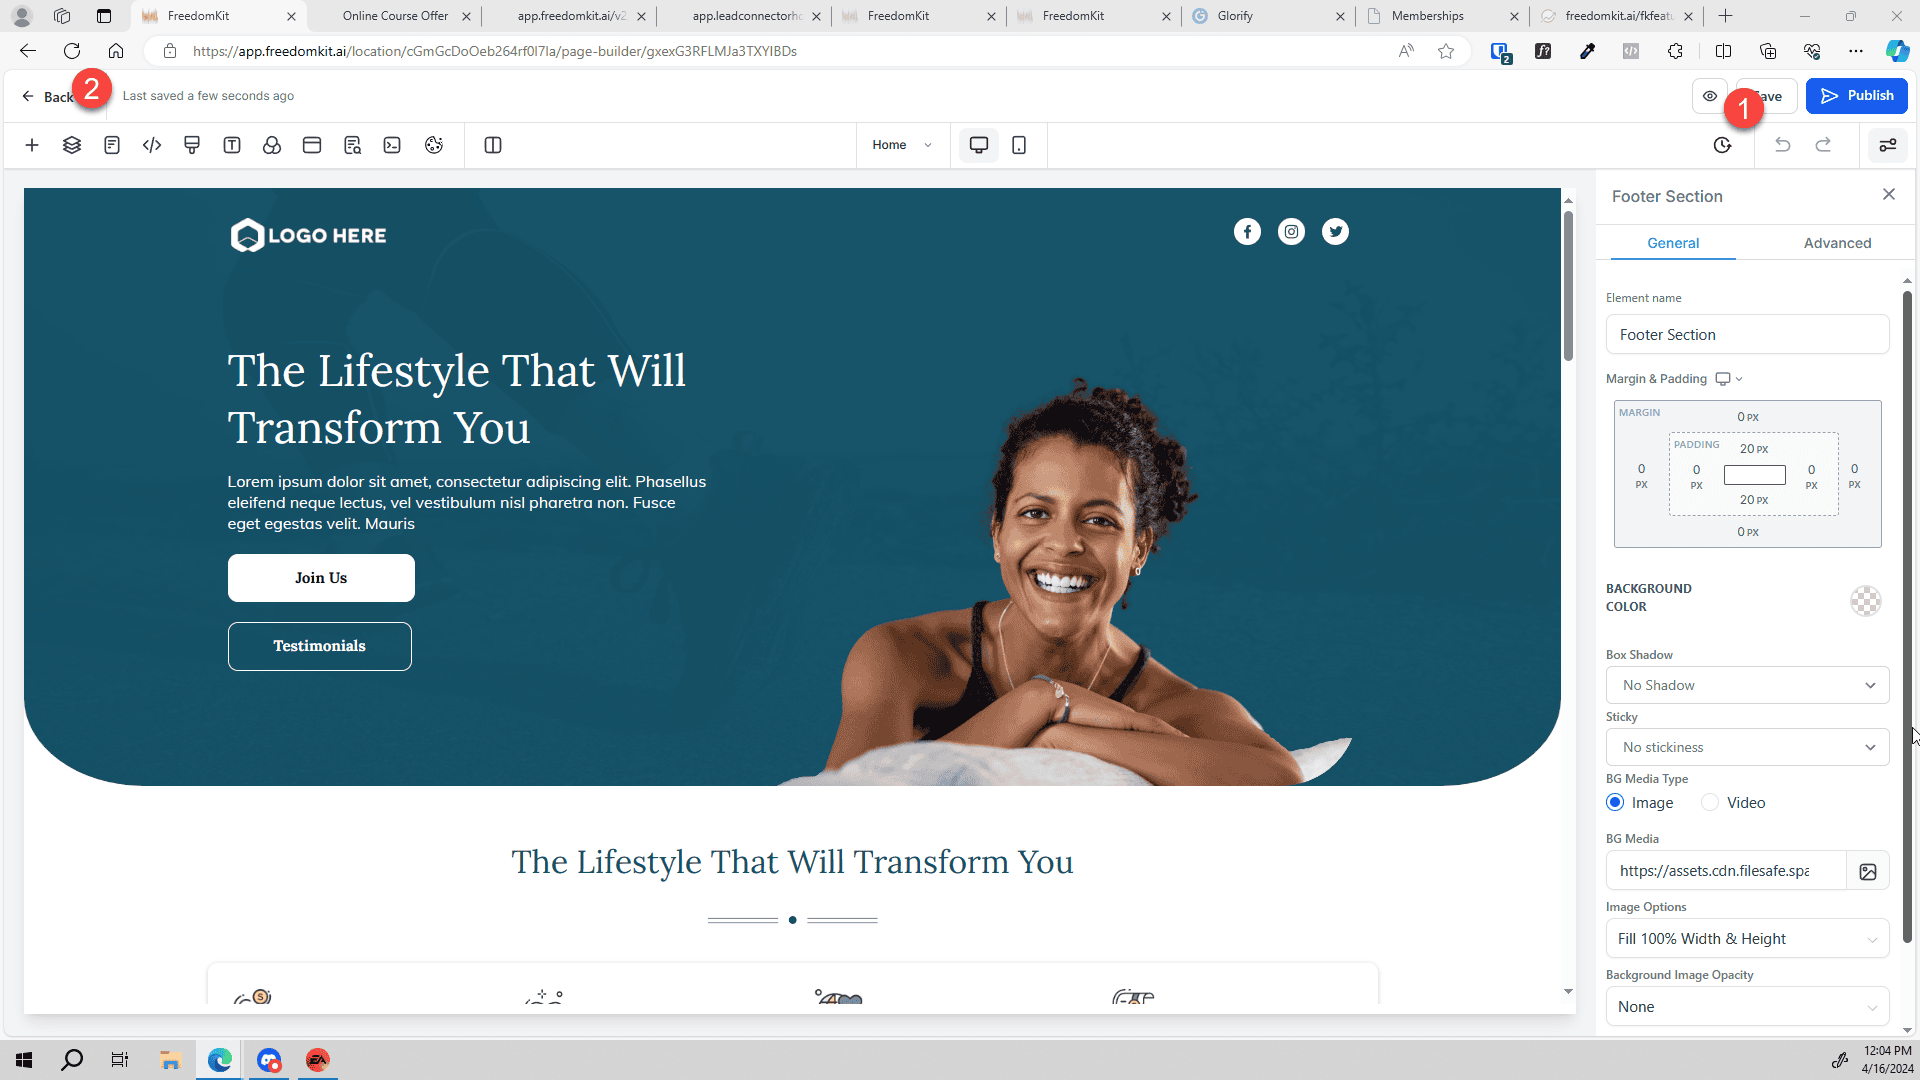
Inside the funnel overview, click on Products to add our online course offer: 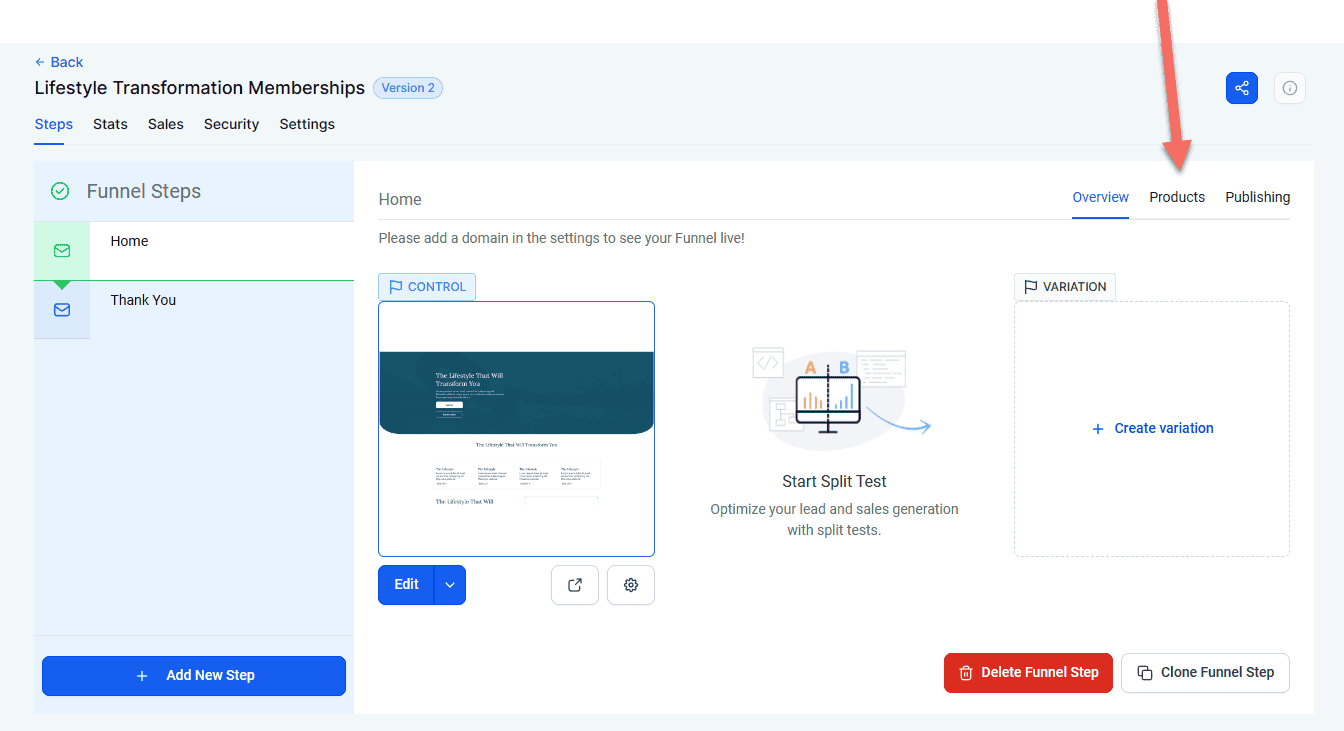
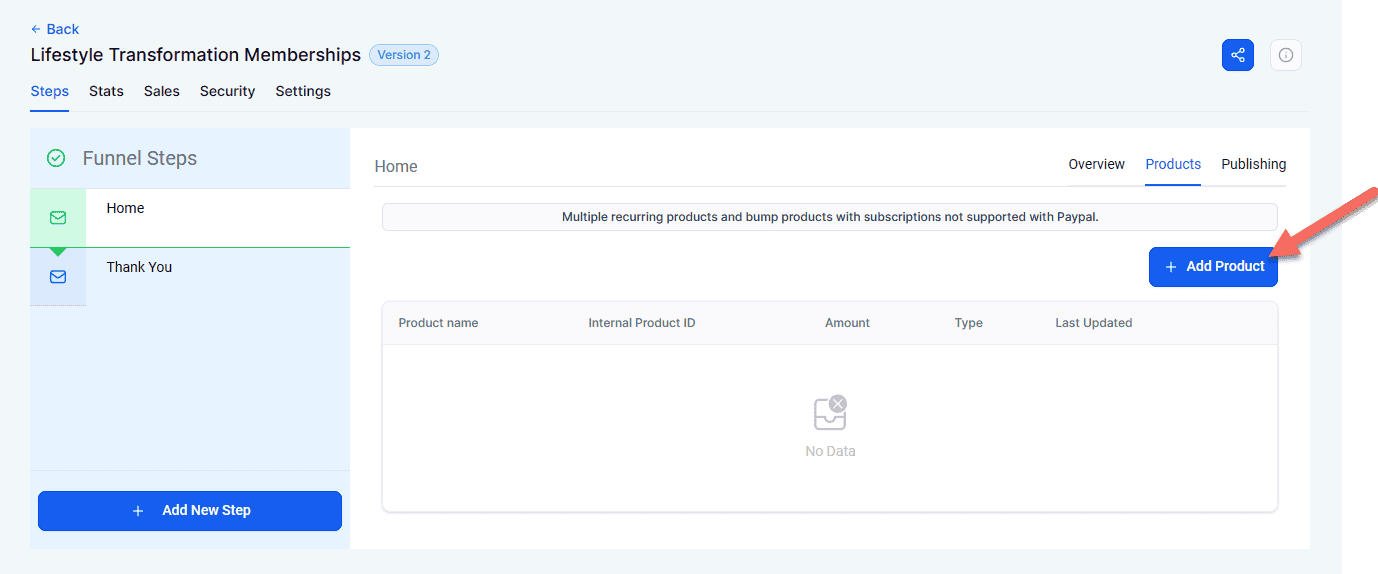
Here you can add as many products as you'd like to offer on this page. For now, let's just select the Cookie Bundle we created earlier by clicking "Add Product":
Select your product, price point, and decide if you want to customize any of the content. Then select Save: 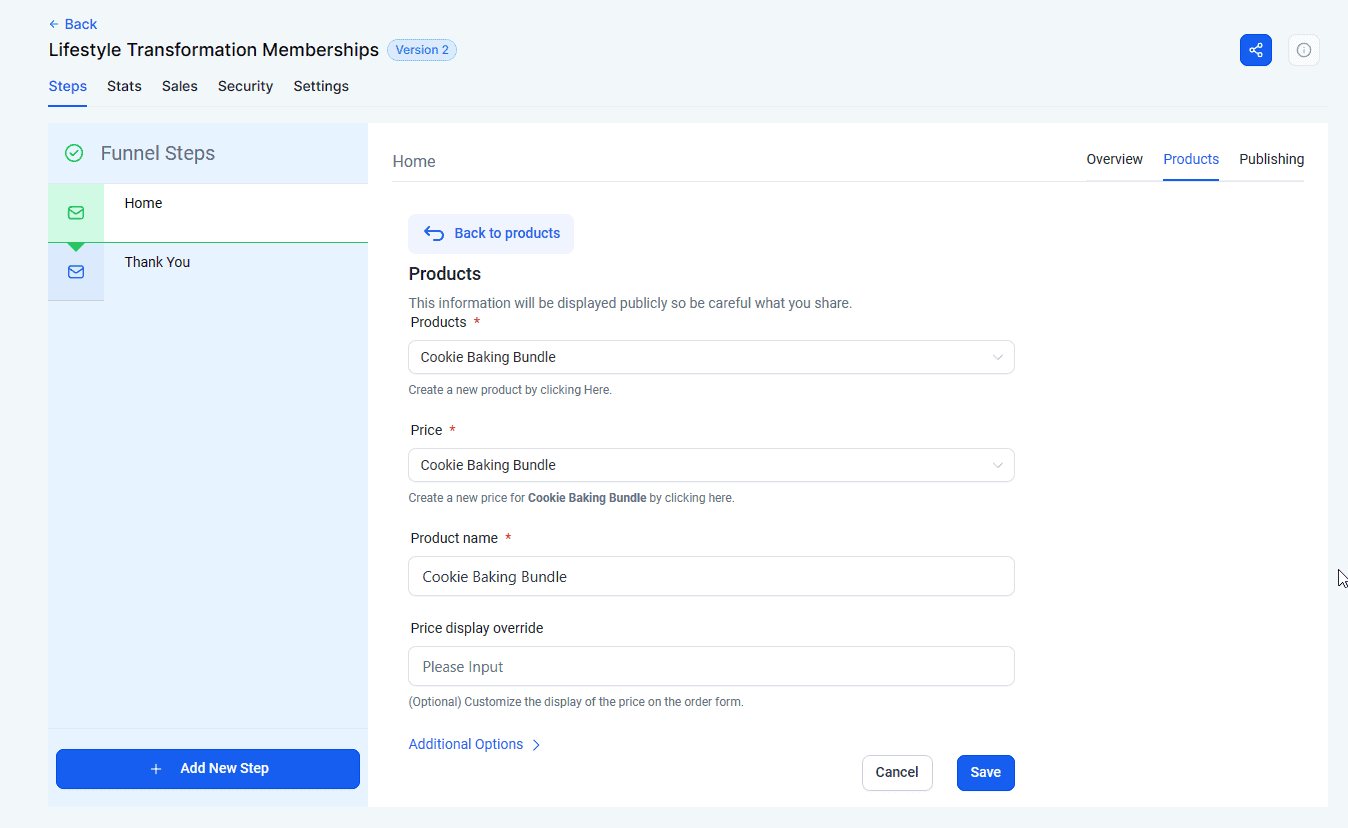
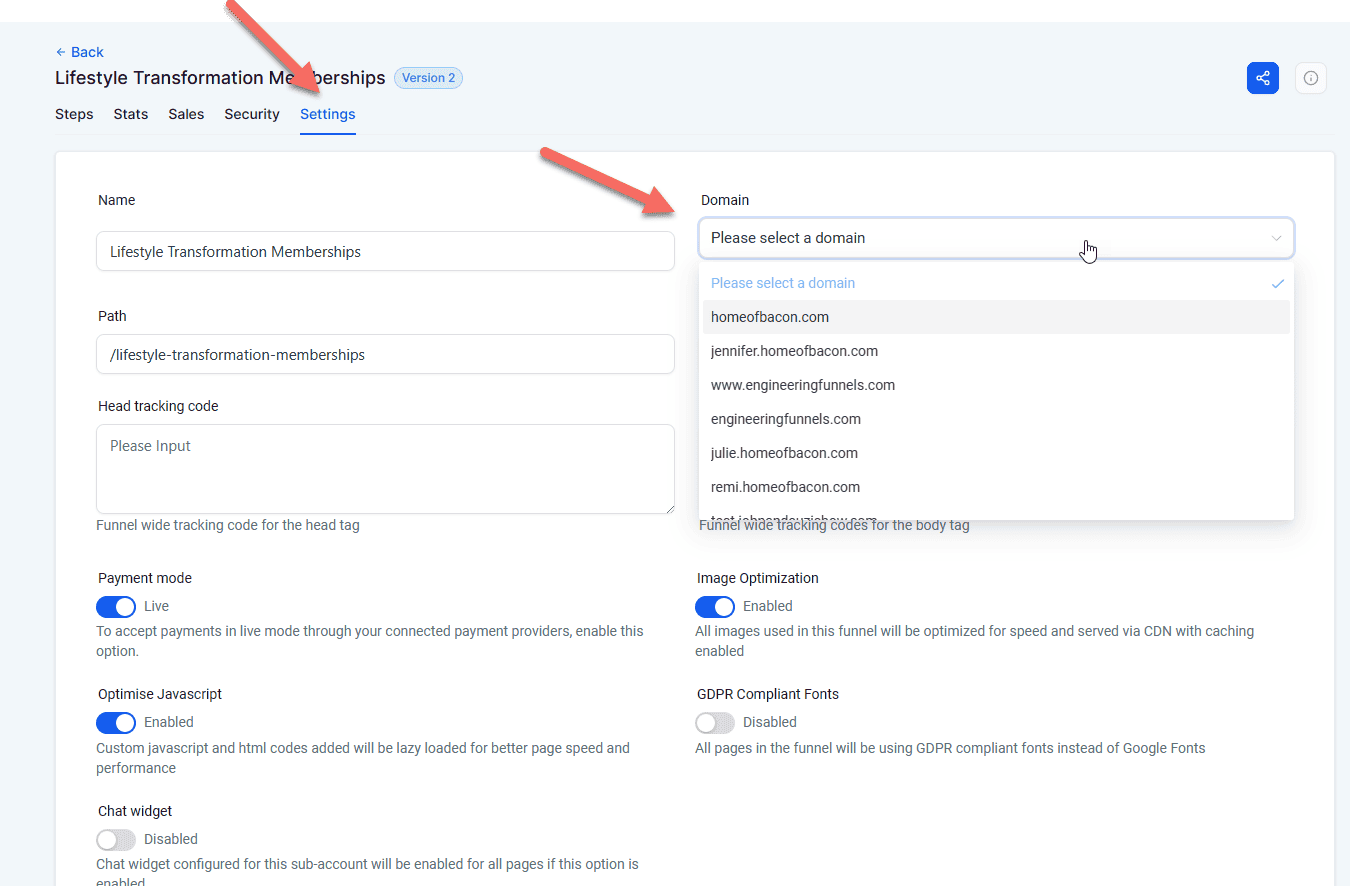
Before launching your funnel live, be sure to connect your selected domain in the settings menu:
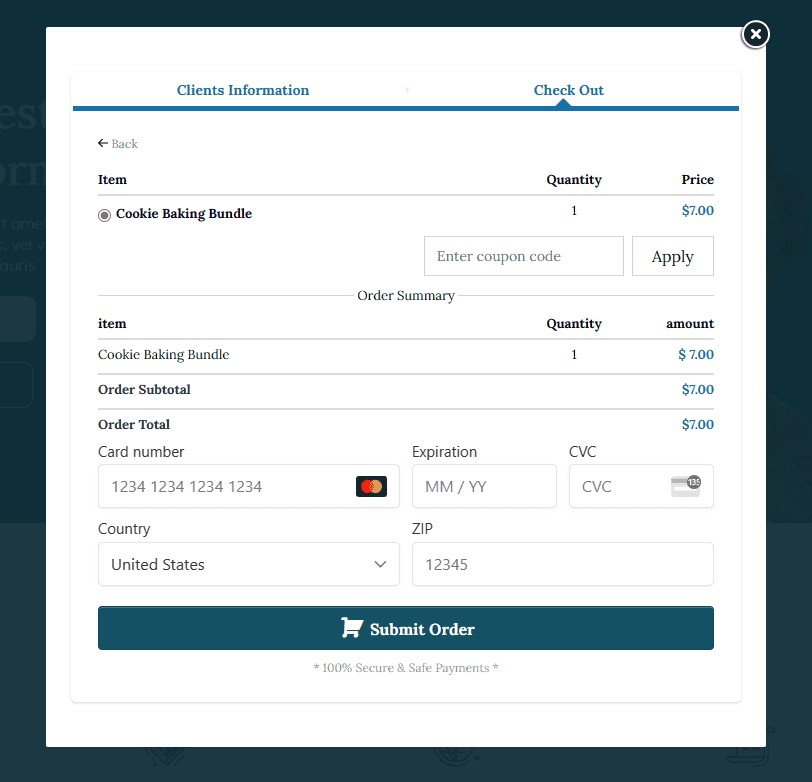
Once ready to test, please be sure to run a test transaction to ensure everything looks good on your end:
And that's it - you've successfully set up your online course for sale in a funnel!
There are a few small tweaks you can make to improve the quality of the course experience for your students. Let's cover them one by one:
Add custom domain for courses
A custom domain can make your learning environment feel more premium. For example, you can create a custom subdomain called: courses.yourwebsite.com. Let's do that together.
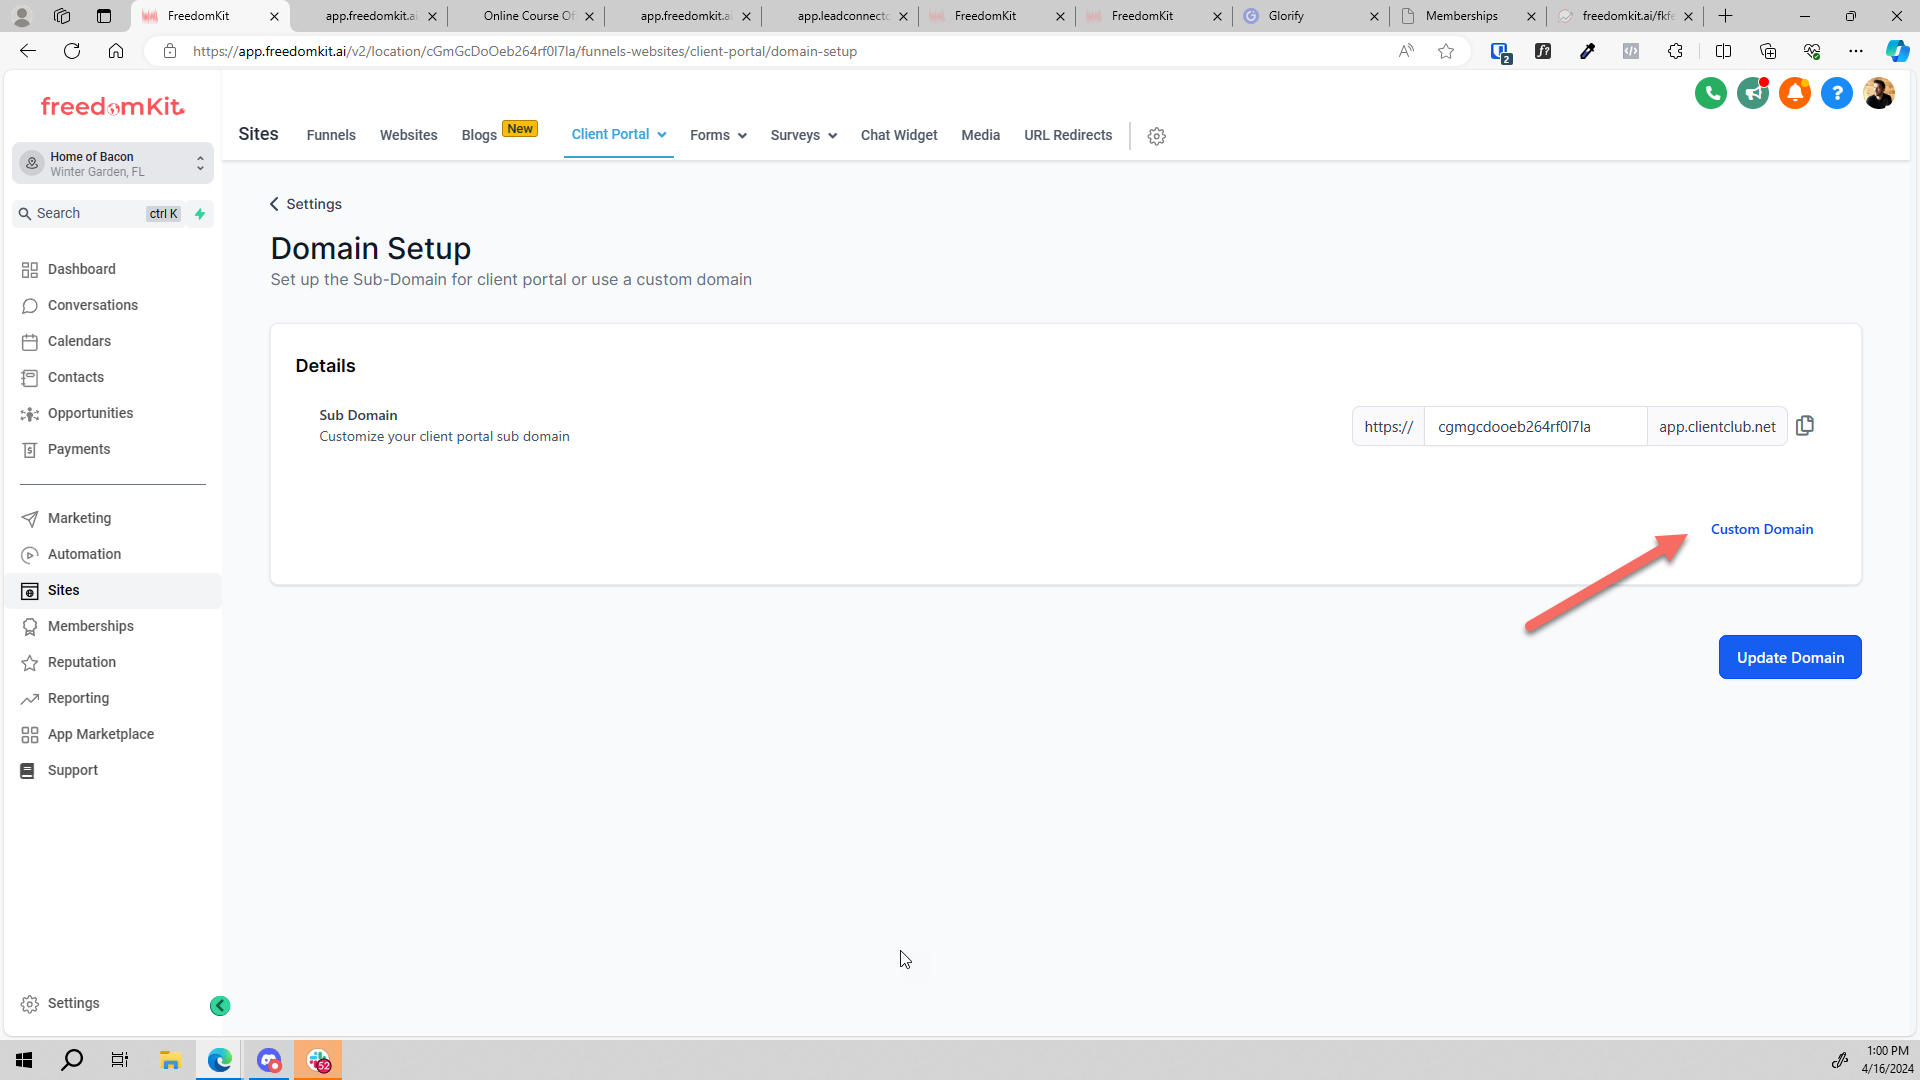
First head to Memberships > Courses > Settings: 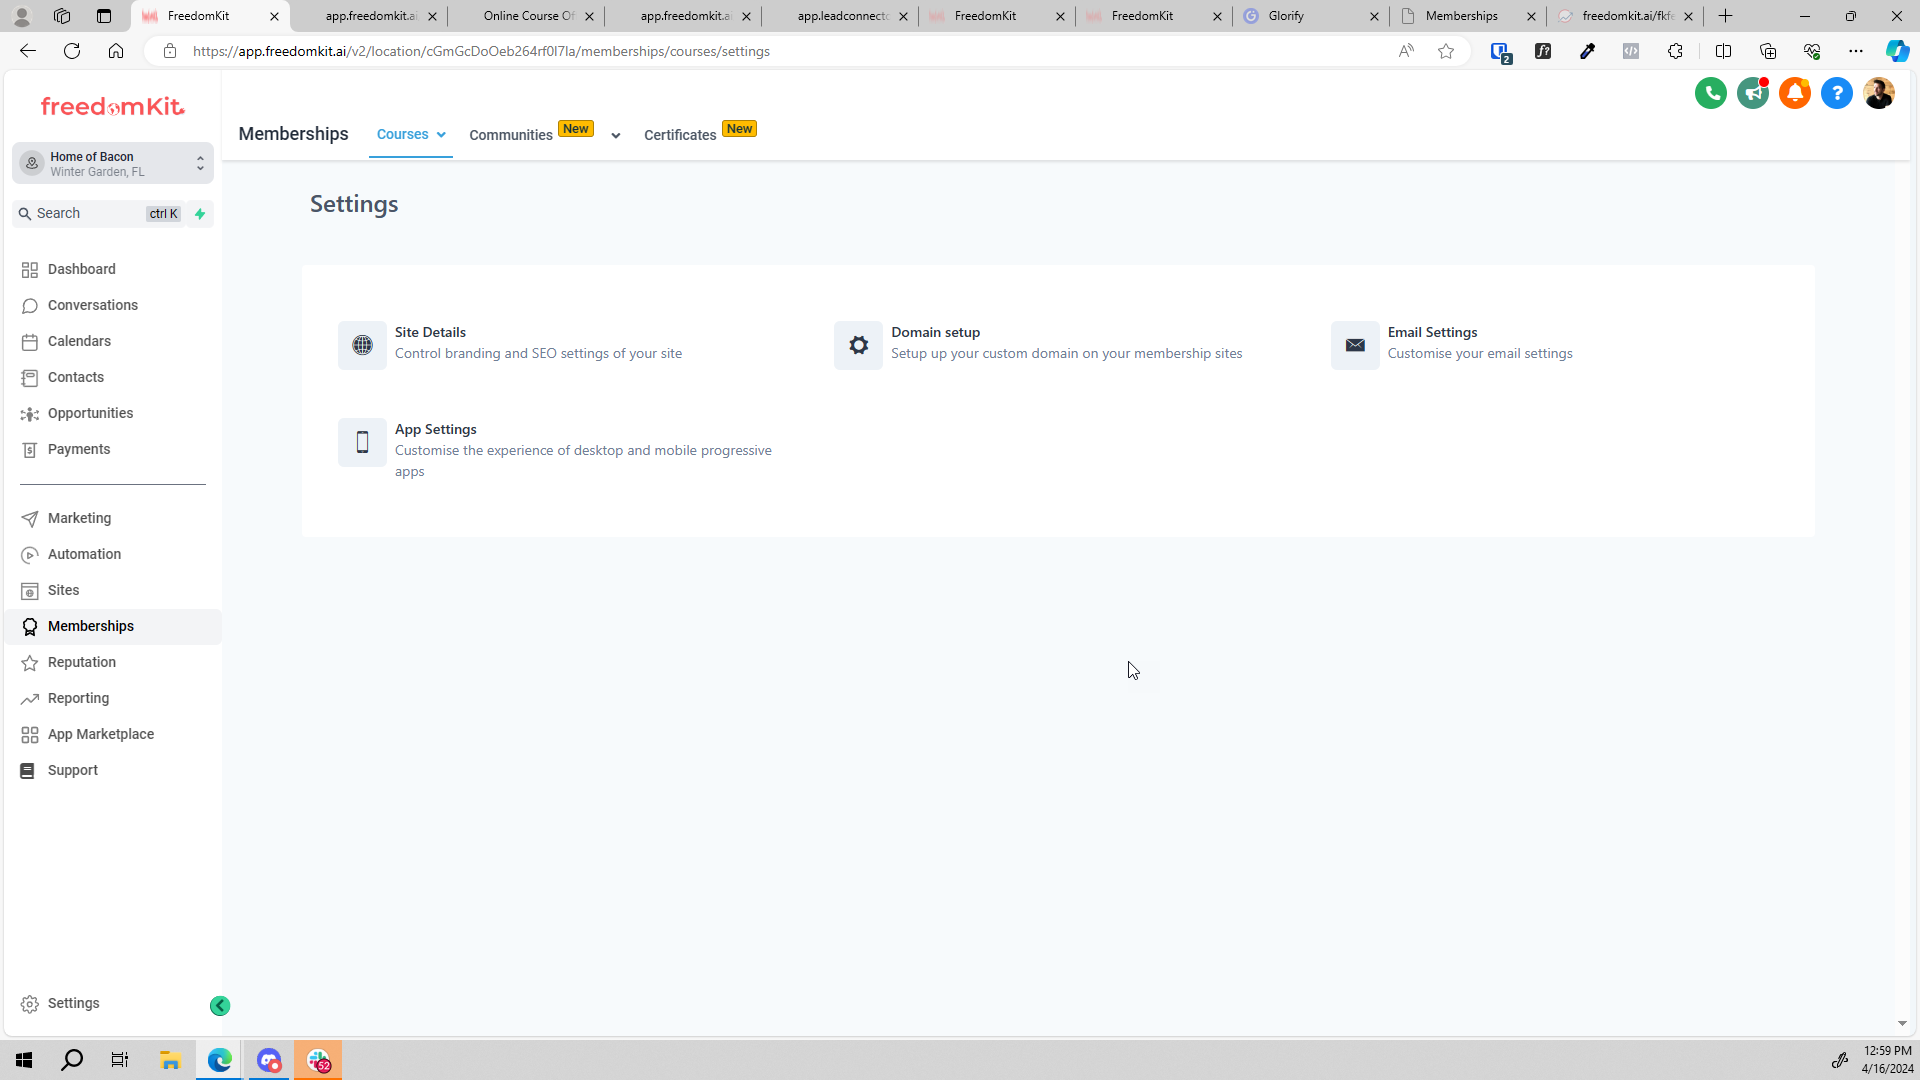
This is the list of general course settings. Click on "Domain Setup" to create a custom domain for your courses. By default, we give you a sample app.clientclub.net domain, but we recommend clicking the Custom Domain button:
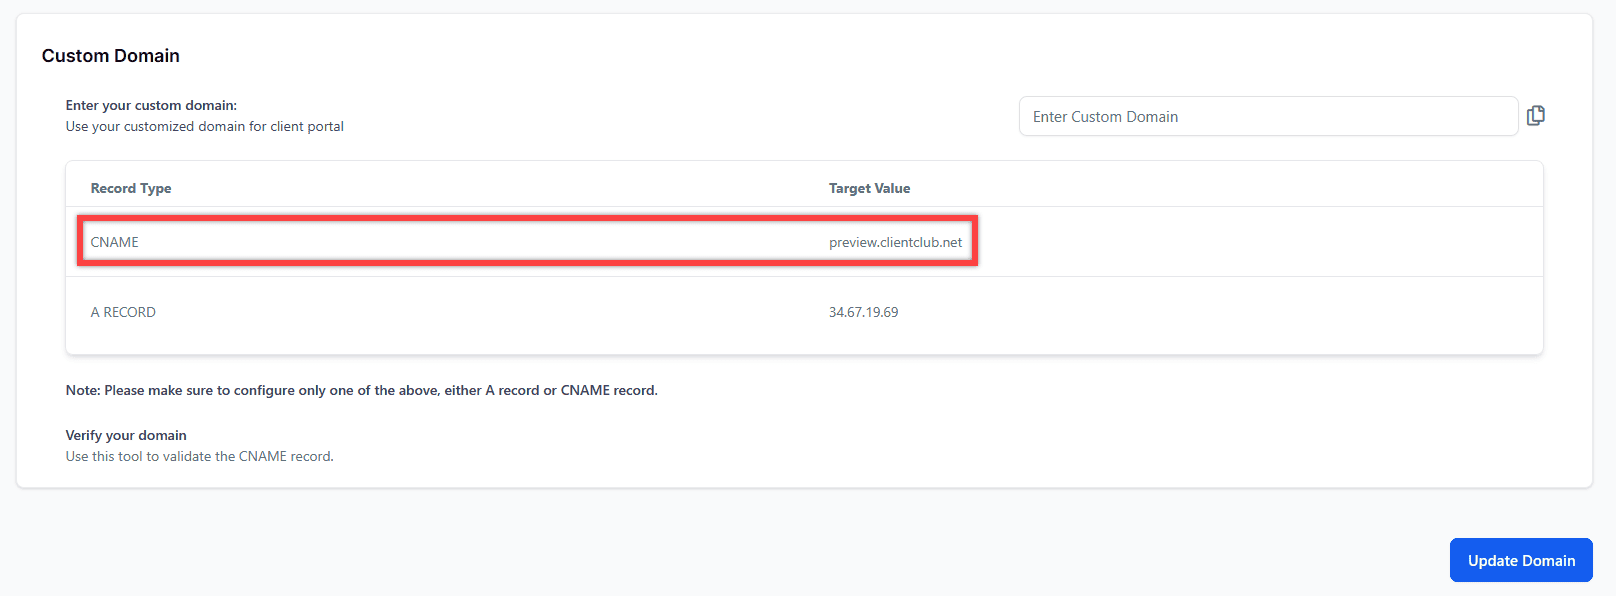
This will show the DNS information you'll need to copy into your domain registrar to connect your custom domain. In this example, I want to set up courses.homeofbacon.com, and I can see that I have 2 options: a CNAME Record and an A record. I will create a CNAME record in my DNS:
Inside my registrar (Cloudflare.com), I will add a CNAME record pointing courses.homeofbacon.com to preview.clientclub.net and click save: 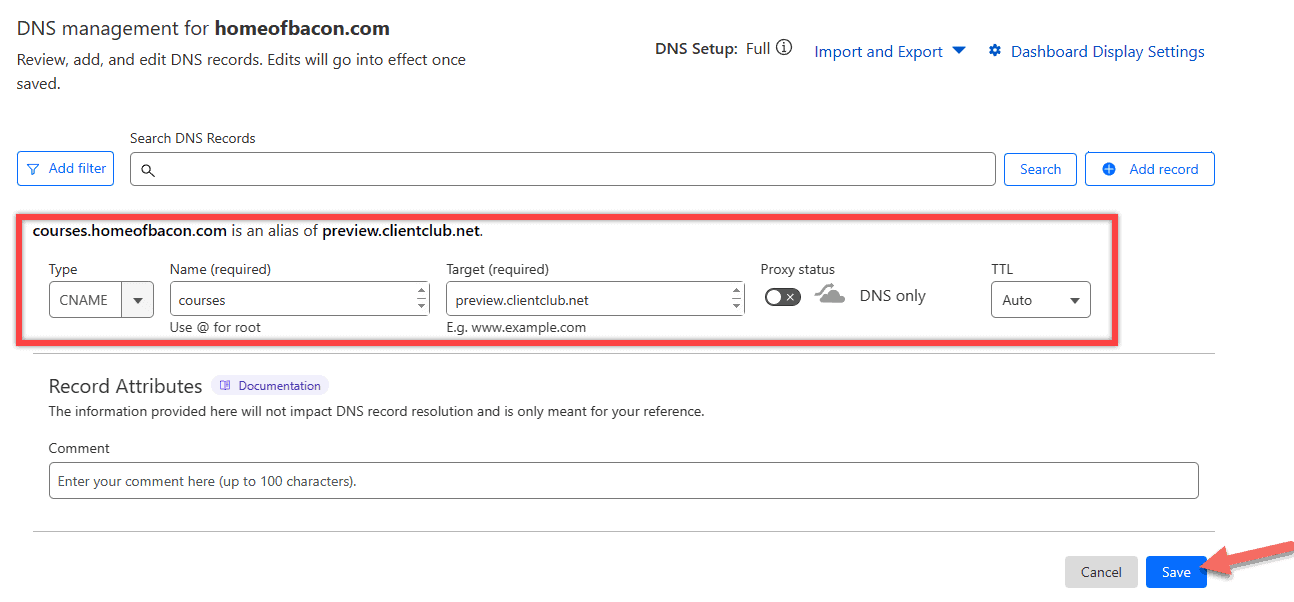
Once the DNS record is saved, type your custom domain into the field and click "Update Domain" to verify the record: 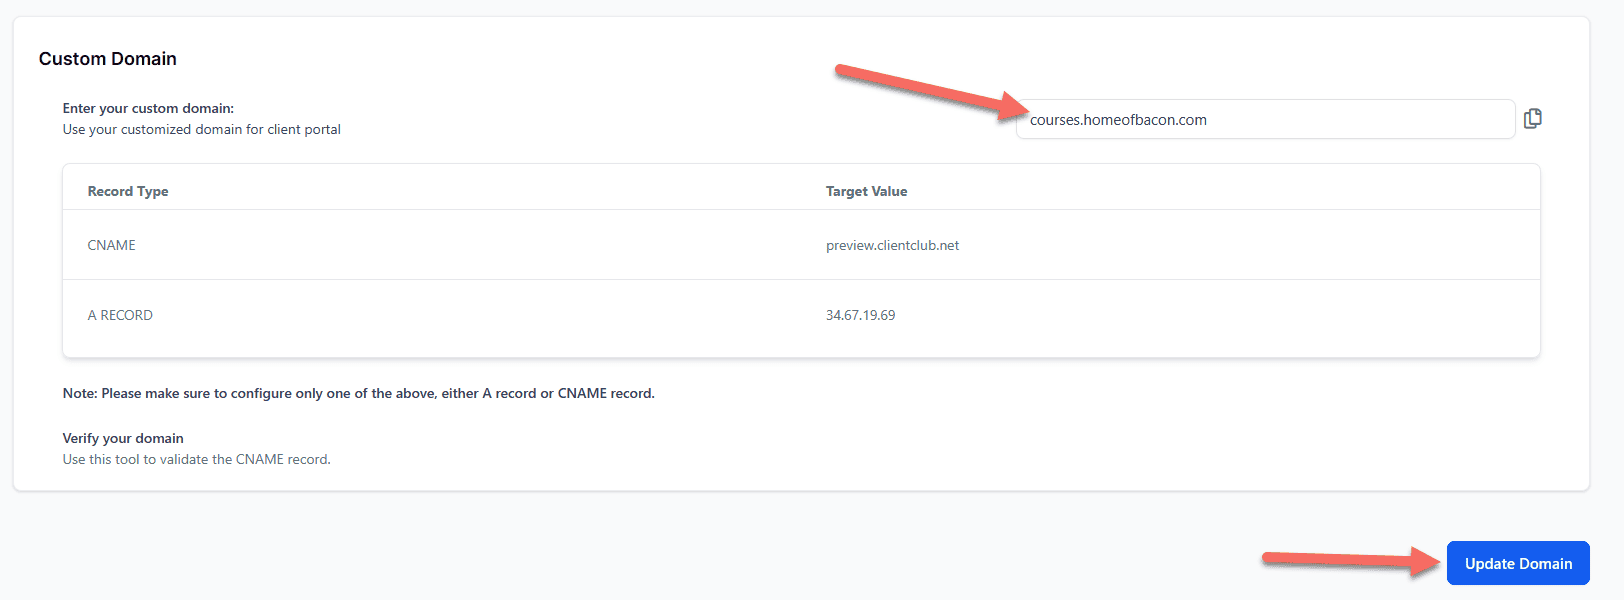
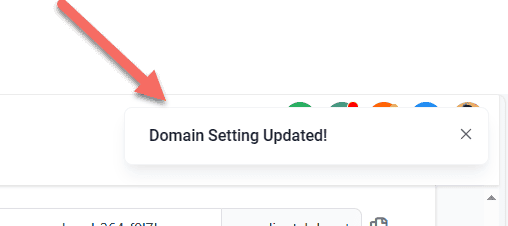
You'll know it was successful if you get the success message at the top right:
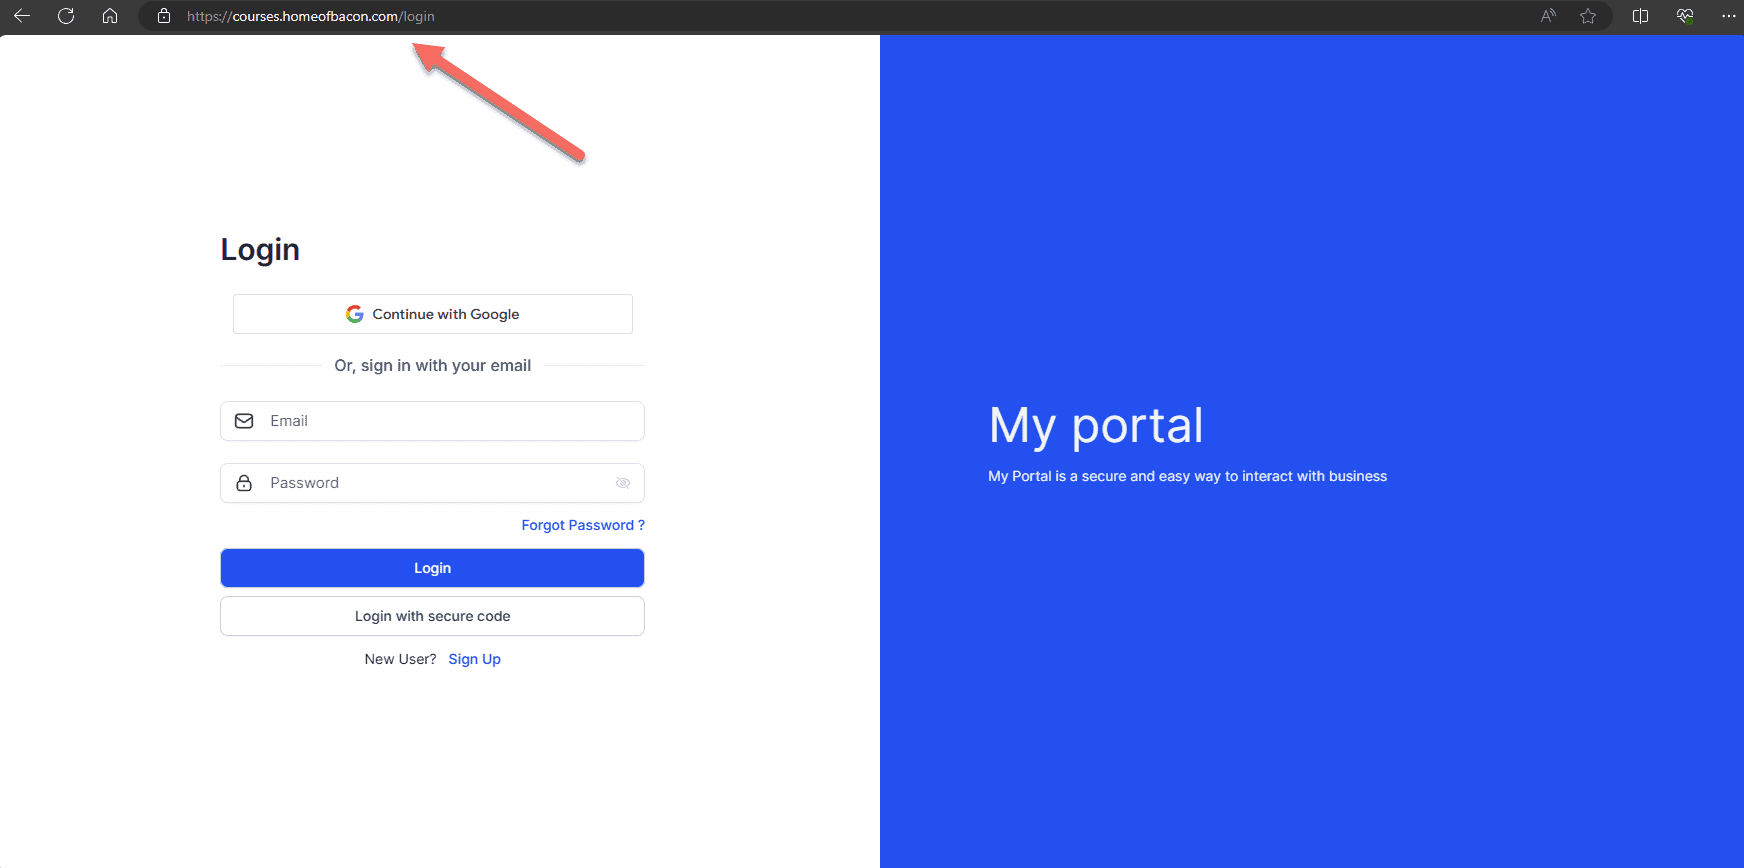
Once propagation is complete, you should have a secure log in page for your courses:
You can also customize your client portal such as custom titles, colors, etc by navigating to Sites > Client Portal > Settings > Branding: 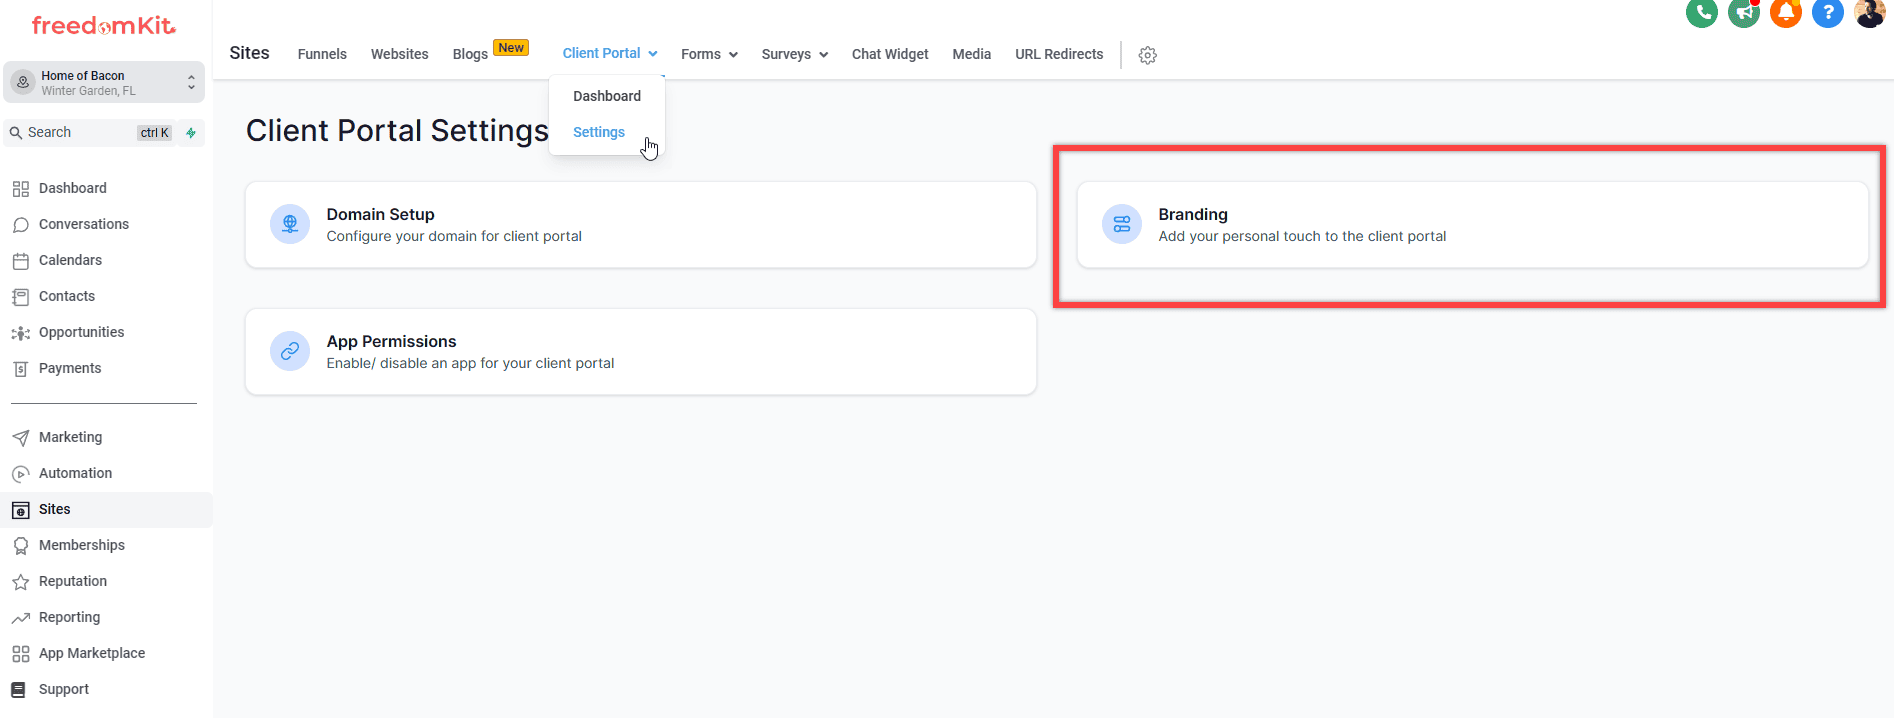
Under the branding screen you'll be able to customize many aspects of your customer's experience:
- Portal Name
- Portal Description
- Brand Color One
- Brand Color Two
- Favicon
- Portal Image
- Banner Image
- Logo
- Support Email Address
- Copyright Info
- Advanced Custom Code
Congratulations on setting up your course inside Freedomkit! If you have any questions please don't hesitate to reach out to support and we will help you out!