This tutorial will show you how to create the file upload custom field, and how it can be used within both forms and surveys.
Step 1: Adding the File Upload Custom Field to Your Form or Survey
- Navigate to the form builder.
- You’ll see Standard Fields and Custom Fields in the menu on the right.
- Standard Fields are commonly used, default fields in the system, such as name, email, and phone.
- Custom Fields are those you’ve created specifically for your business needs. (To create a custom field go to settings and click “custom fields”)
- Click Custom Fields
- In the sidebar, search for “File Upload” from the options.

- Click and Drag this field over to your form.
- To edit, click into the feature field in your form, and the editor will appear in the right hand side bar. You can edit the Title, Placeholder, and make this a required field in your form.

- Click Save Form.
- Click Integrate Form.
- Copy the link and paste it into the browser, or wherever you wish to use it.
You can also create a file folder and organize multiple files in one organized space.
To create a file folder:
- Navigate to settings and custom fields.
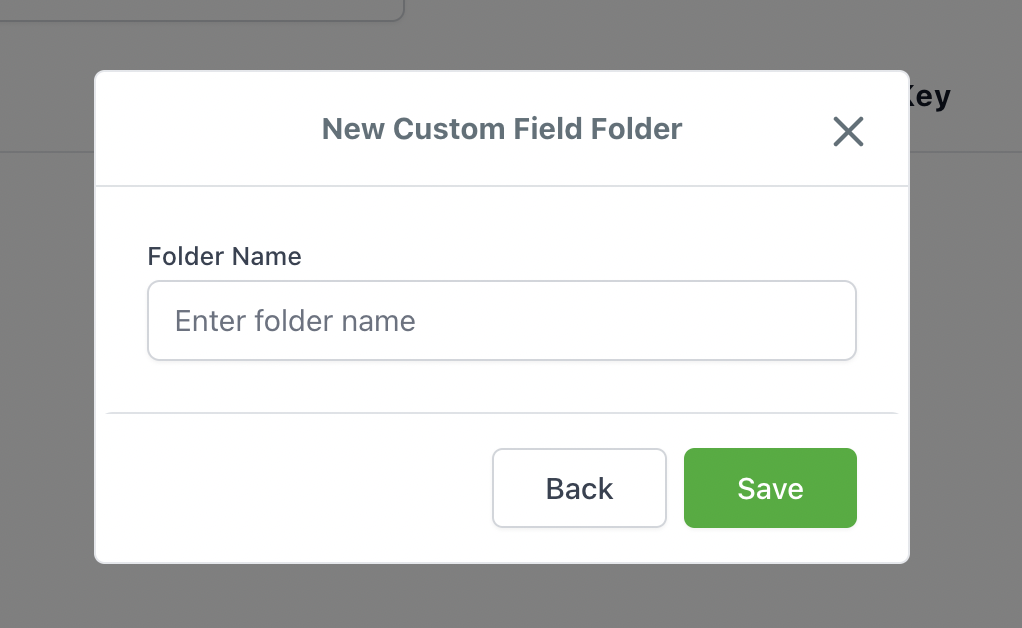
- In the top right corner choose “Add folder”
- From here name your folder “Files” and add in Field
- Select Files.
- Name and Save.